3D printing the Future
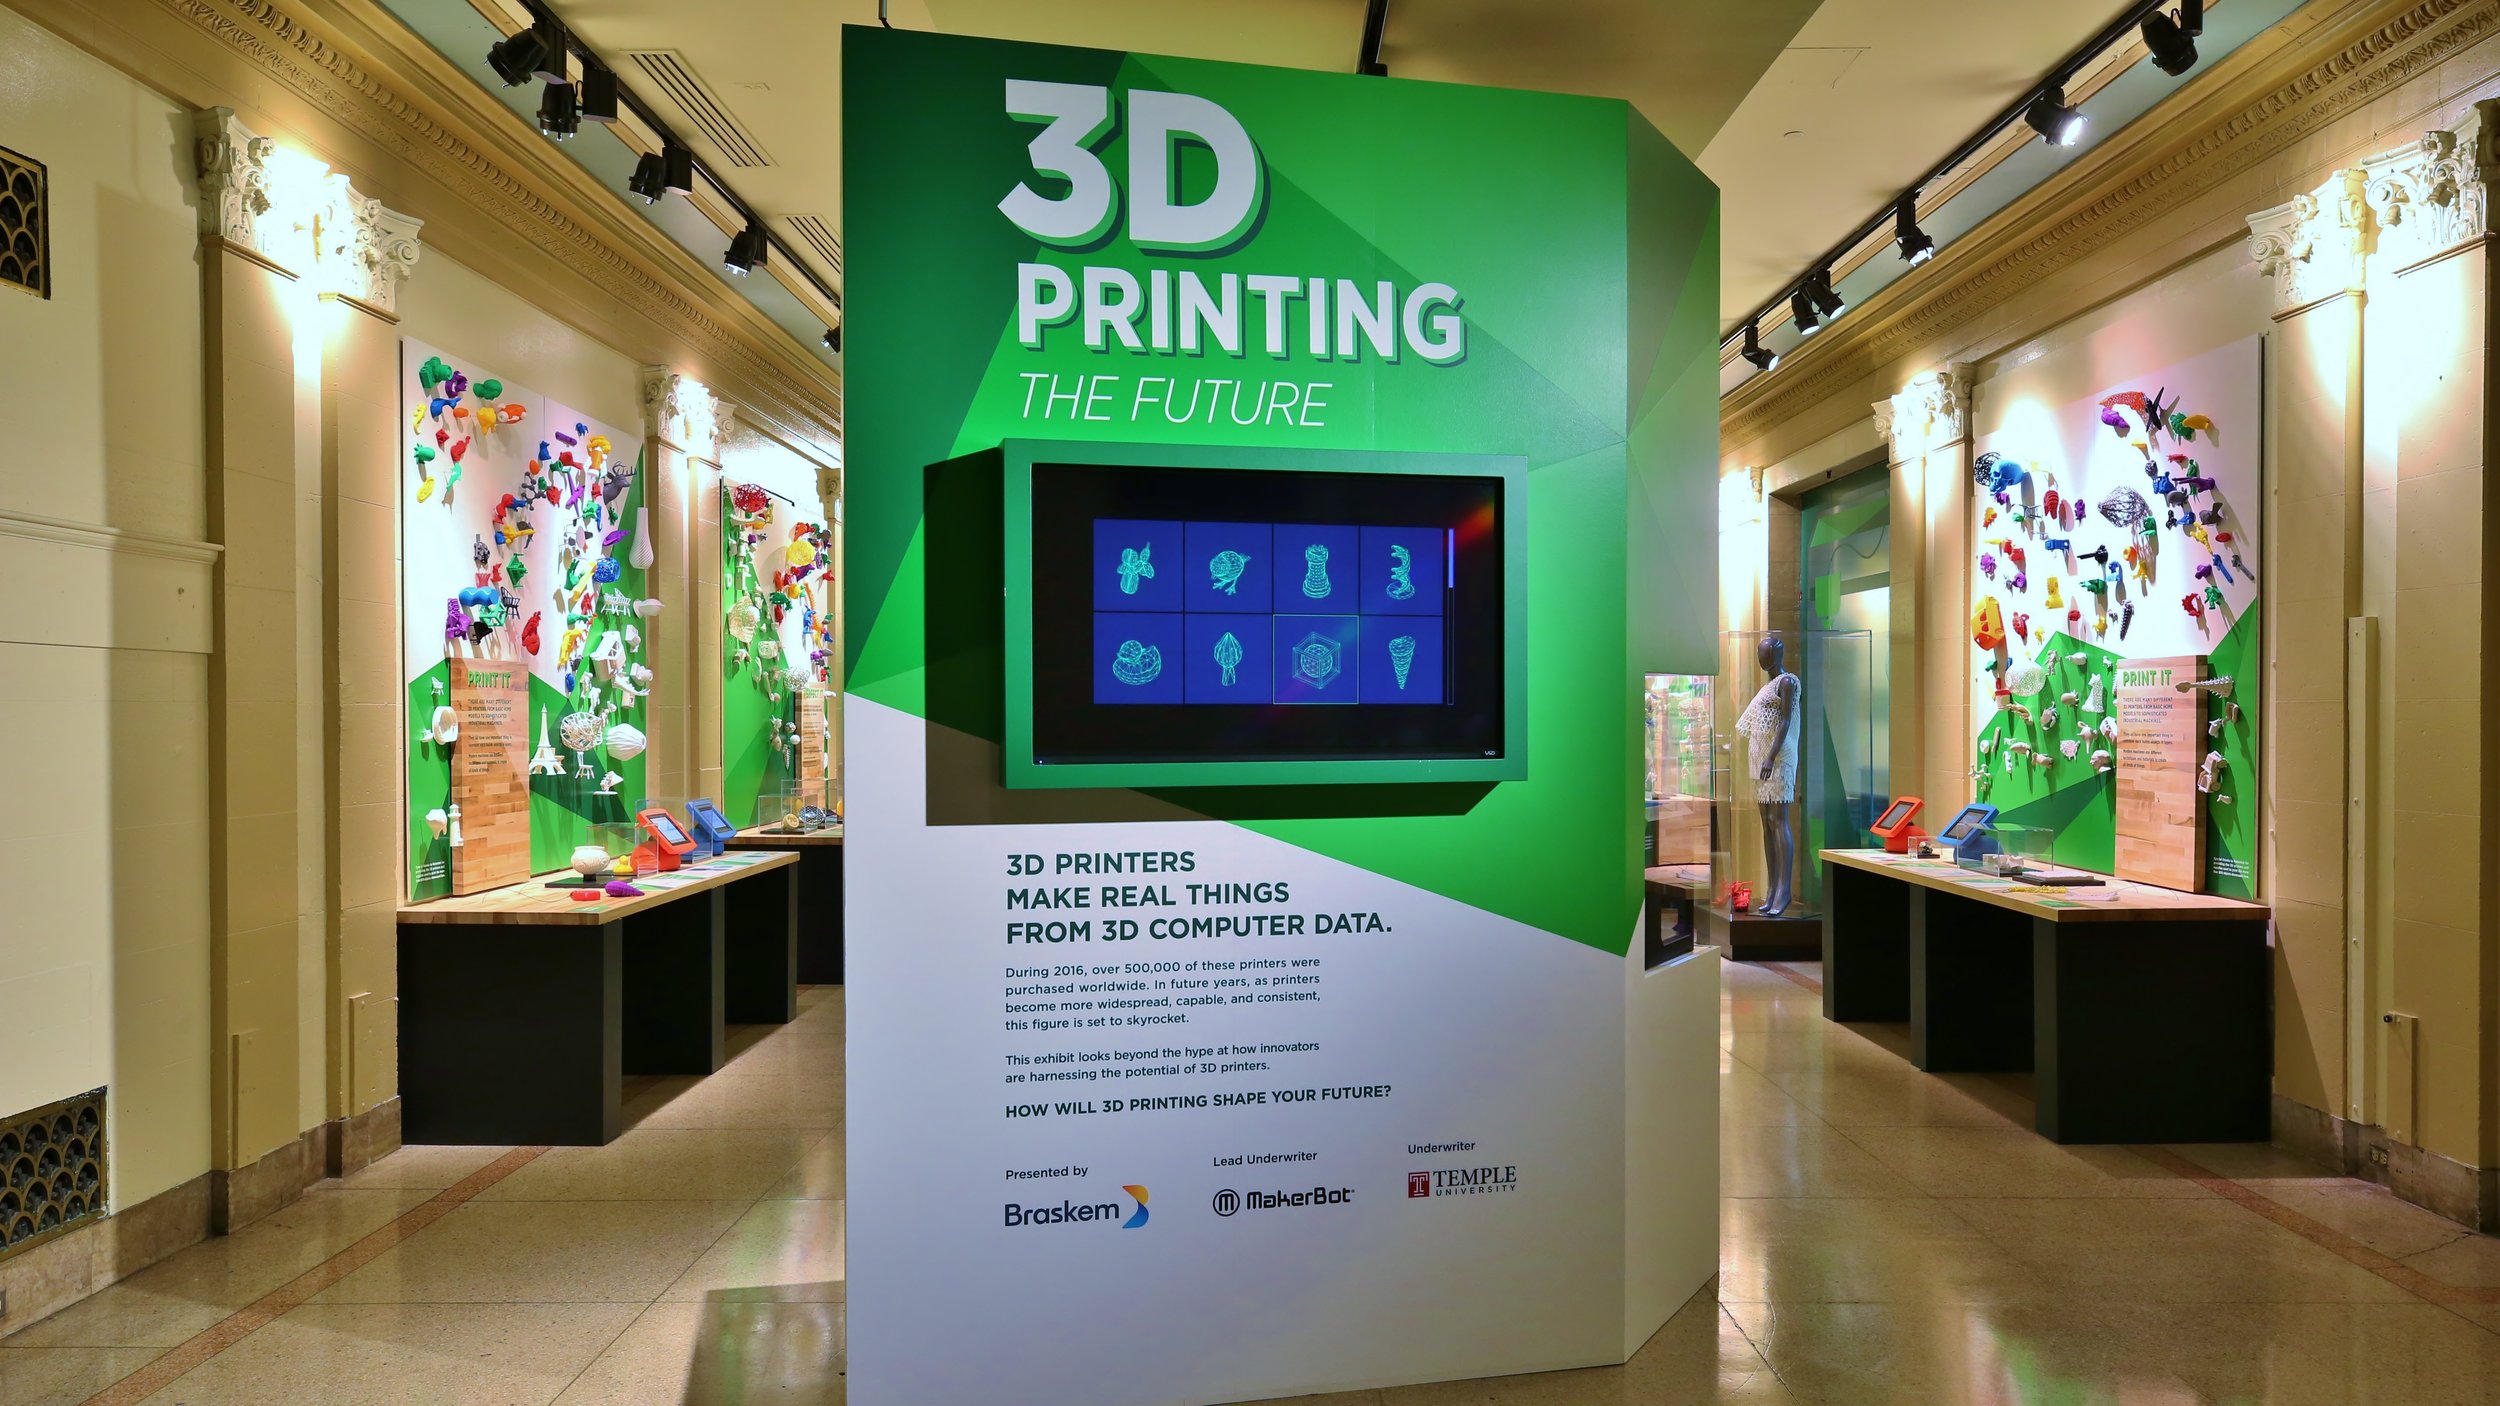
The Franklin Institute
Designed: May 2017 - August 2017
Installed : September 2017 - April 2018
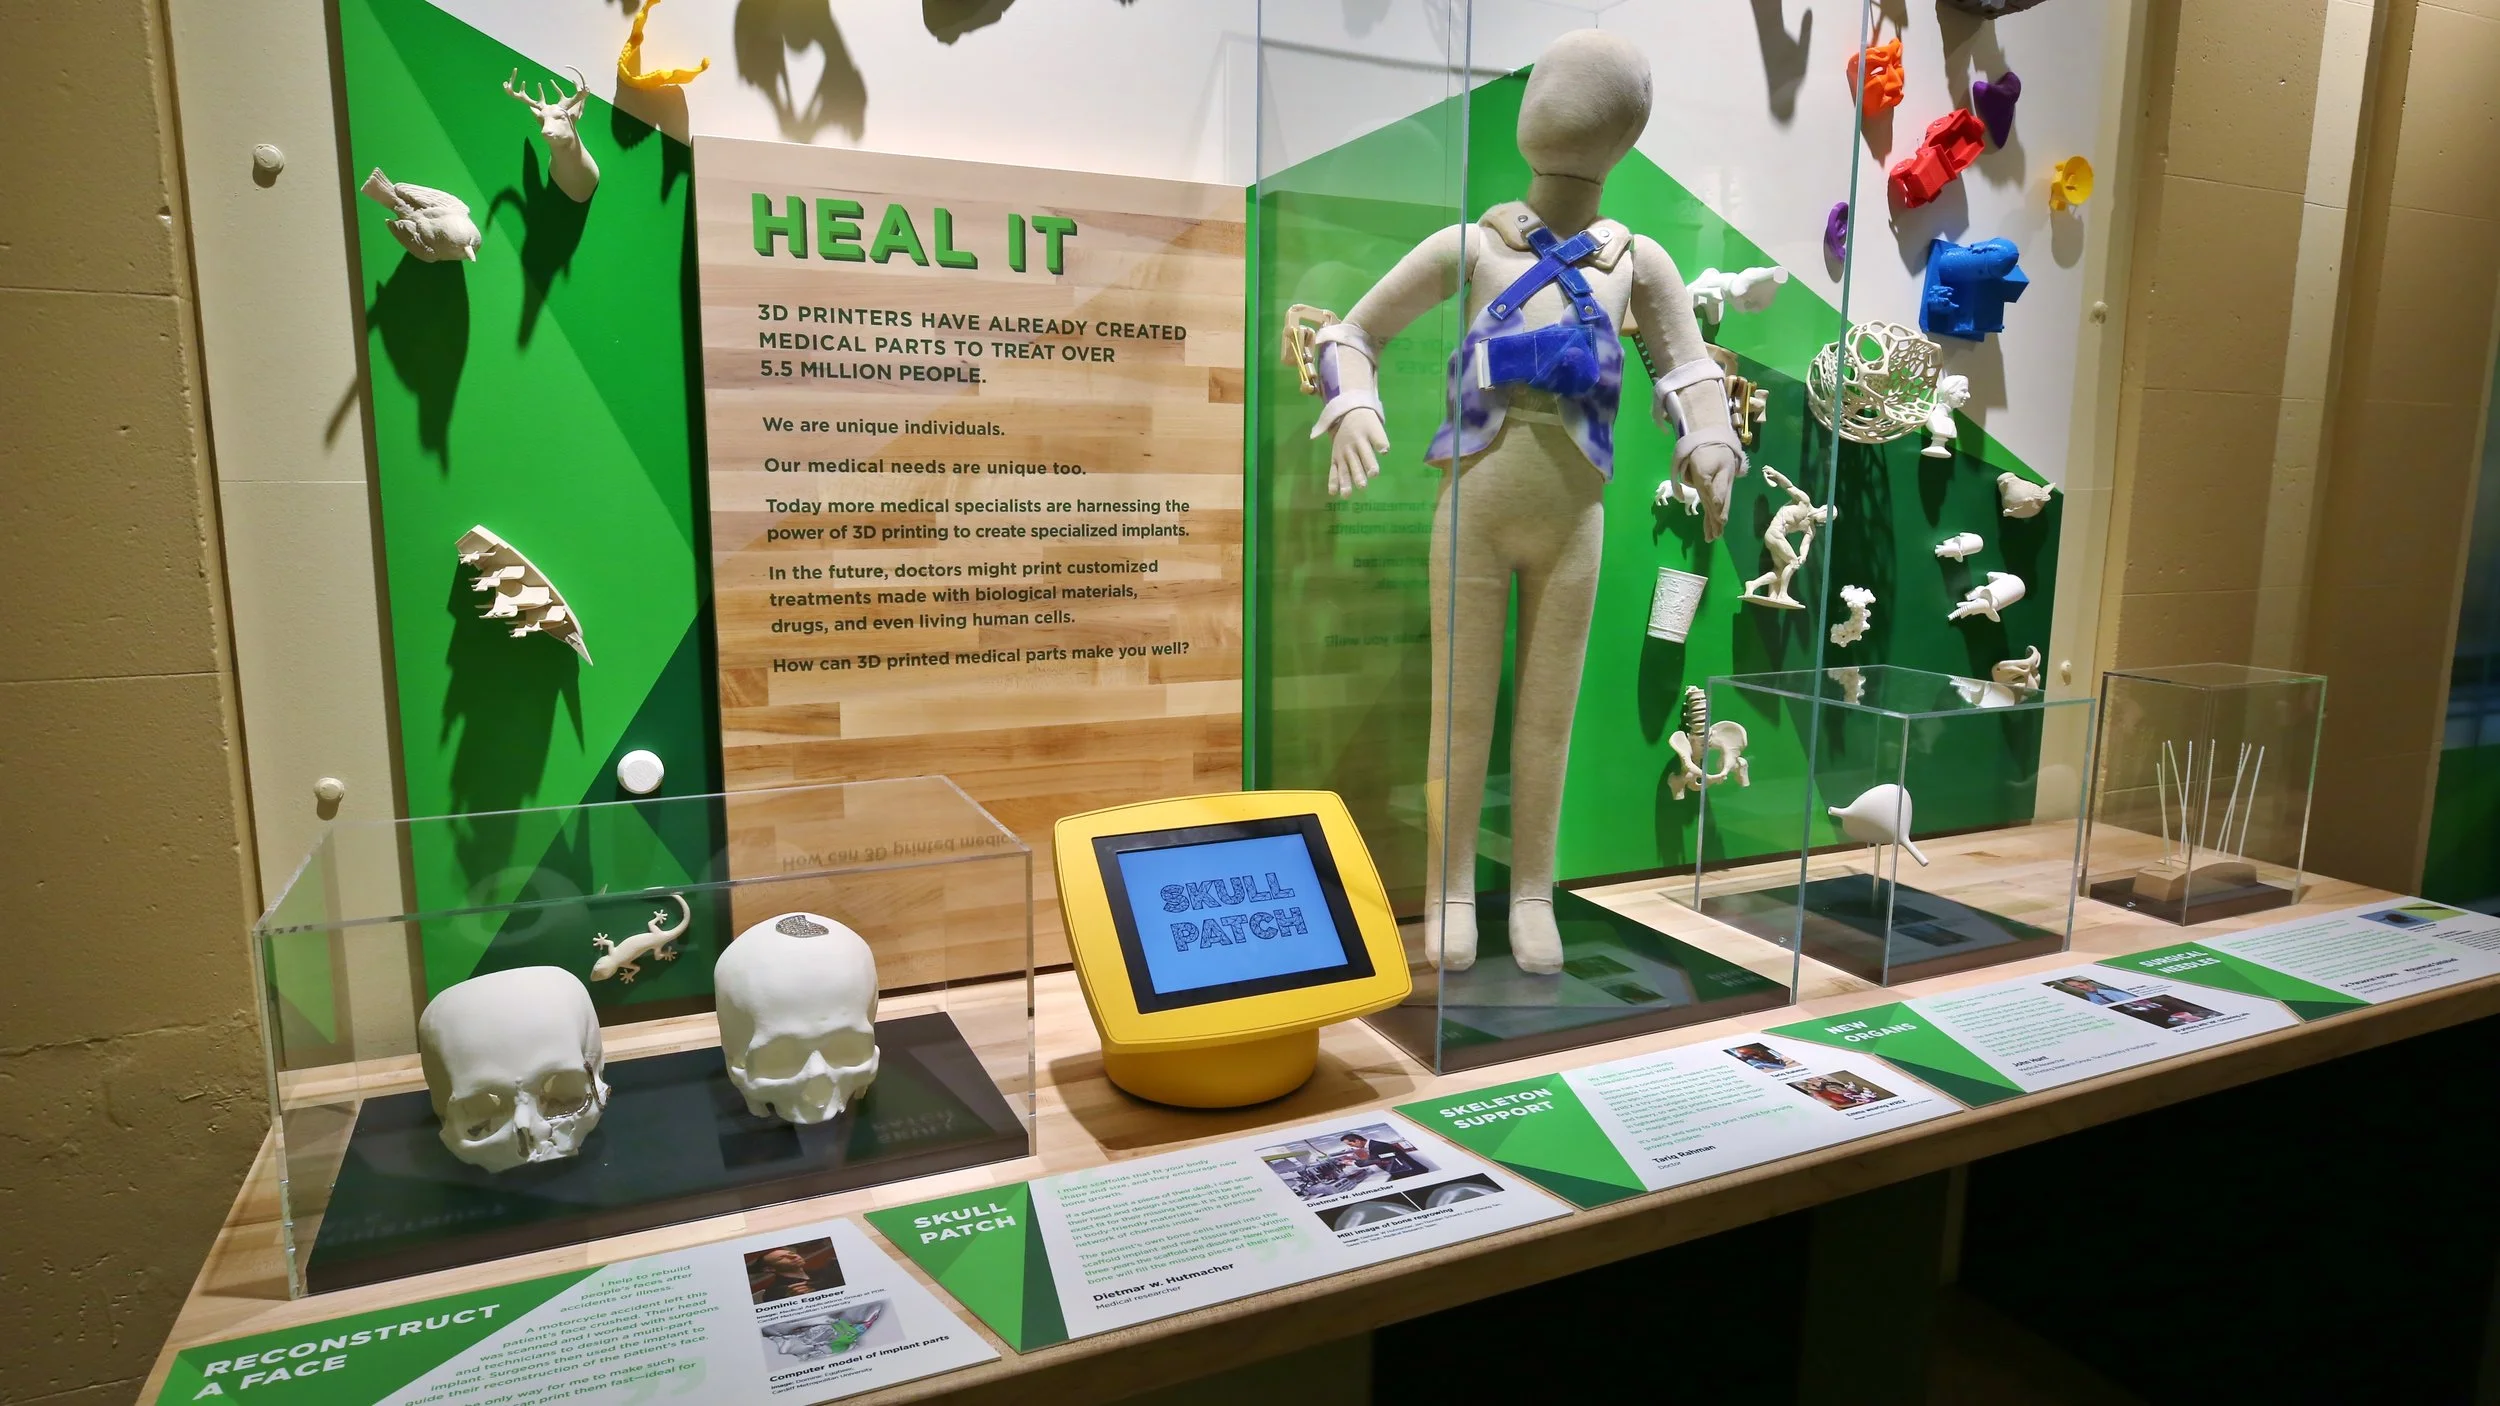
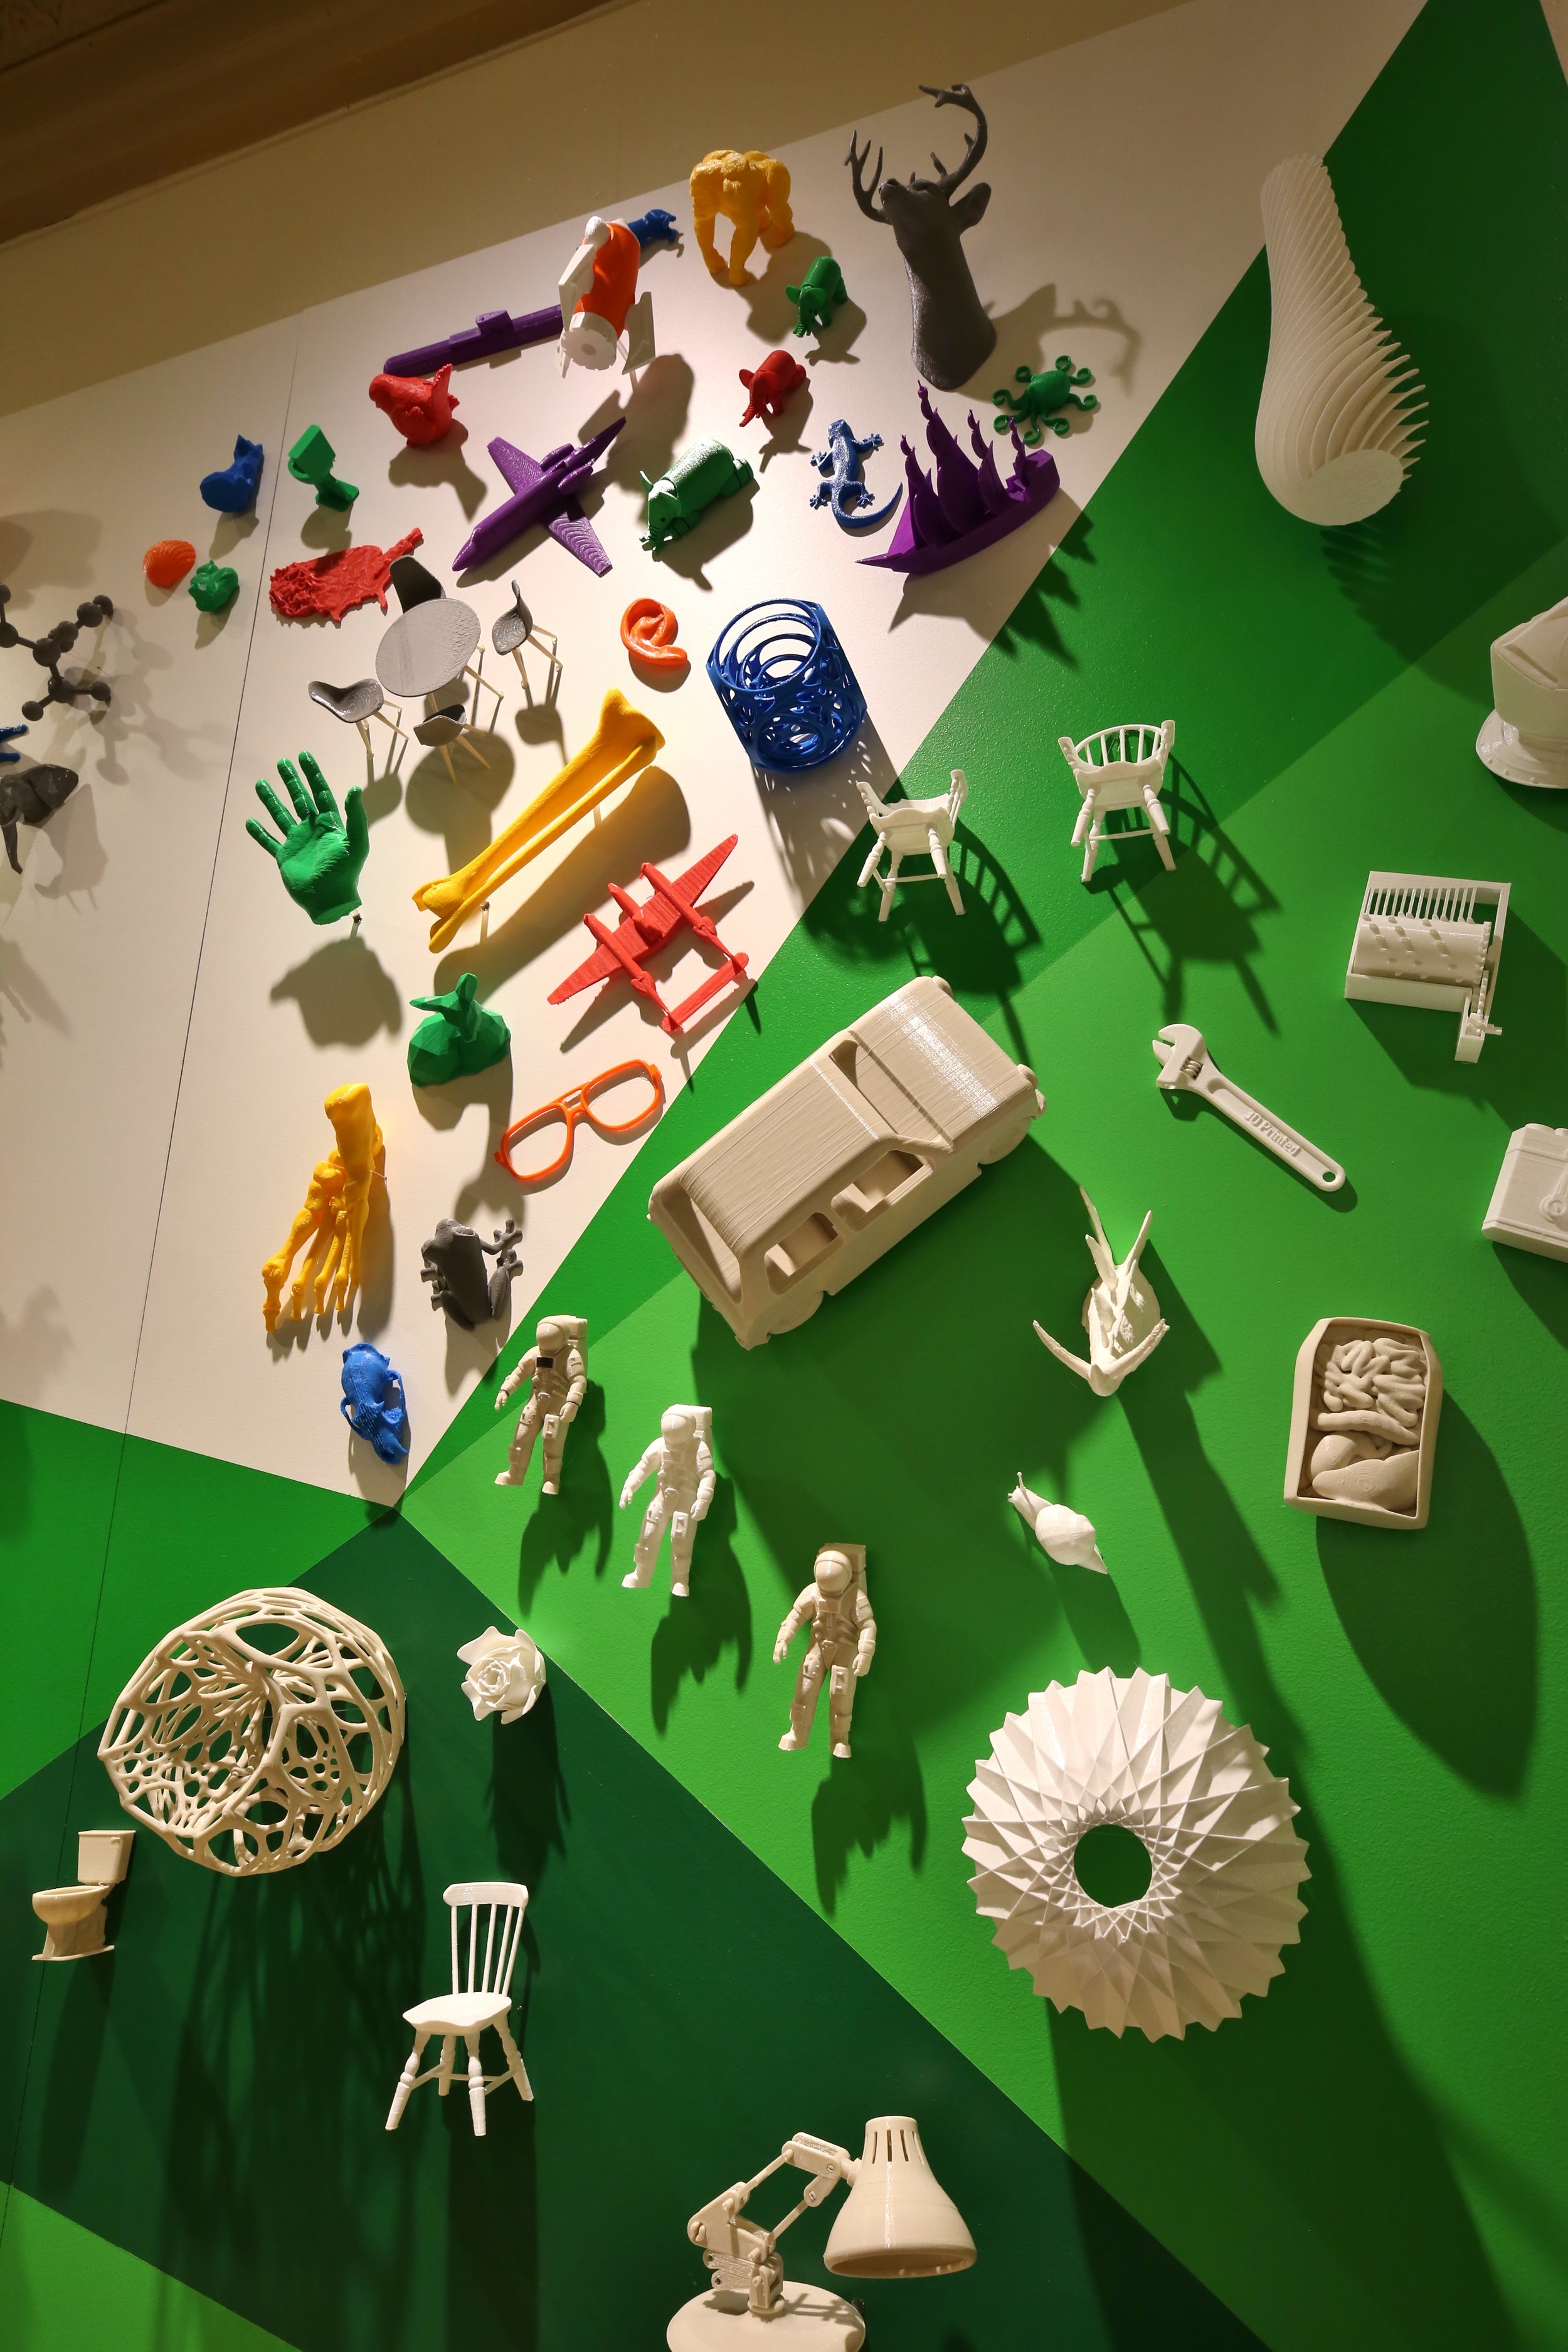
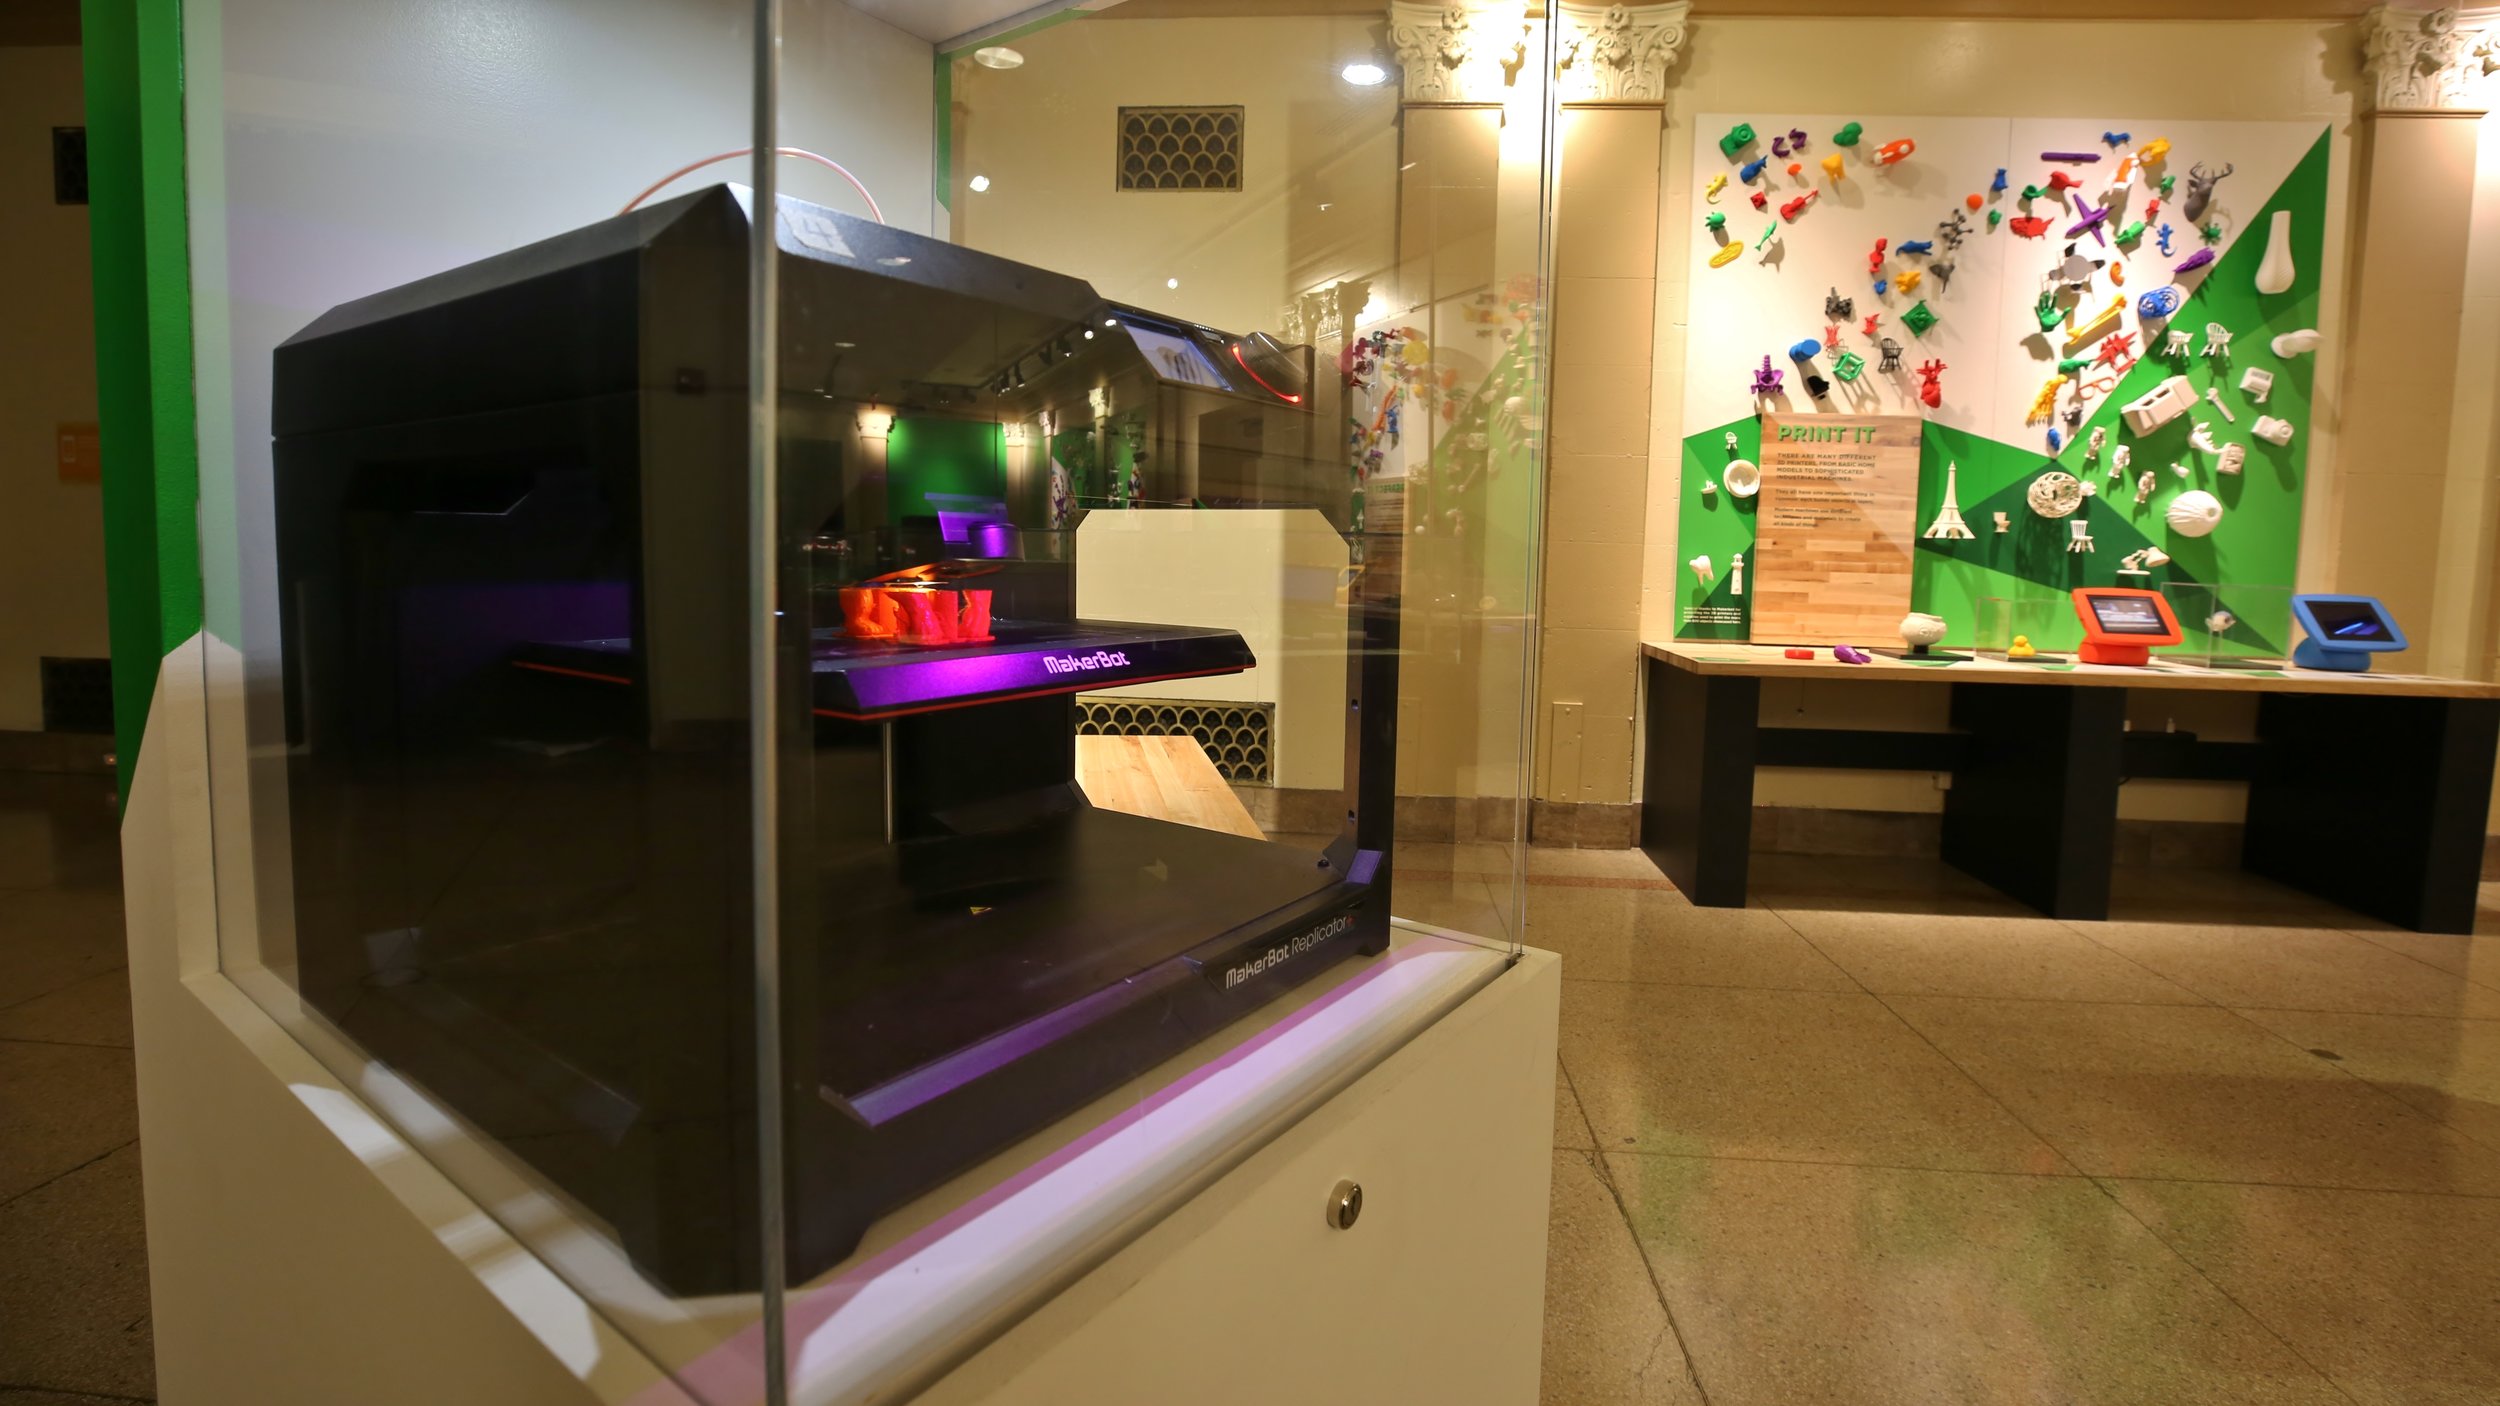
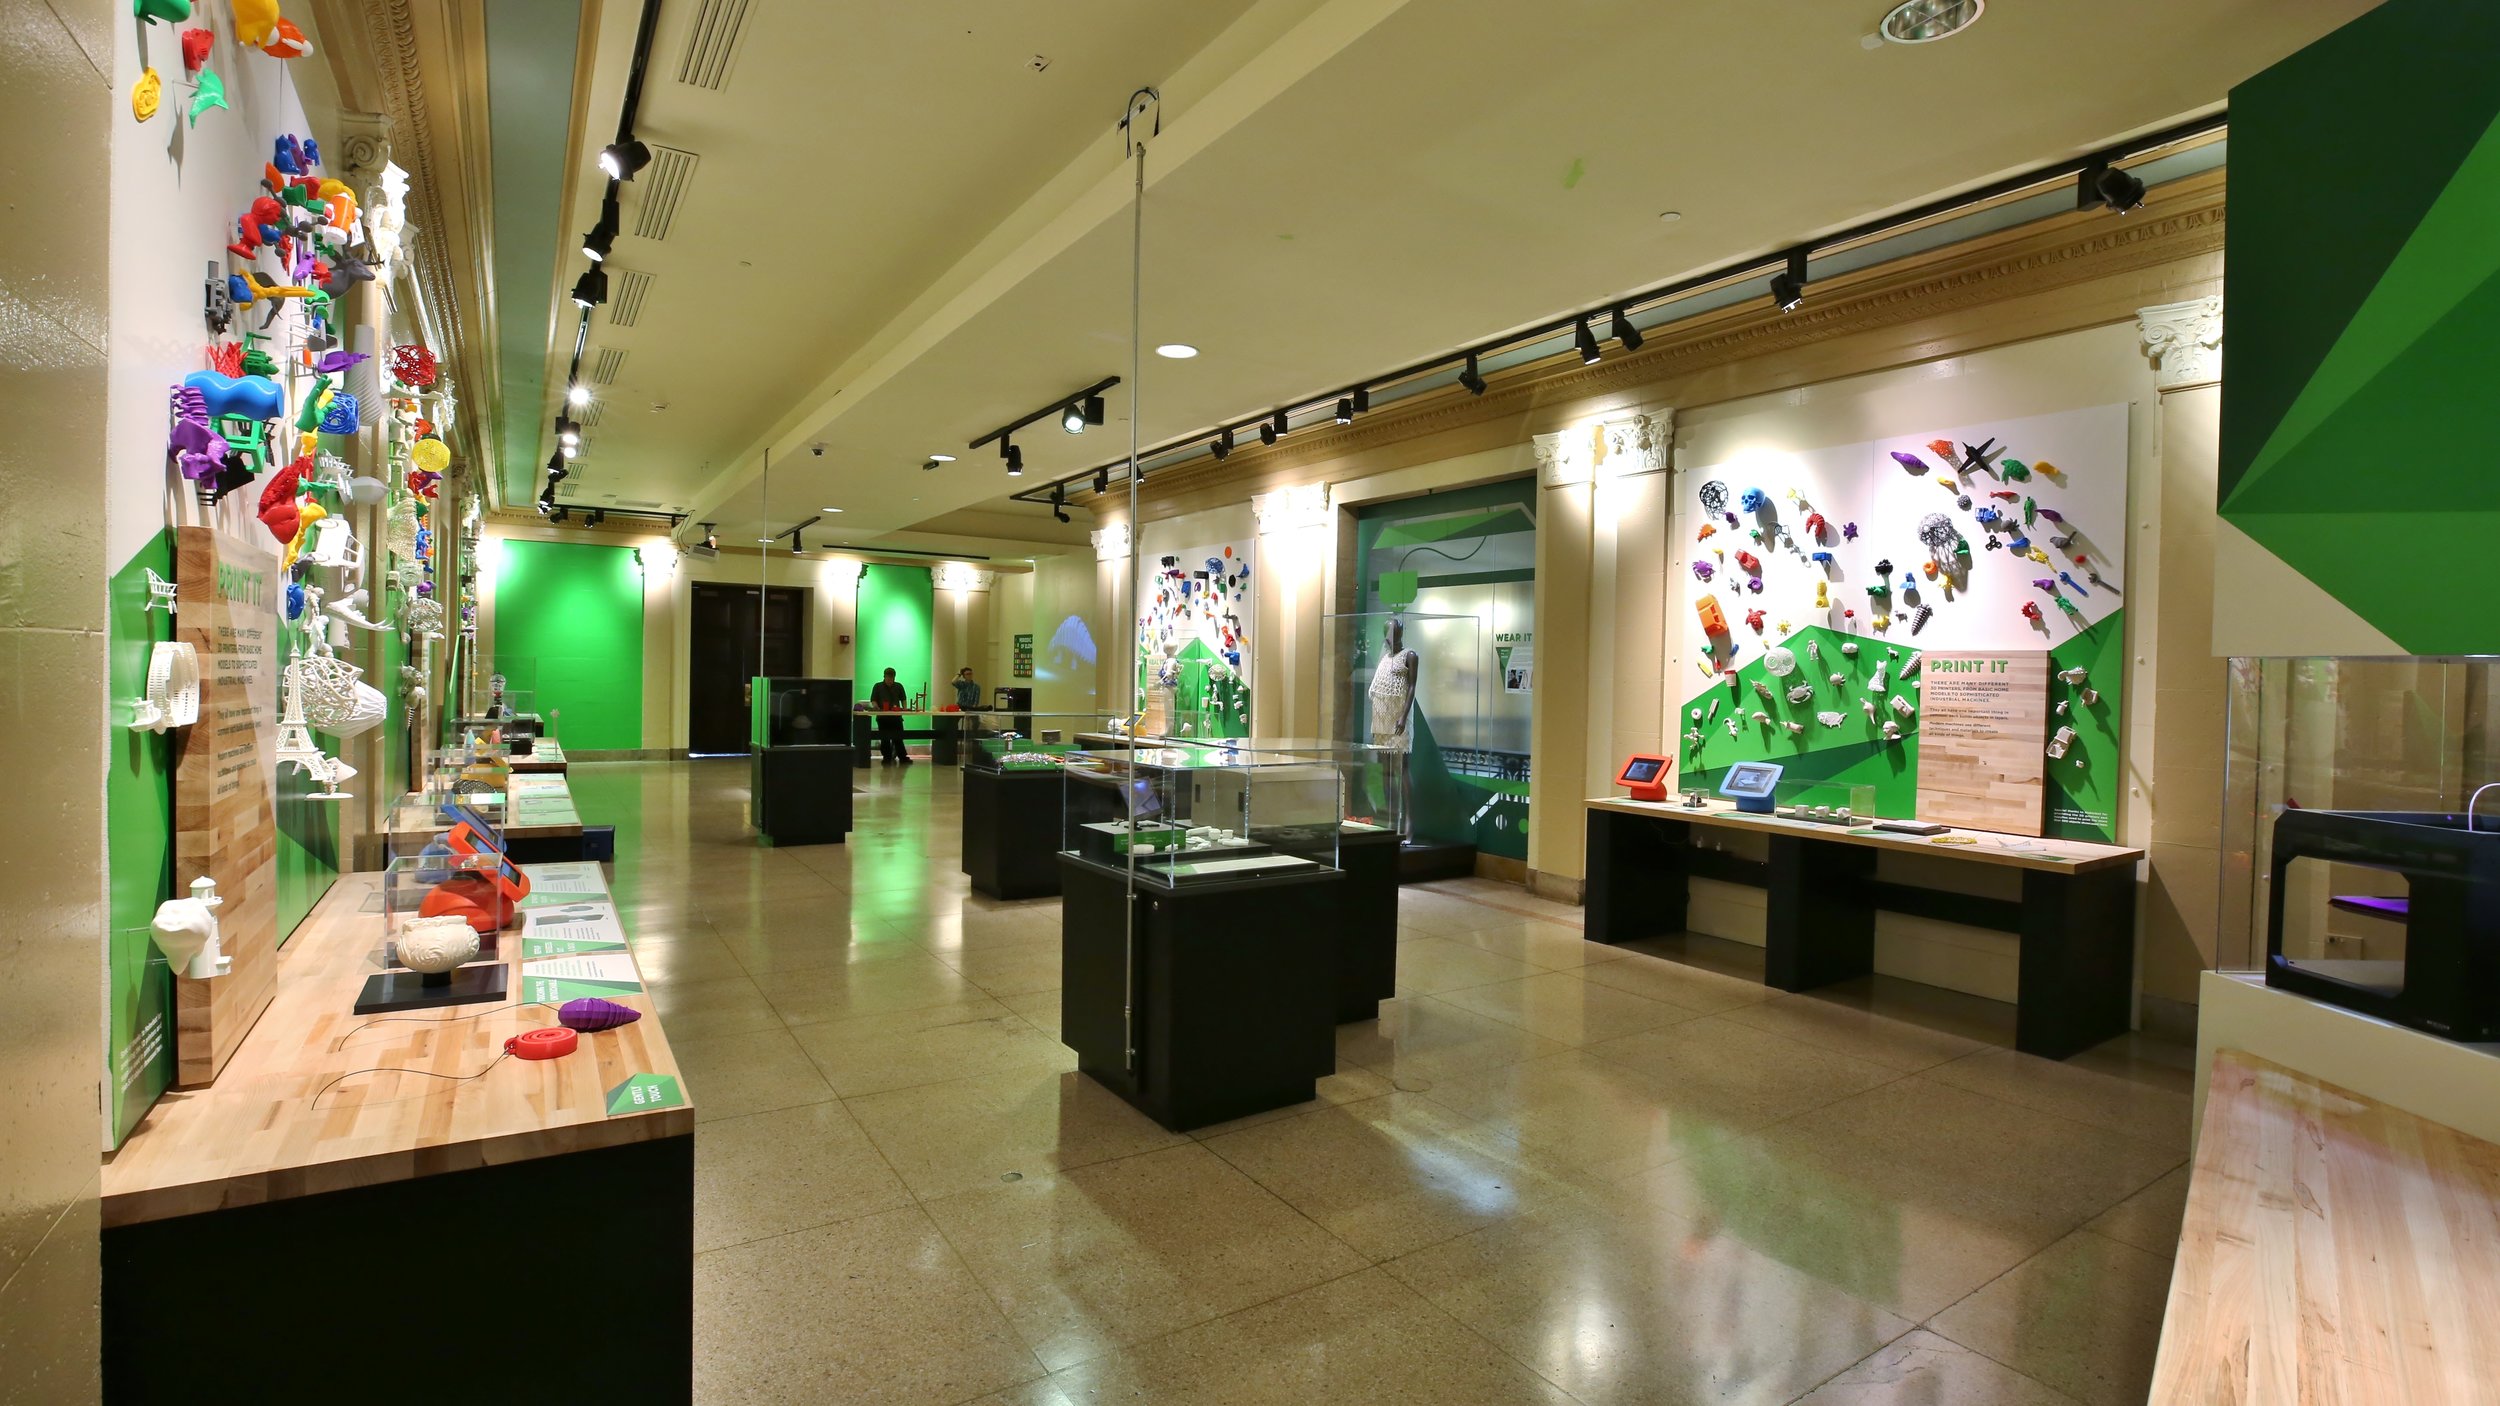
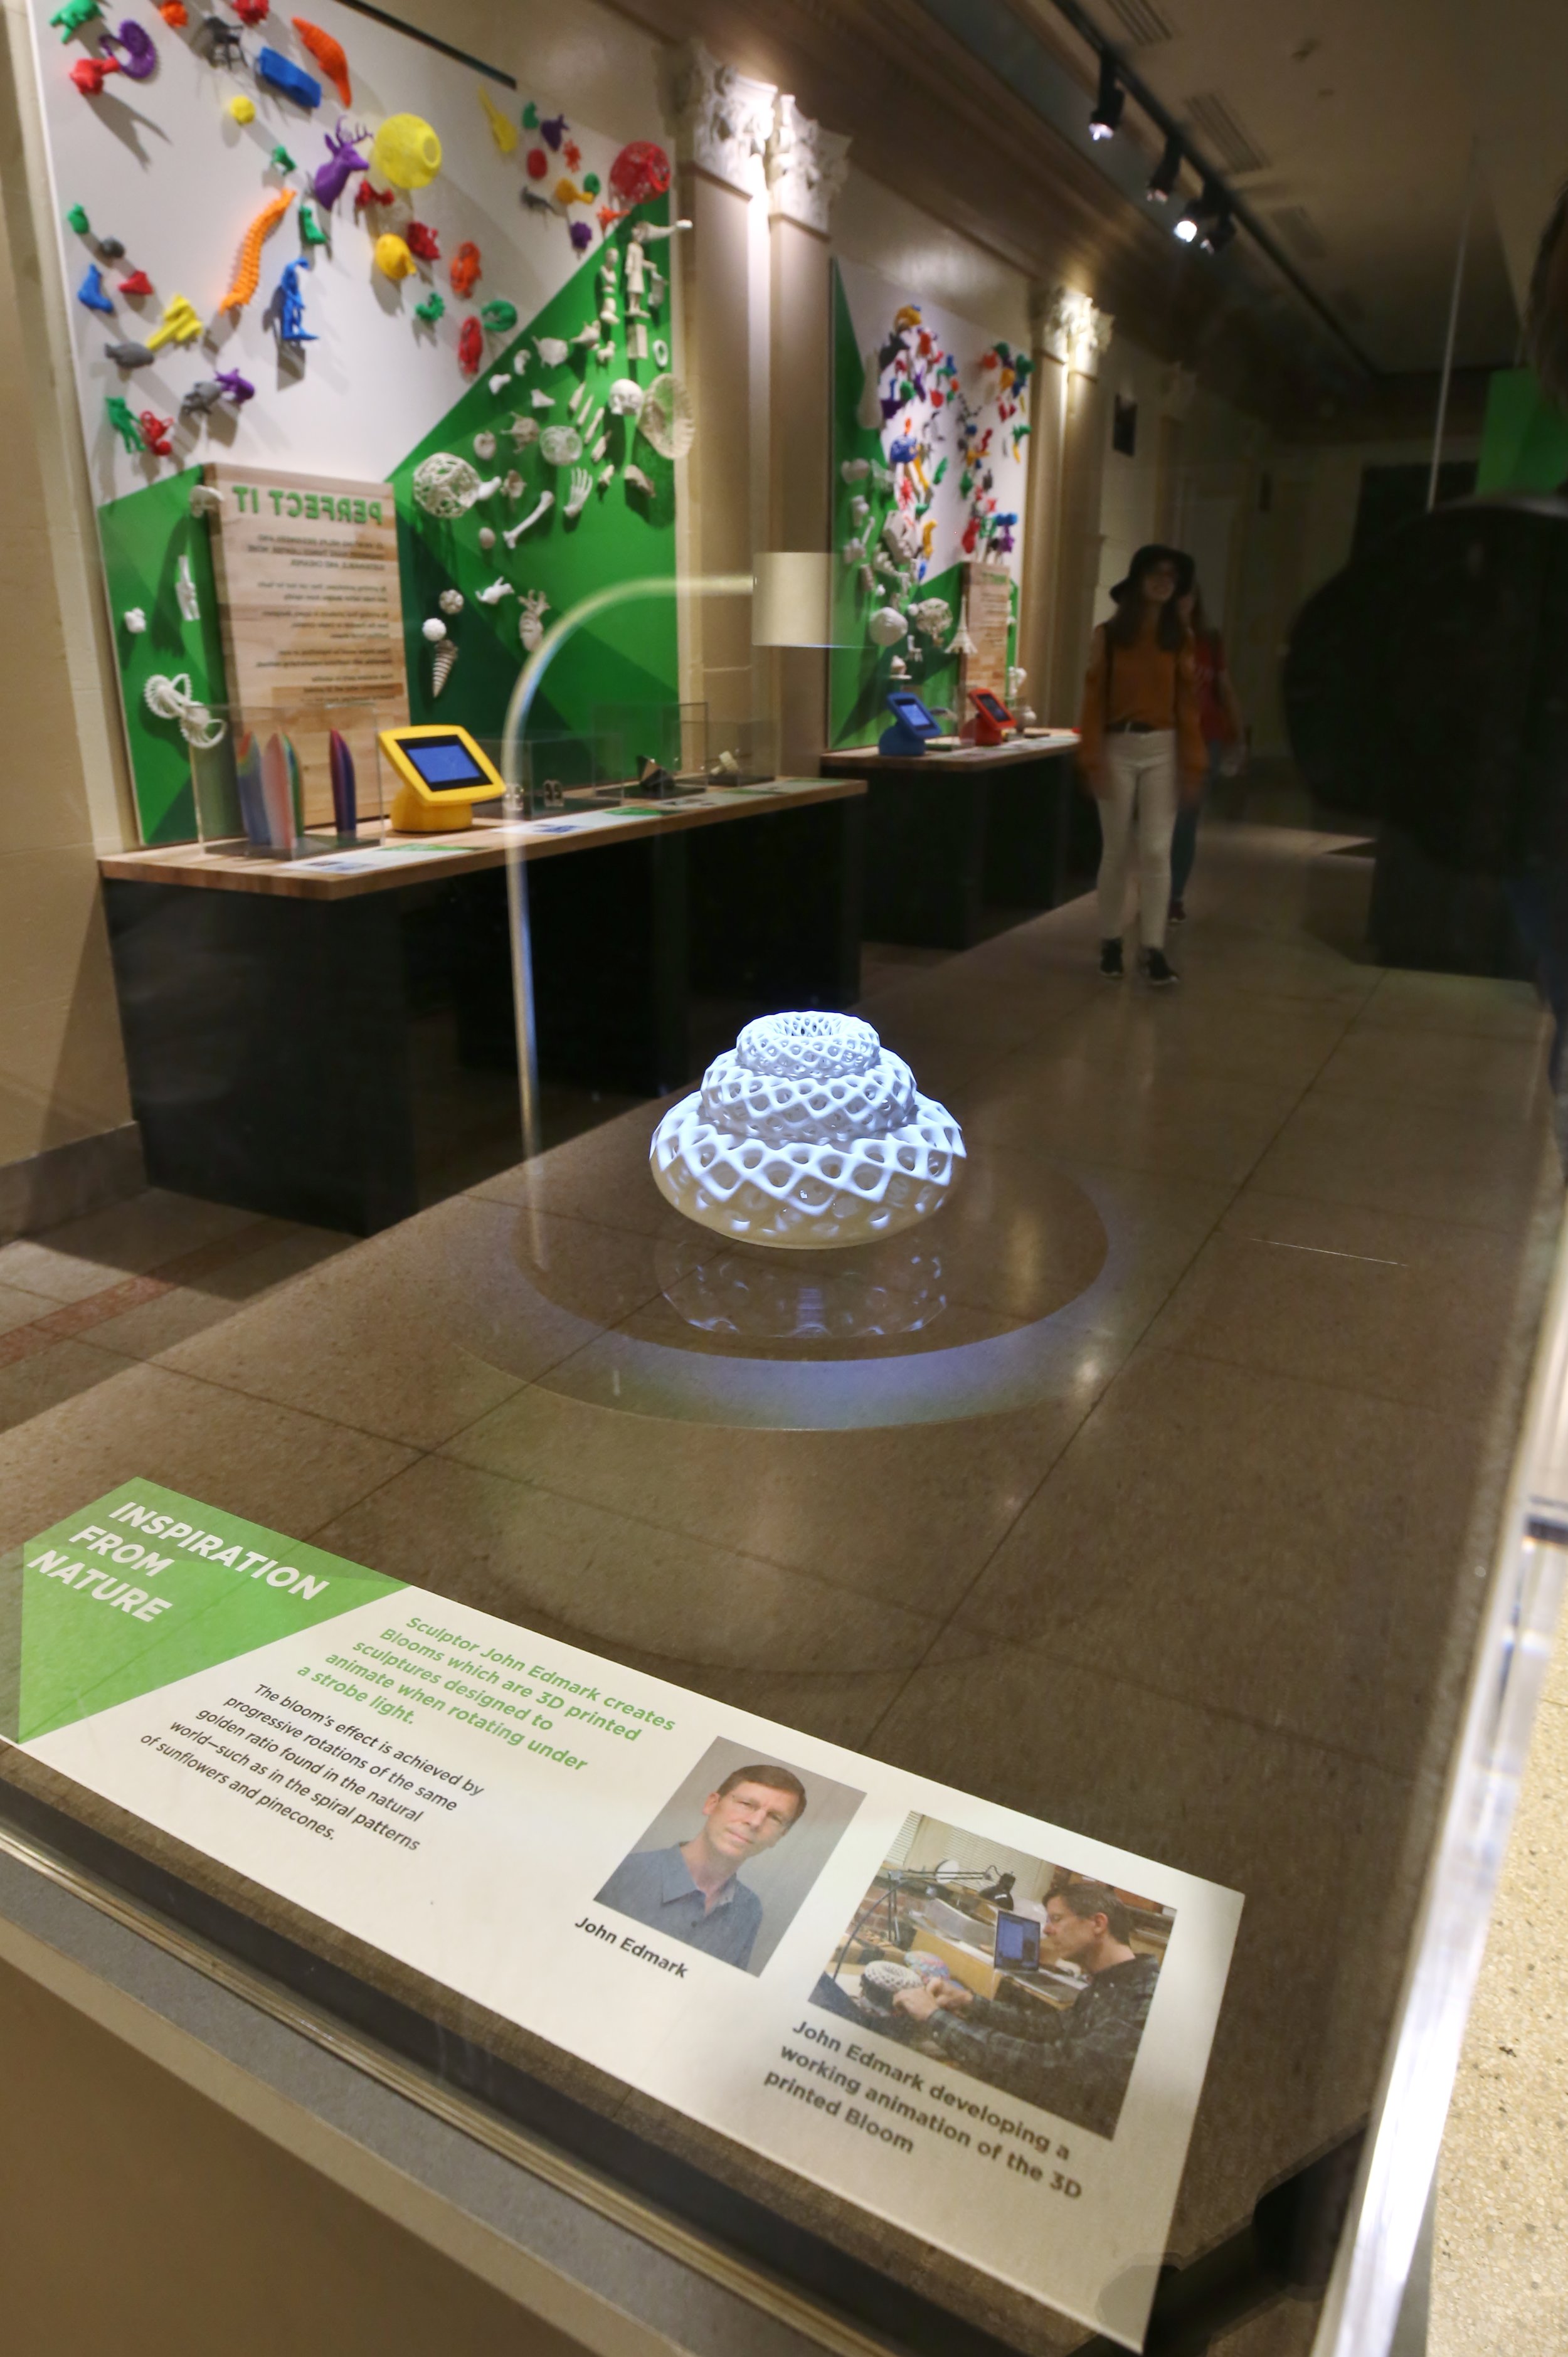
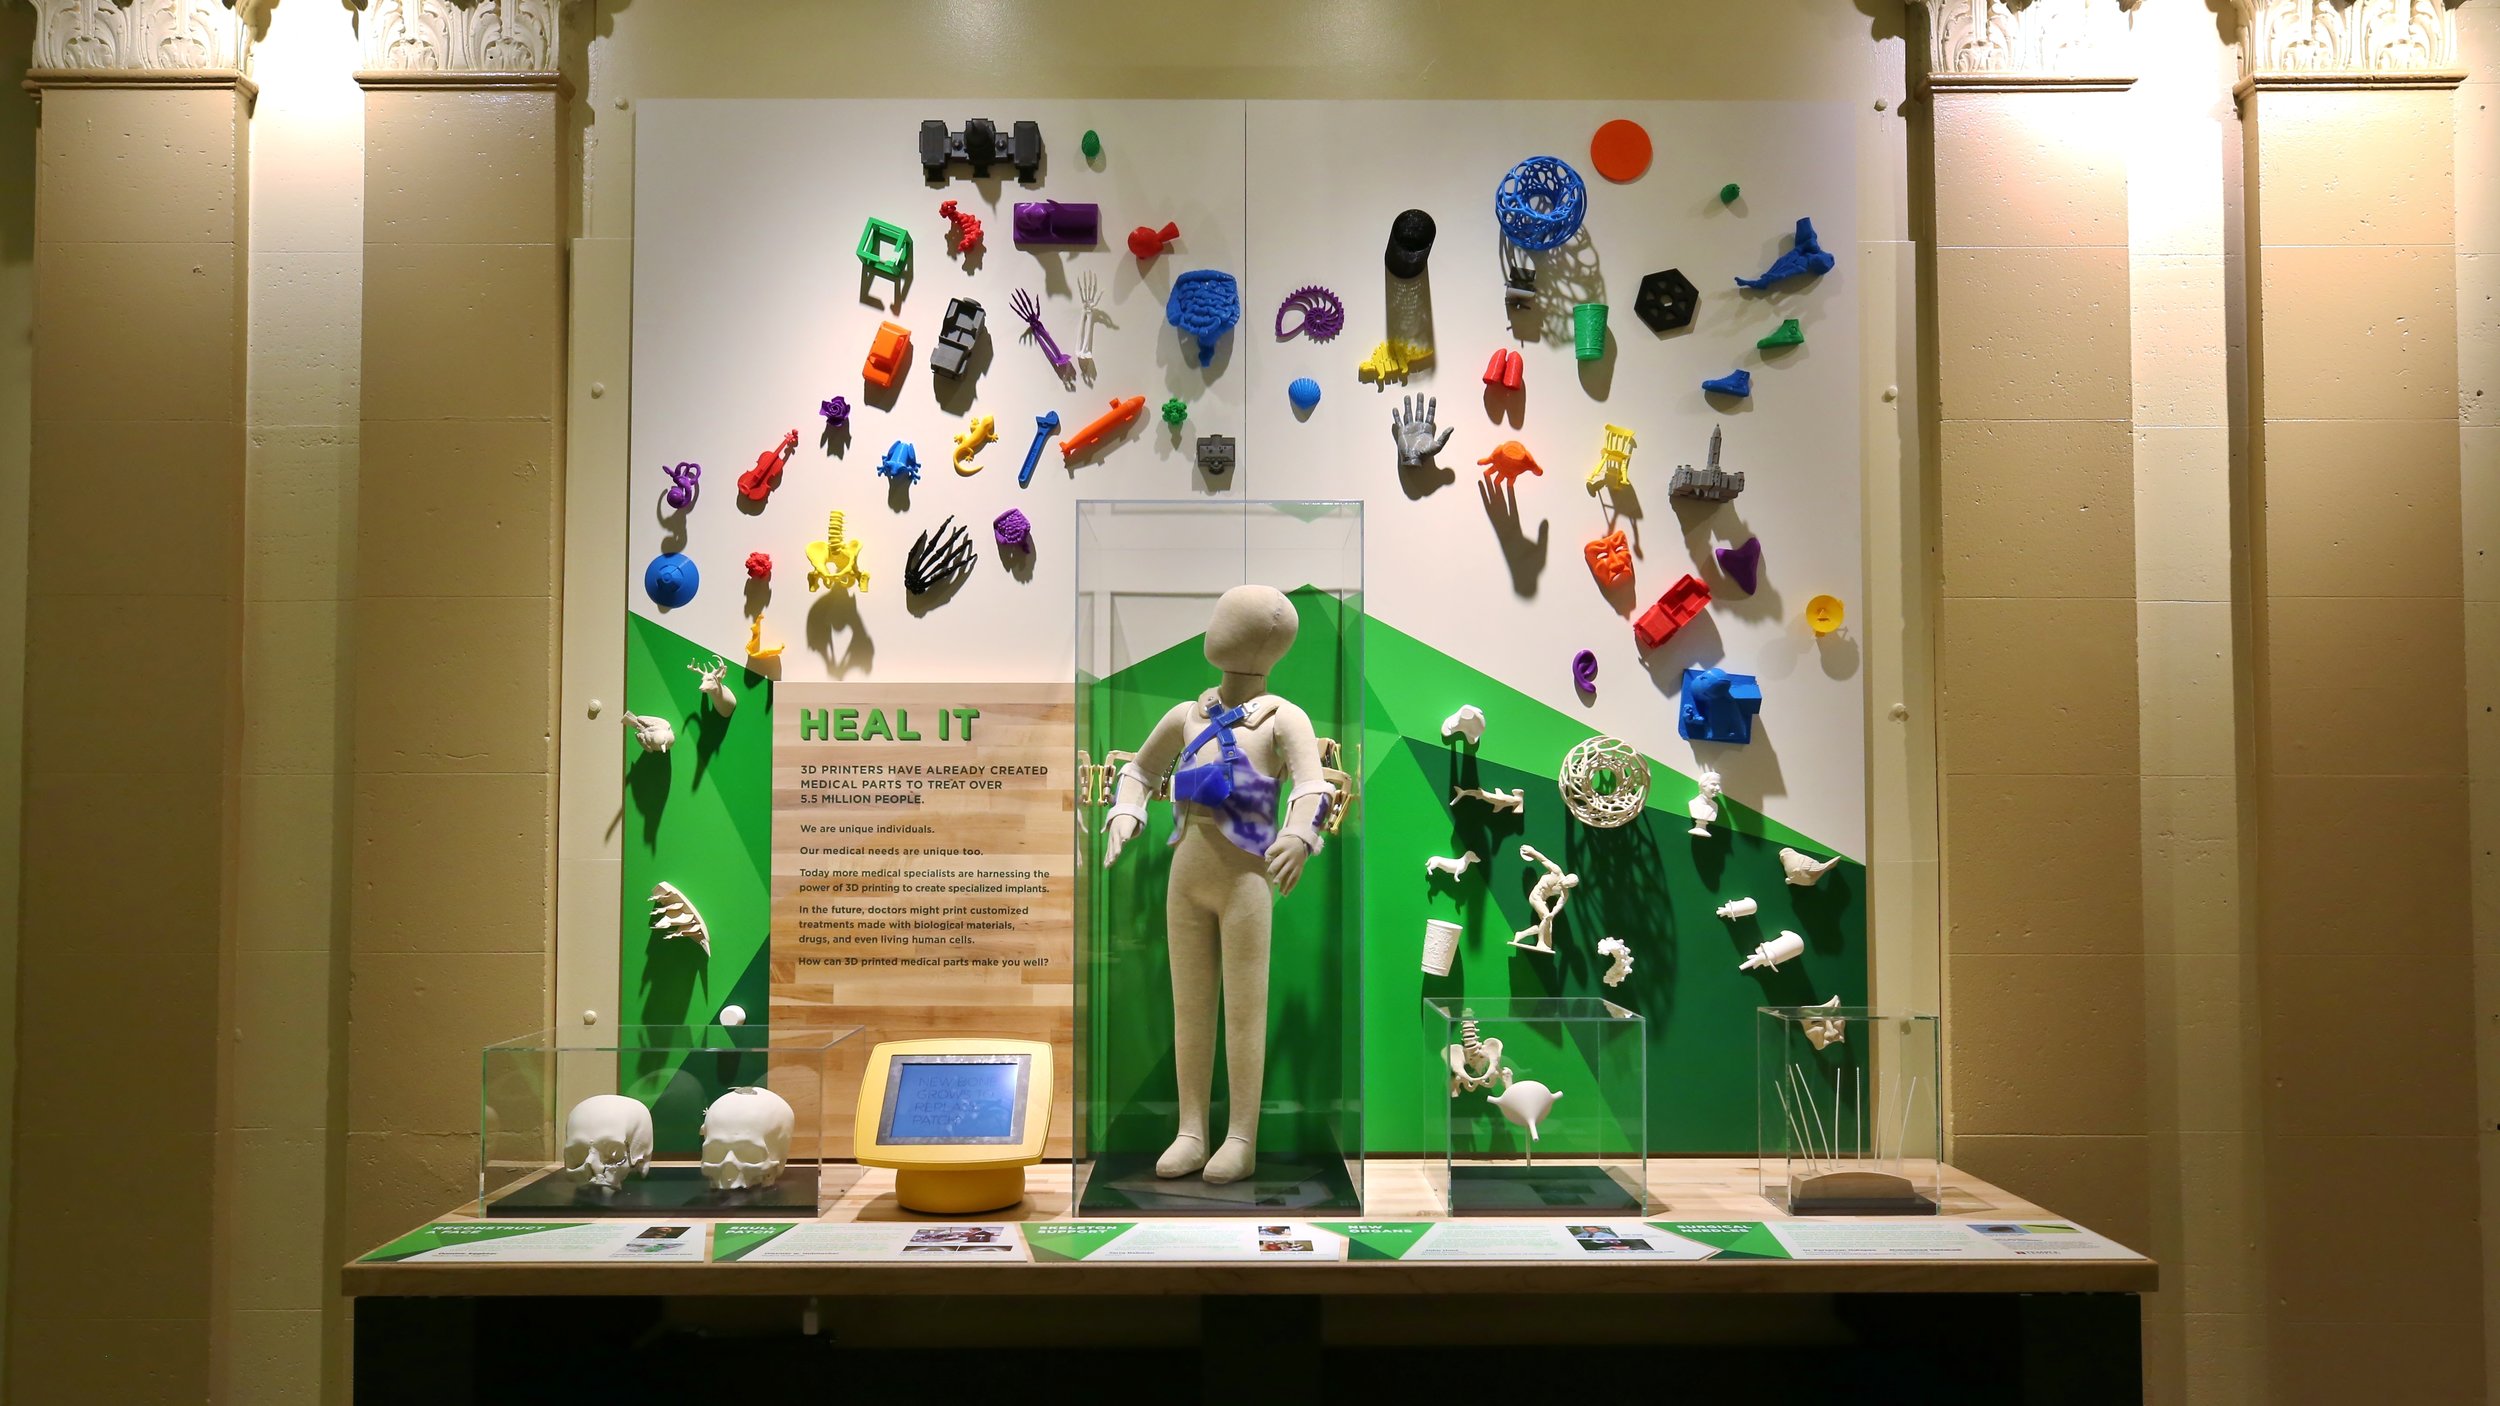
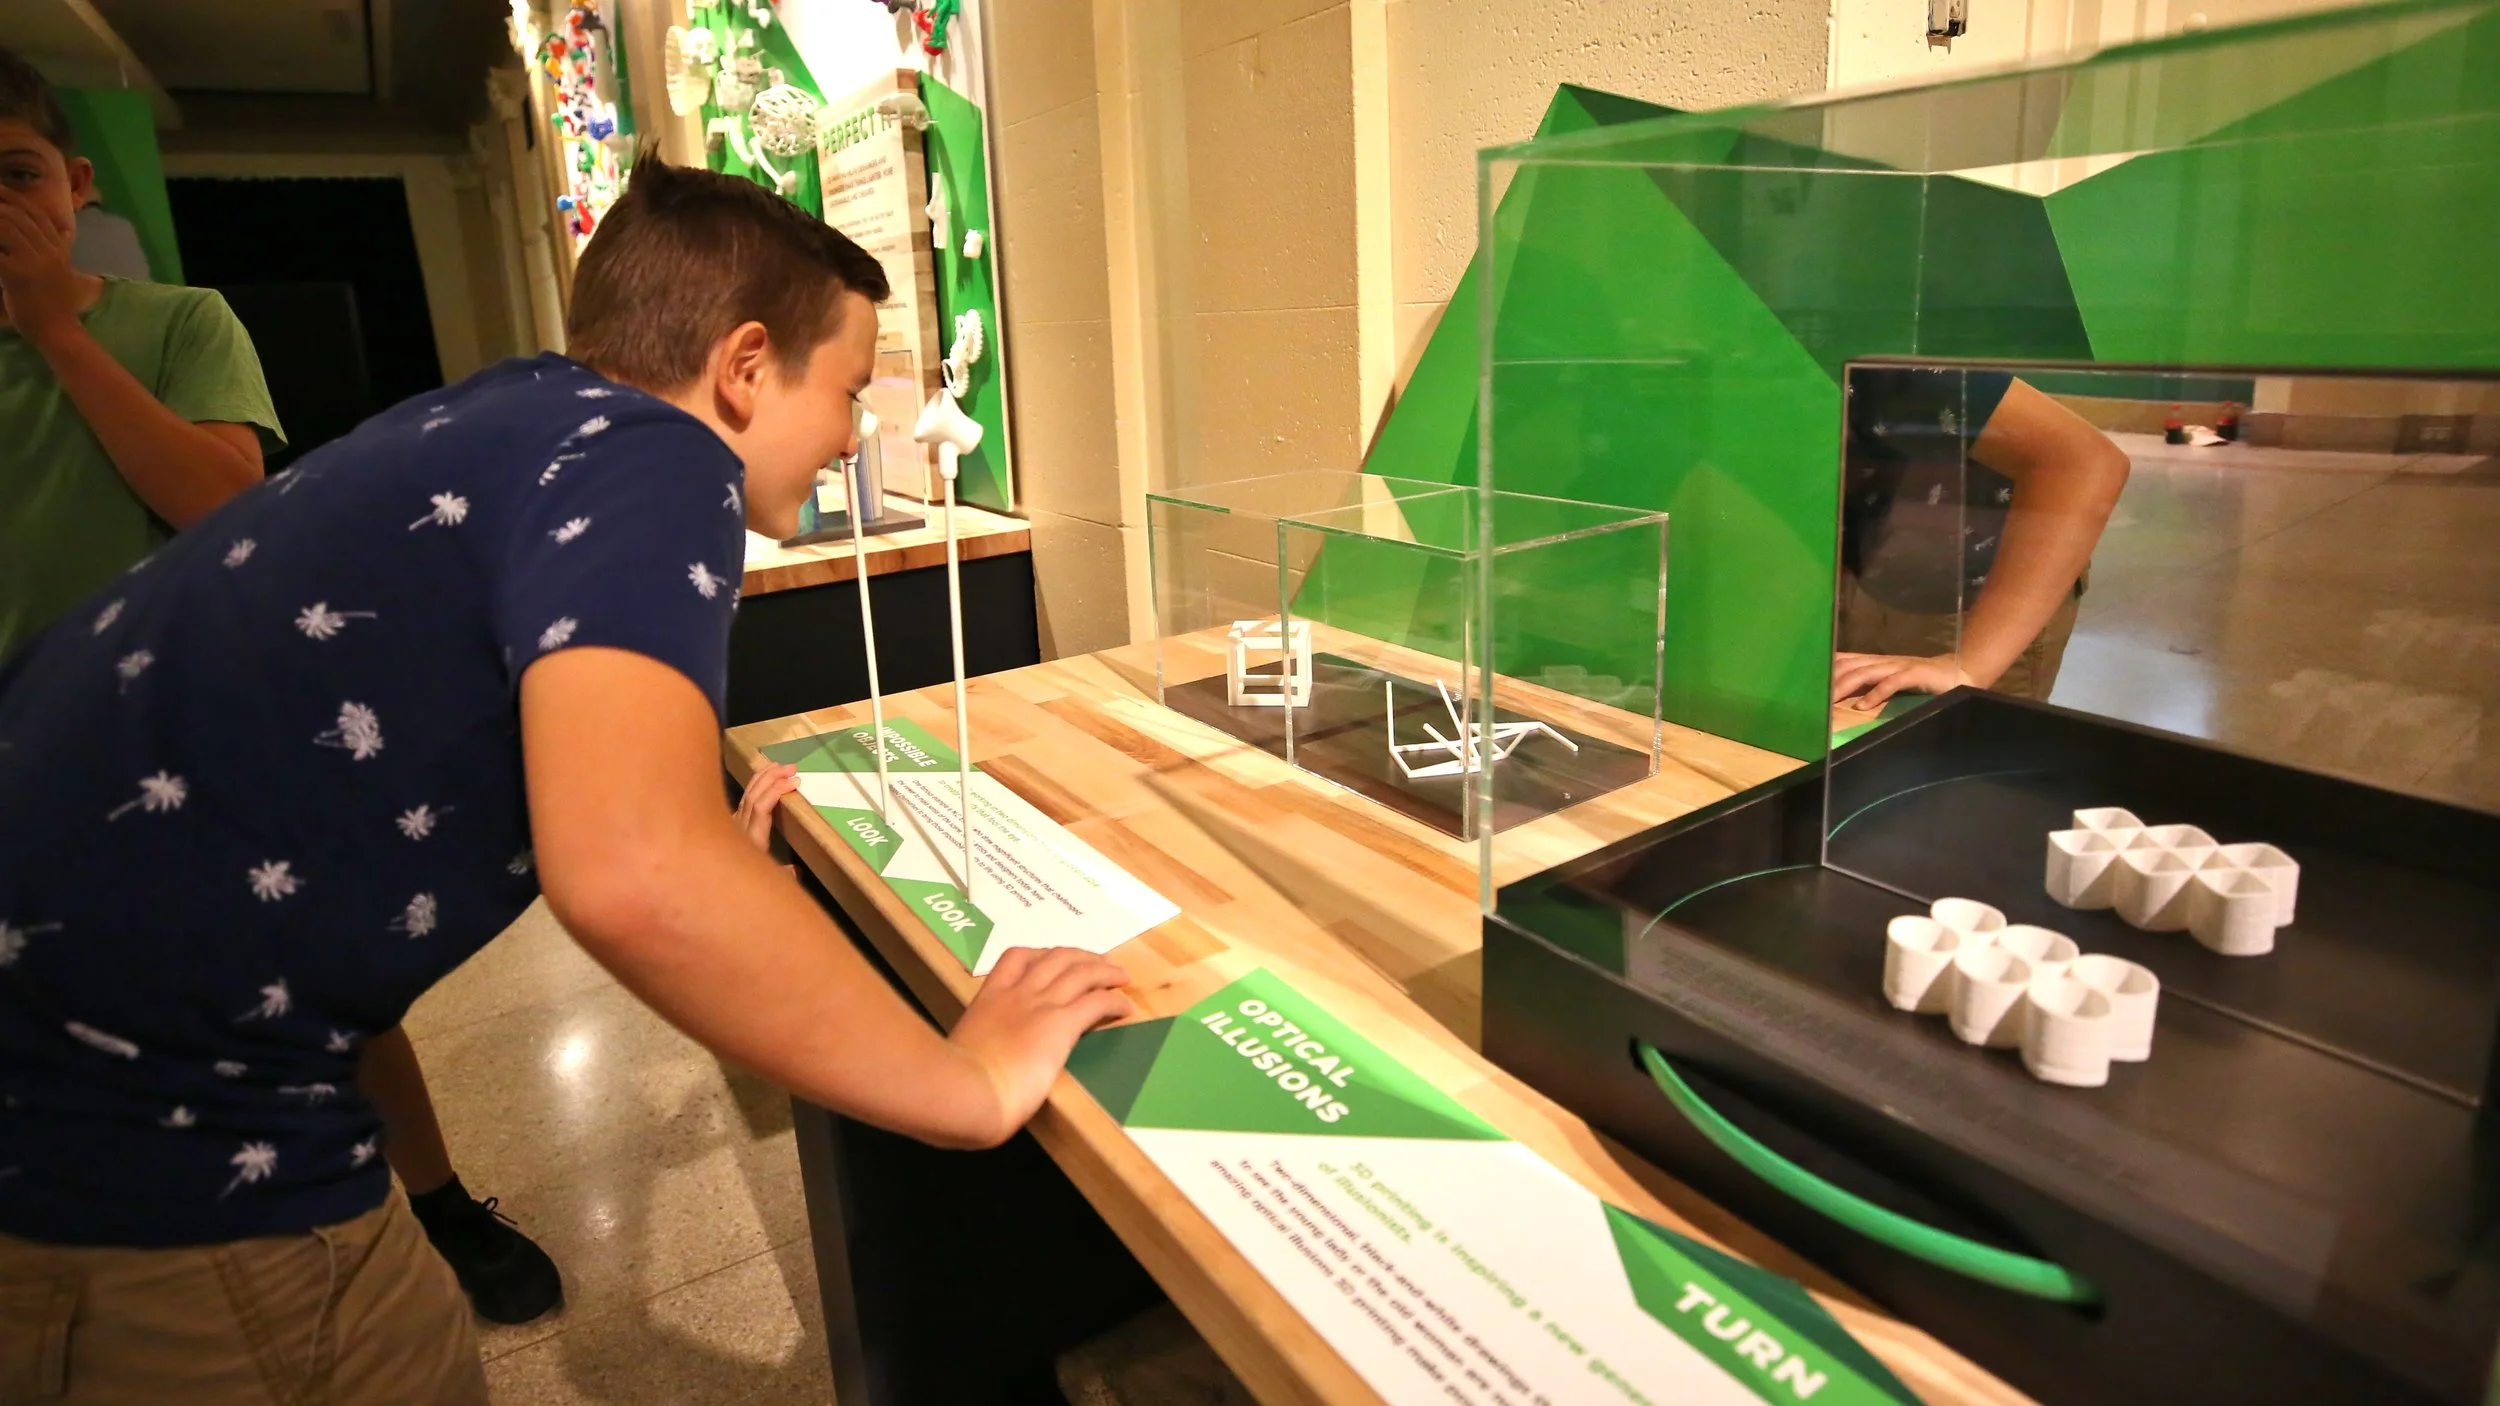
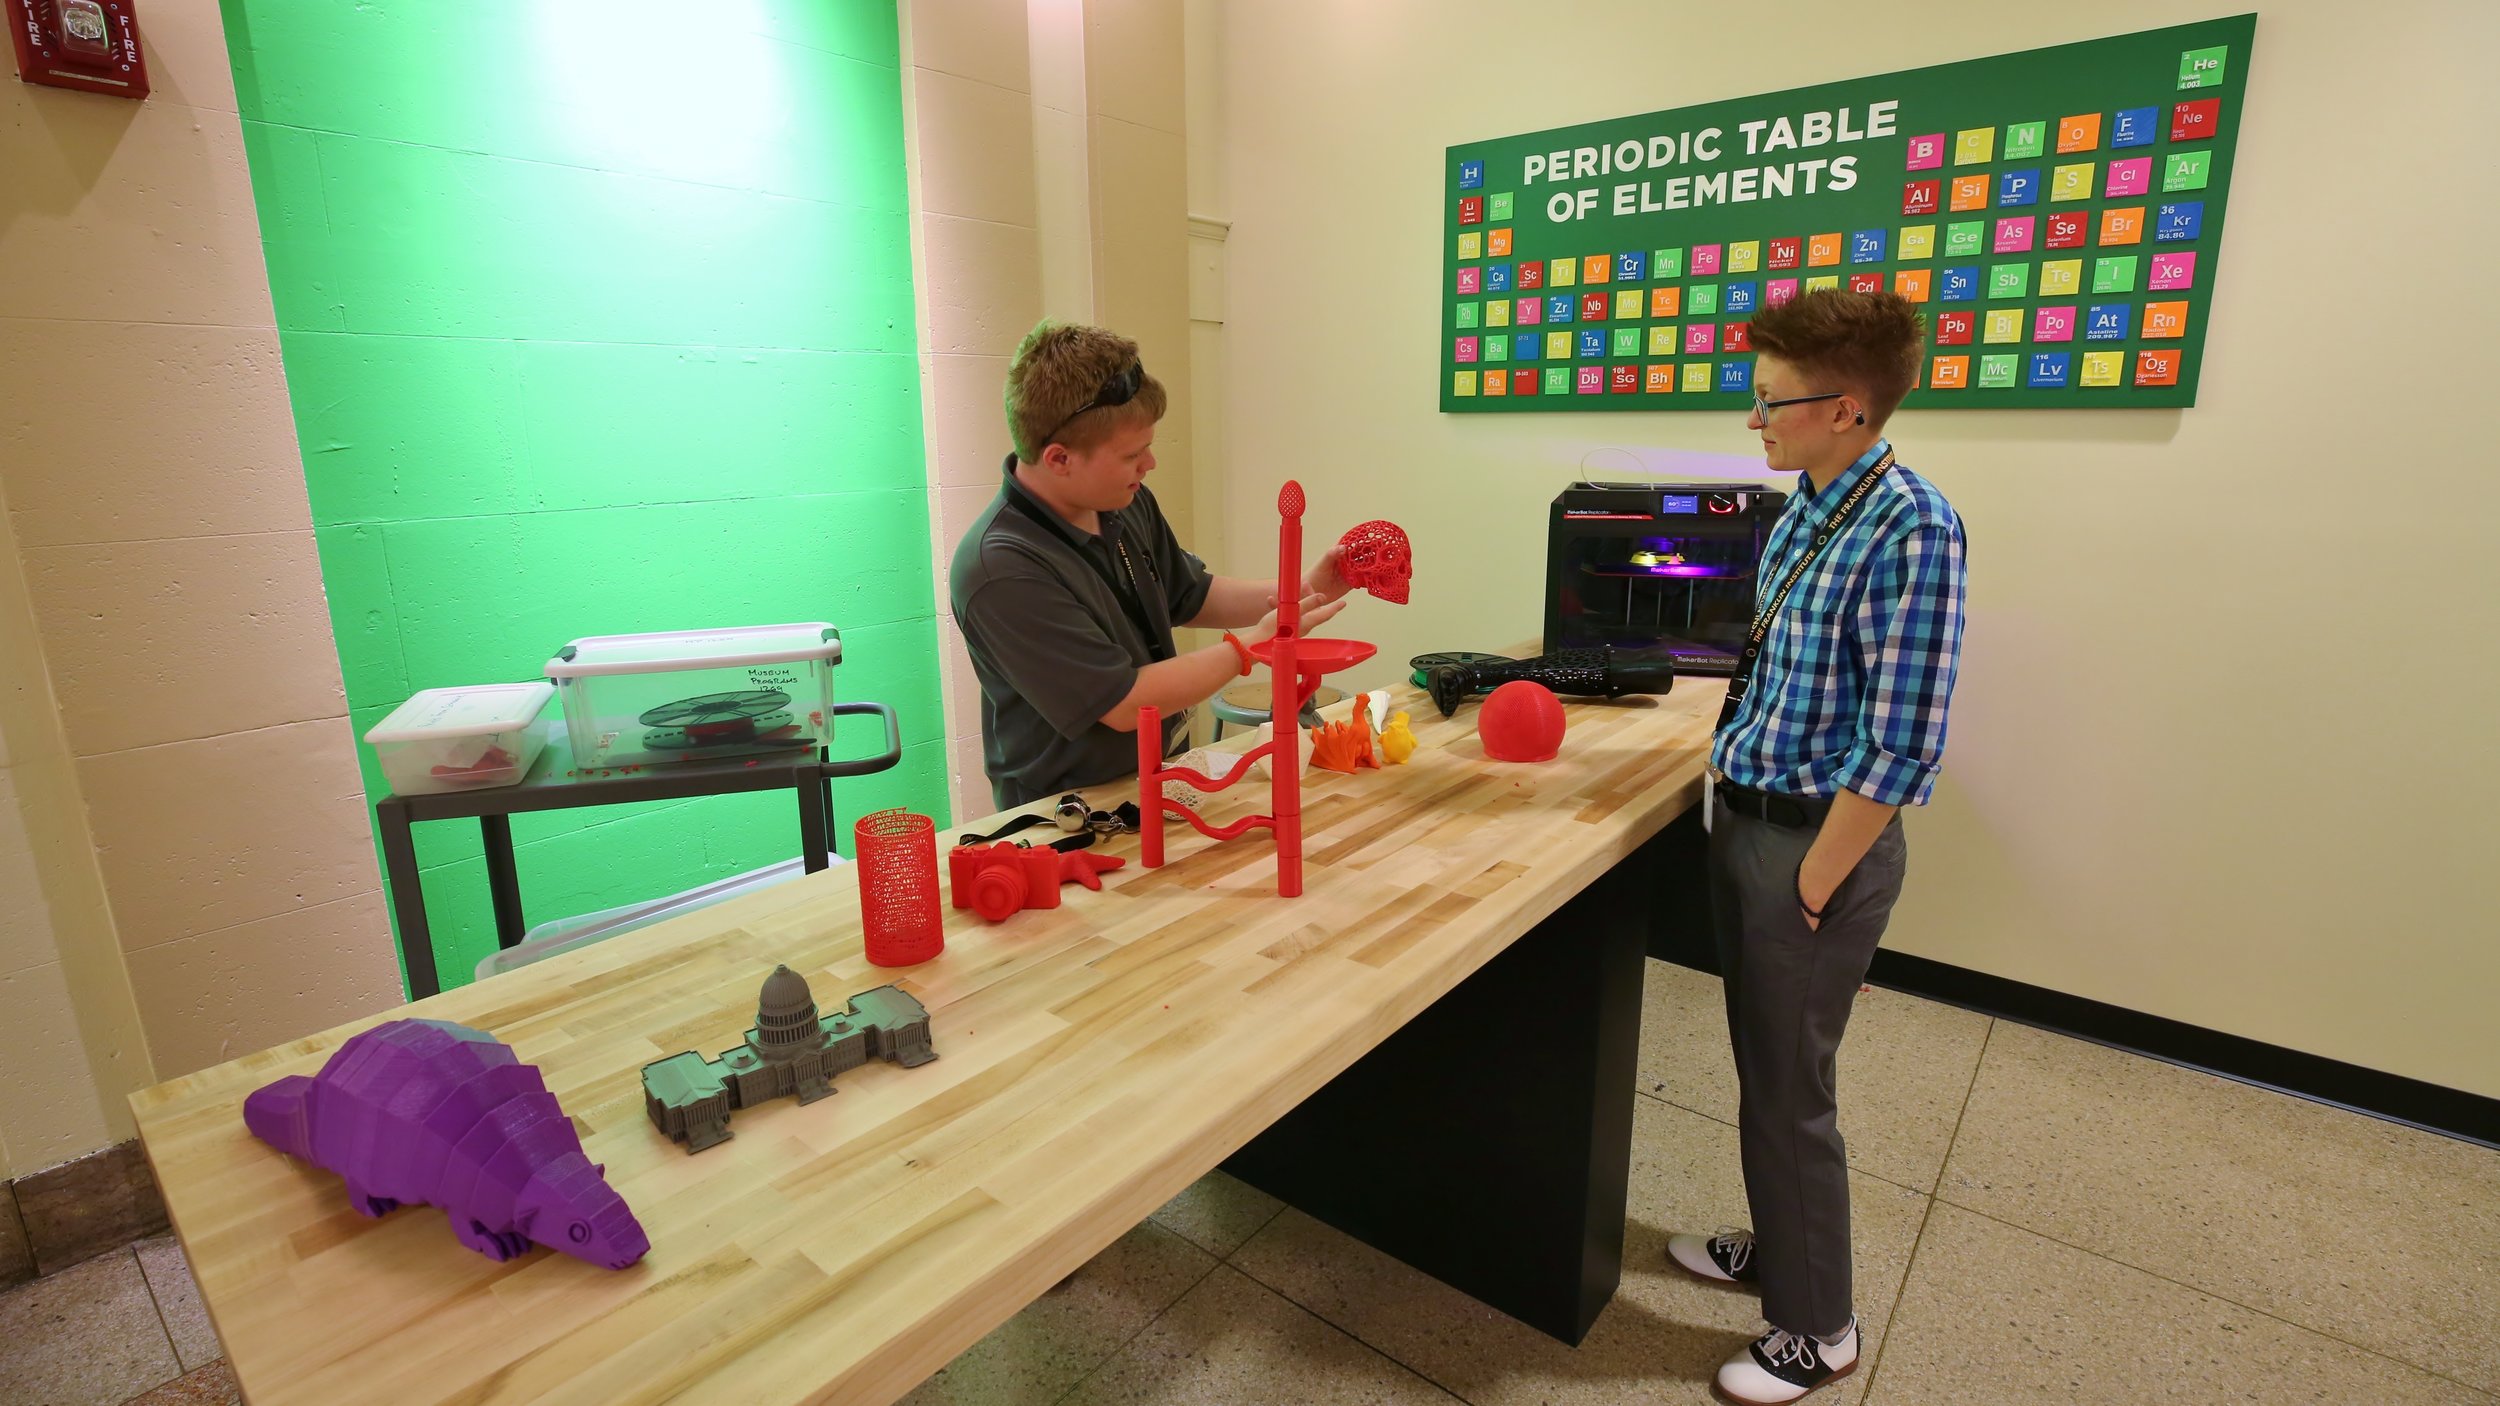
This exhibit was originally developed by the Science Museum of London, and the content was licensed by The Franklin Institute for installation in Philadelphia. The exhibit is about the possible applications of 3D printing, featuring 25+ printed artifacts and stories spanning art, design, industrial, and medical applications of 3D printing. I was a core member of a small team responsible for environmental design, CMF, floorpan, additional educational content development, fabrication and installation. I was responsible for the addition of over a dozen artifacts, and I designed and fabricated an additional section of the exhibit about illusions and animation. I also conceptualized, designed and fabricated an interactive that lets visitors control a model of a 3D printer, and try and use it to draw one 2D slice of a 3D print.
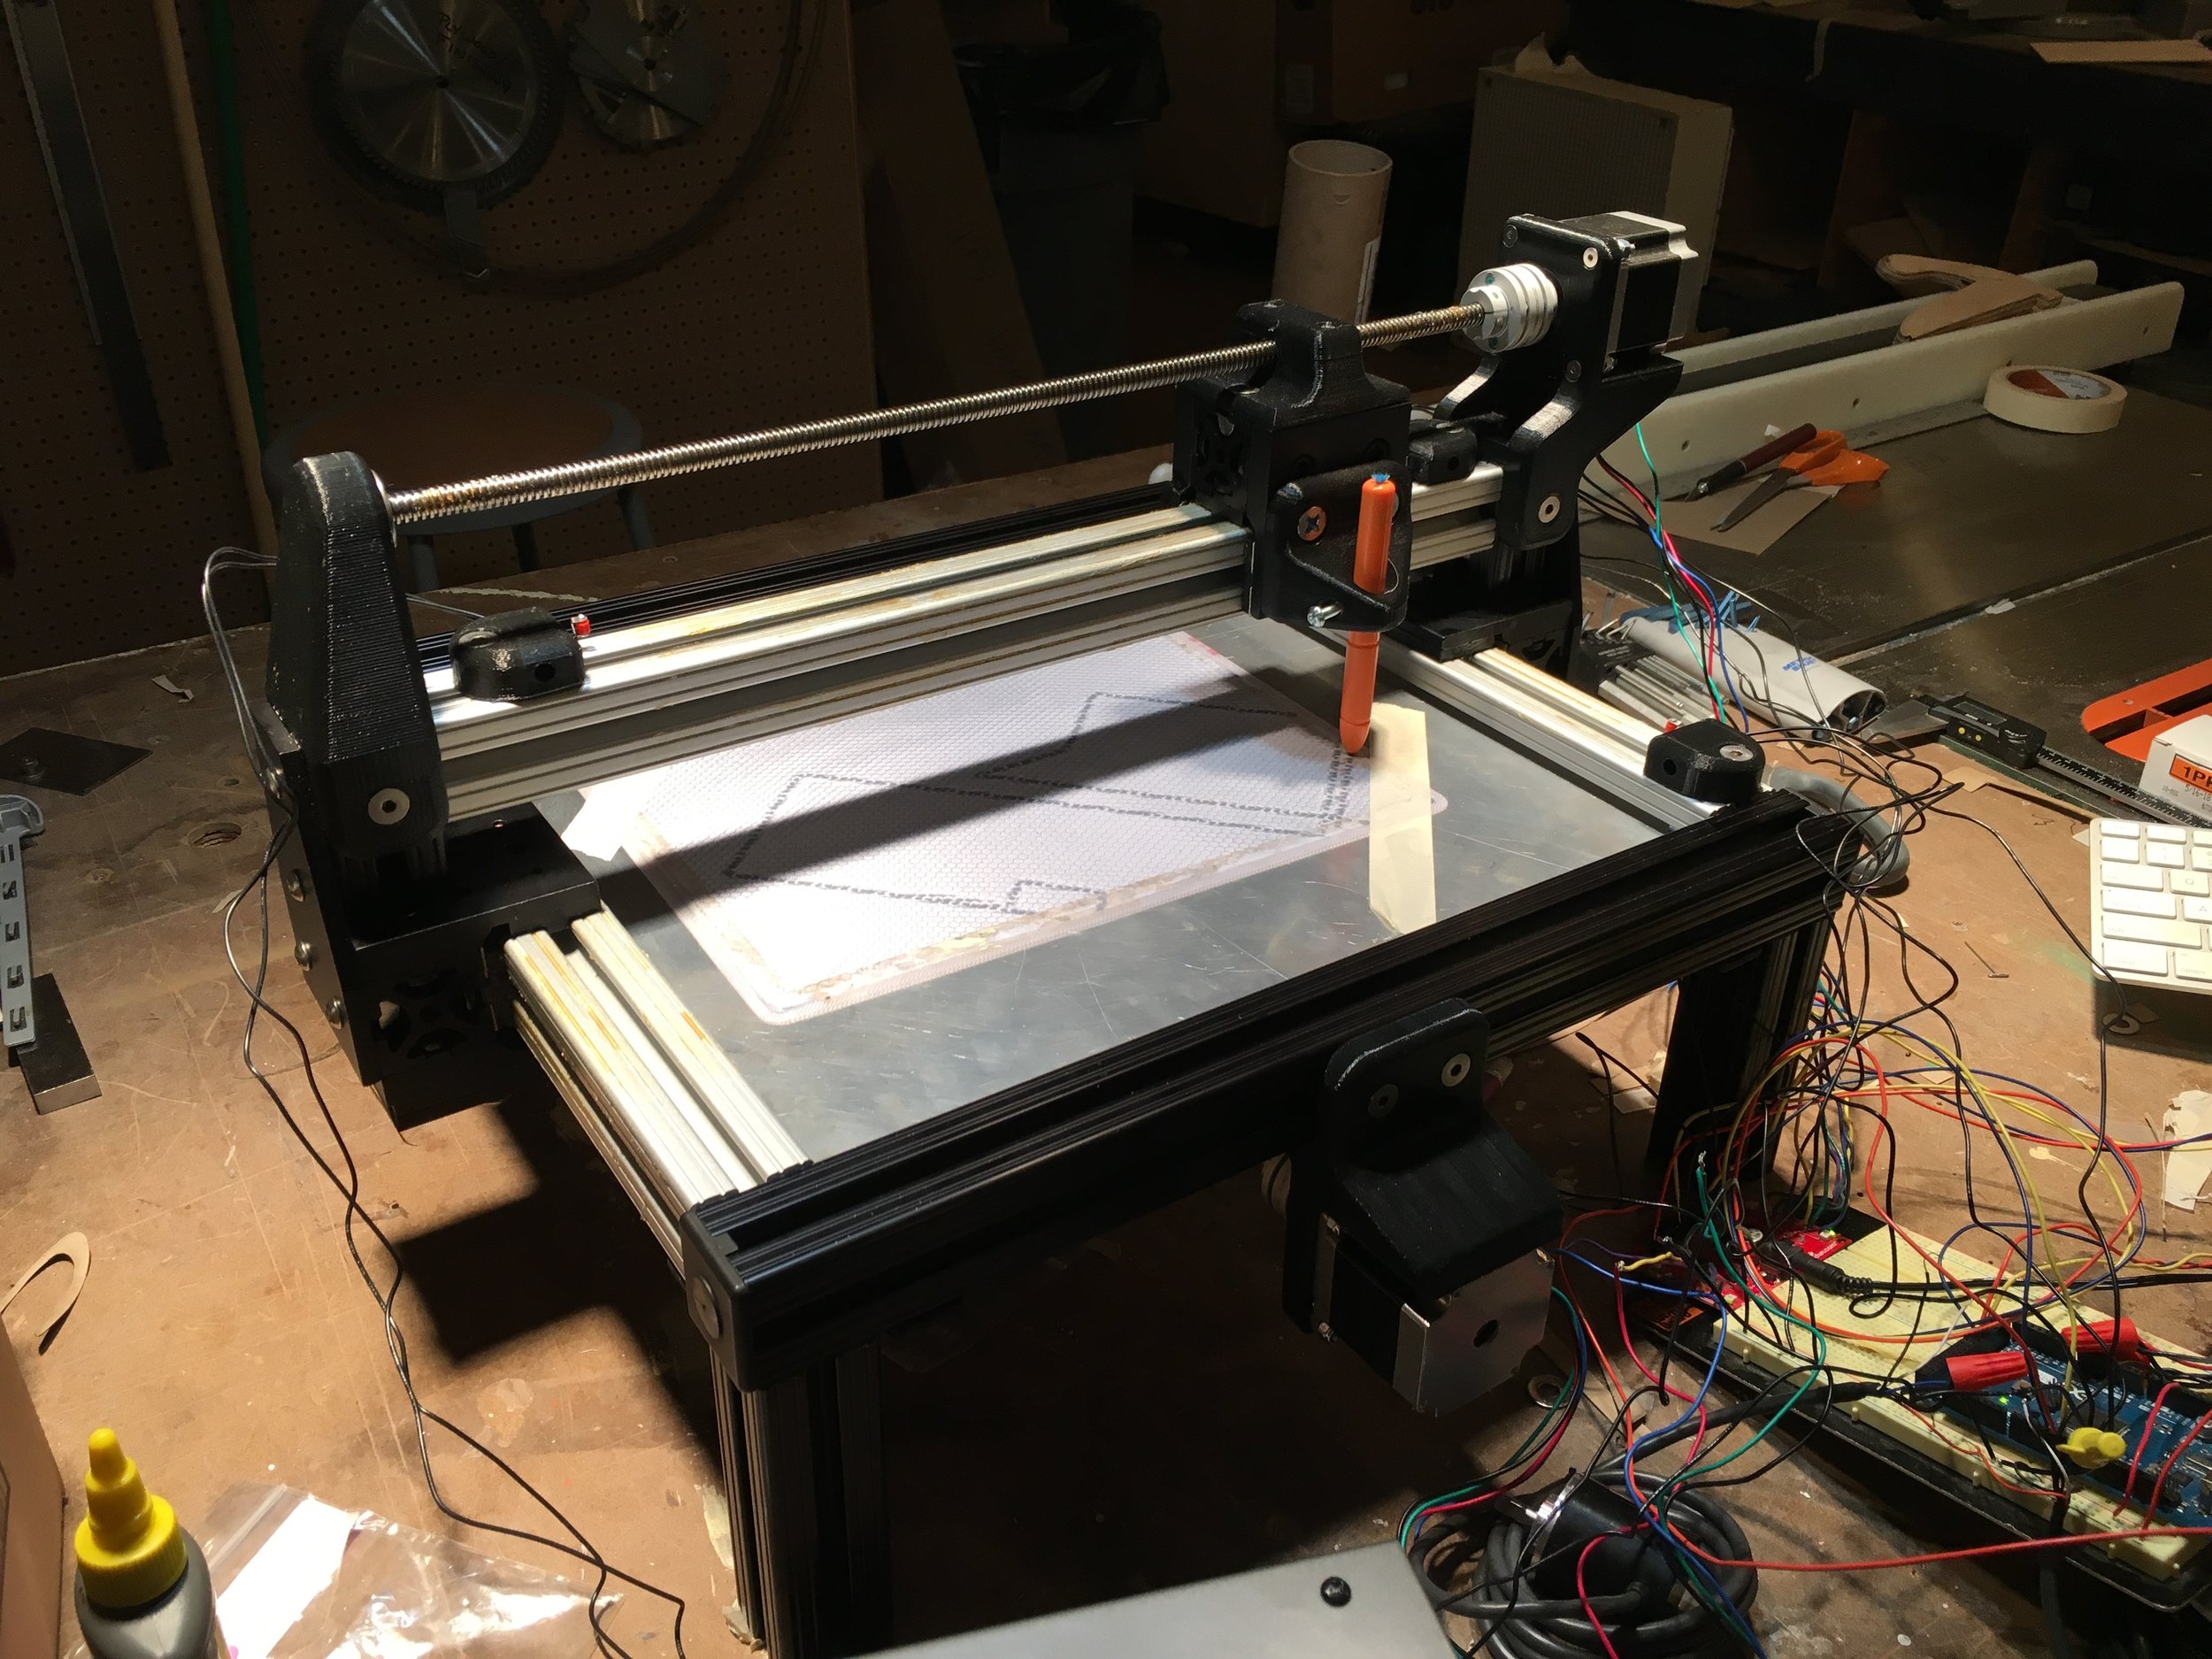
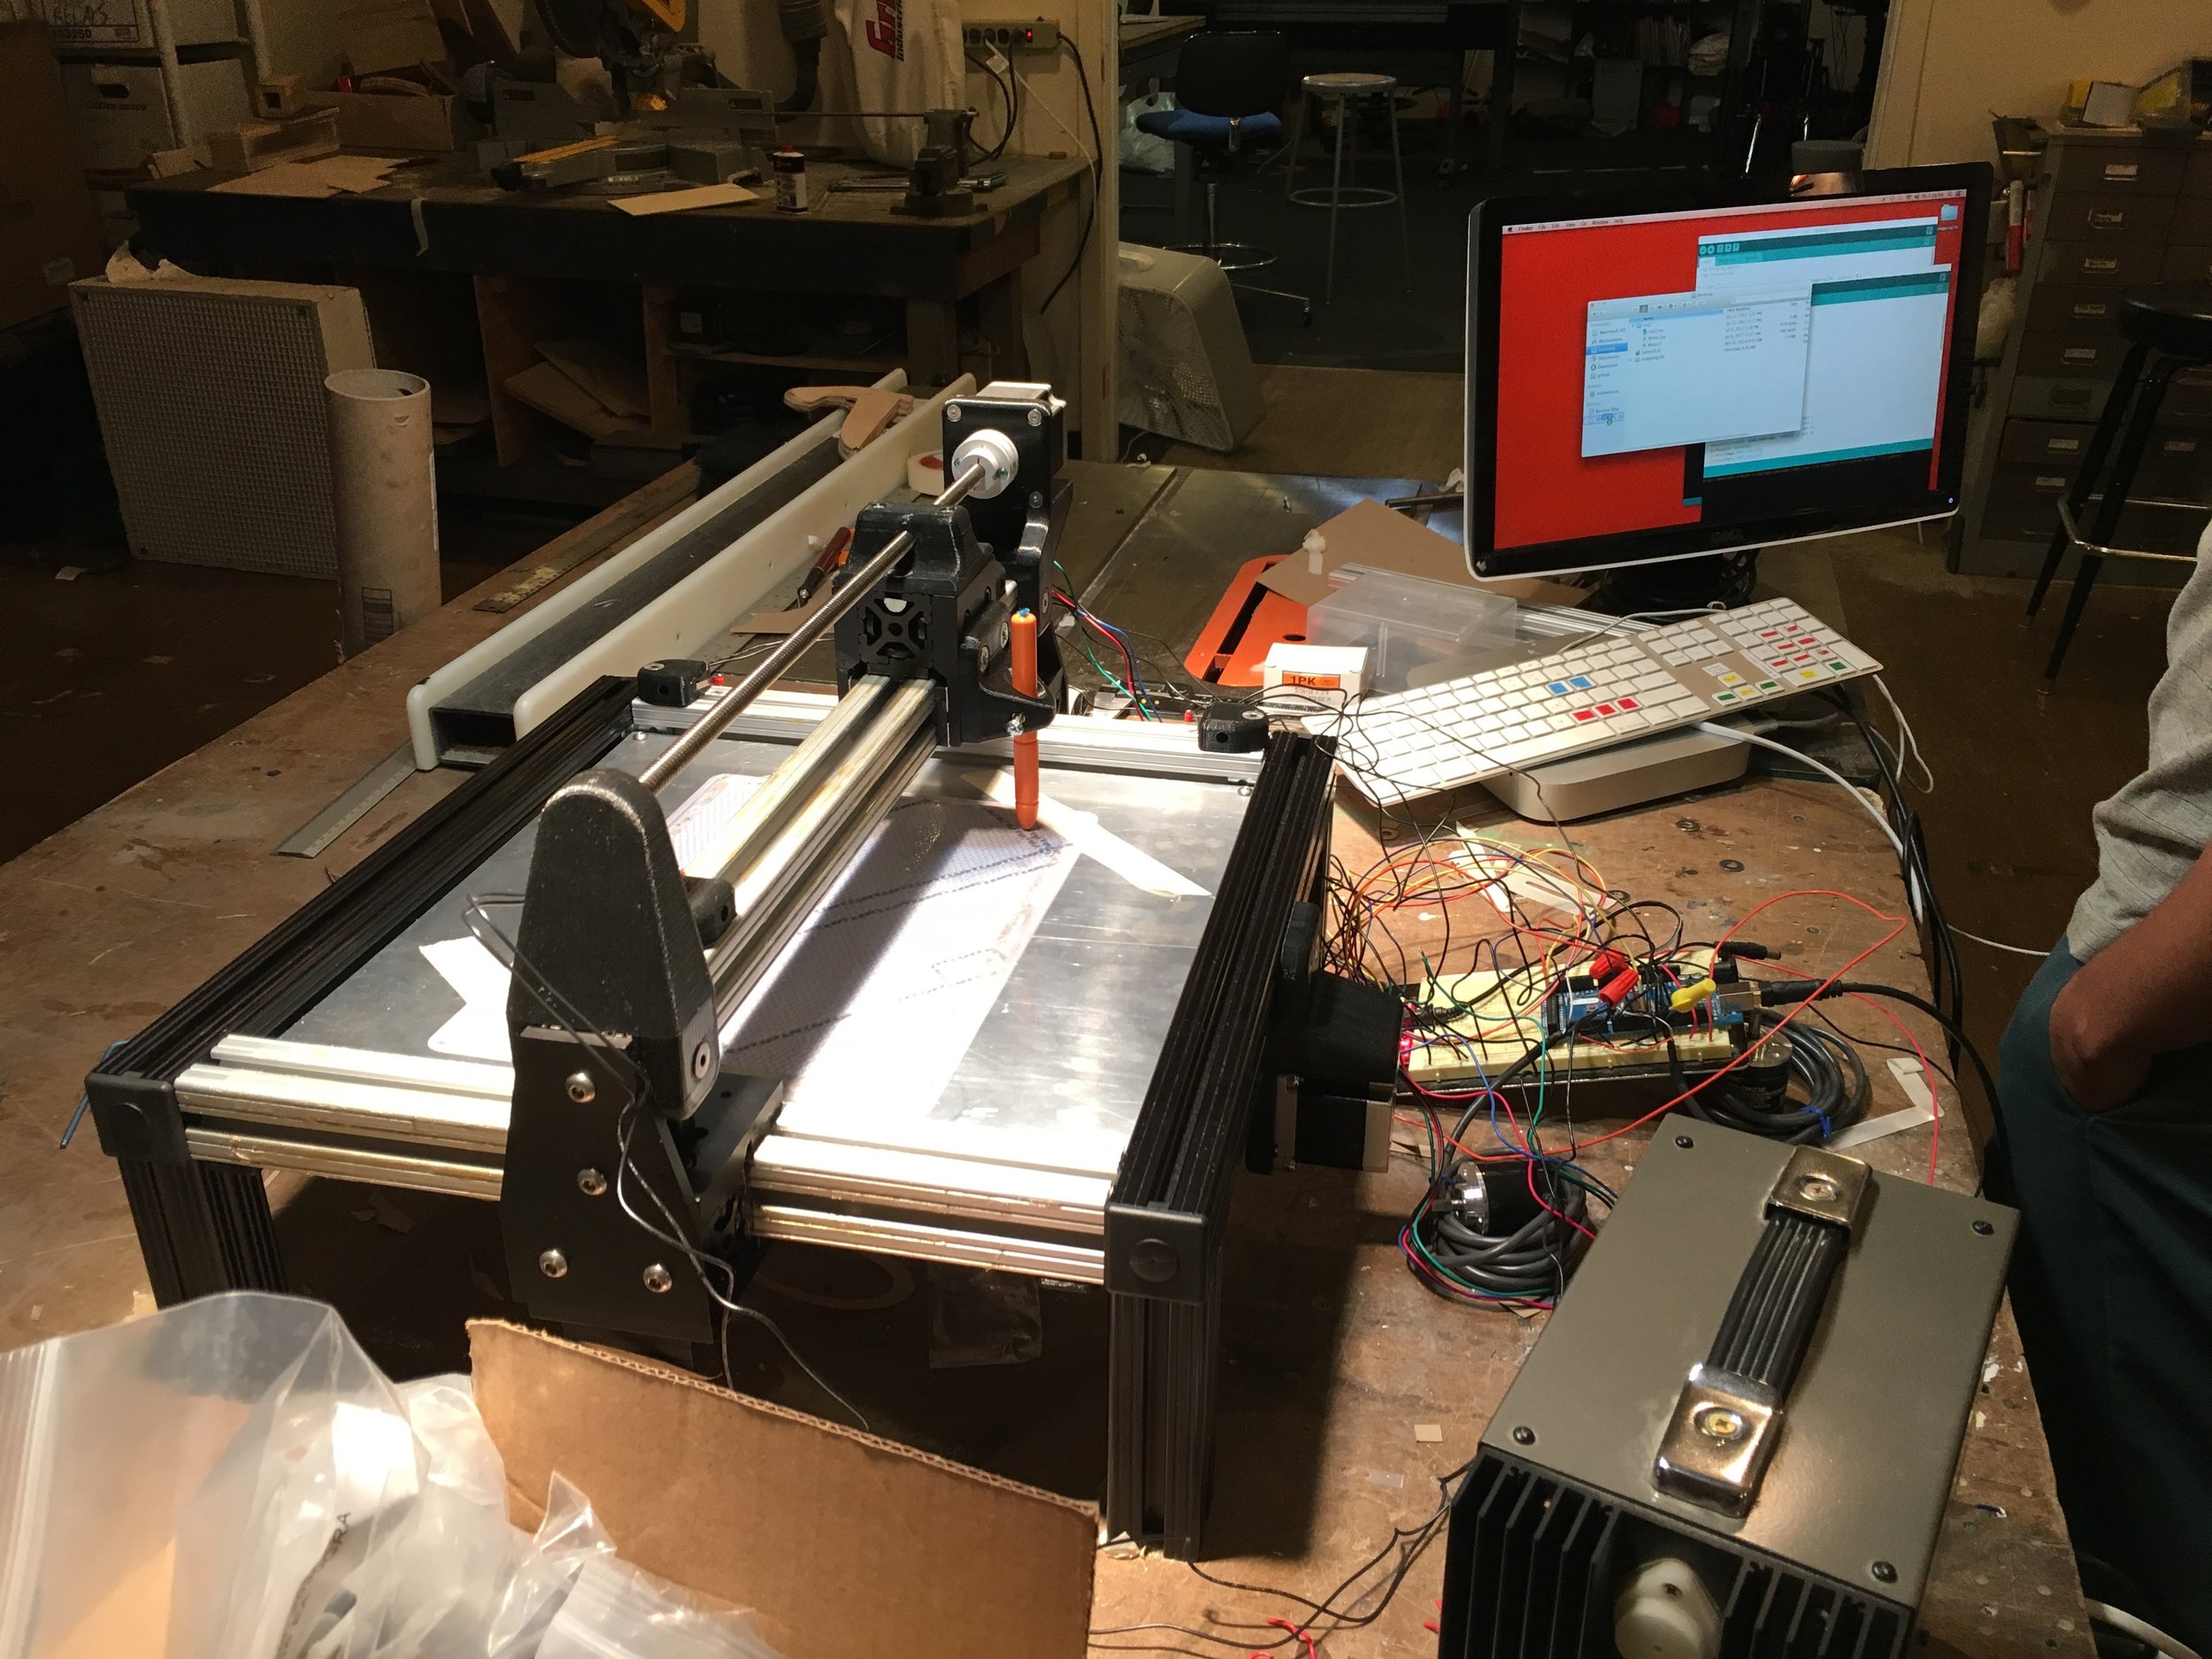
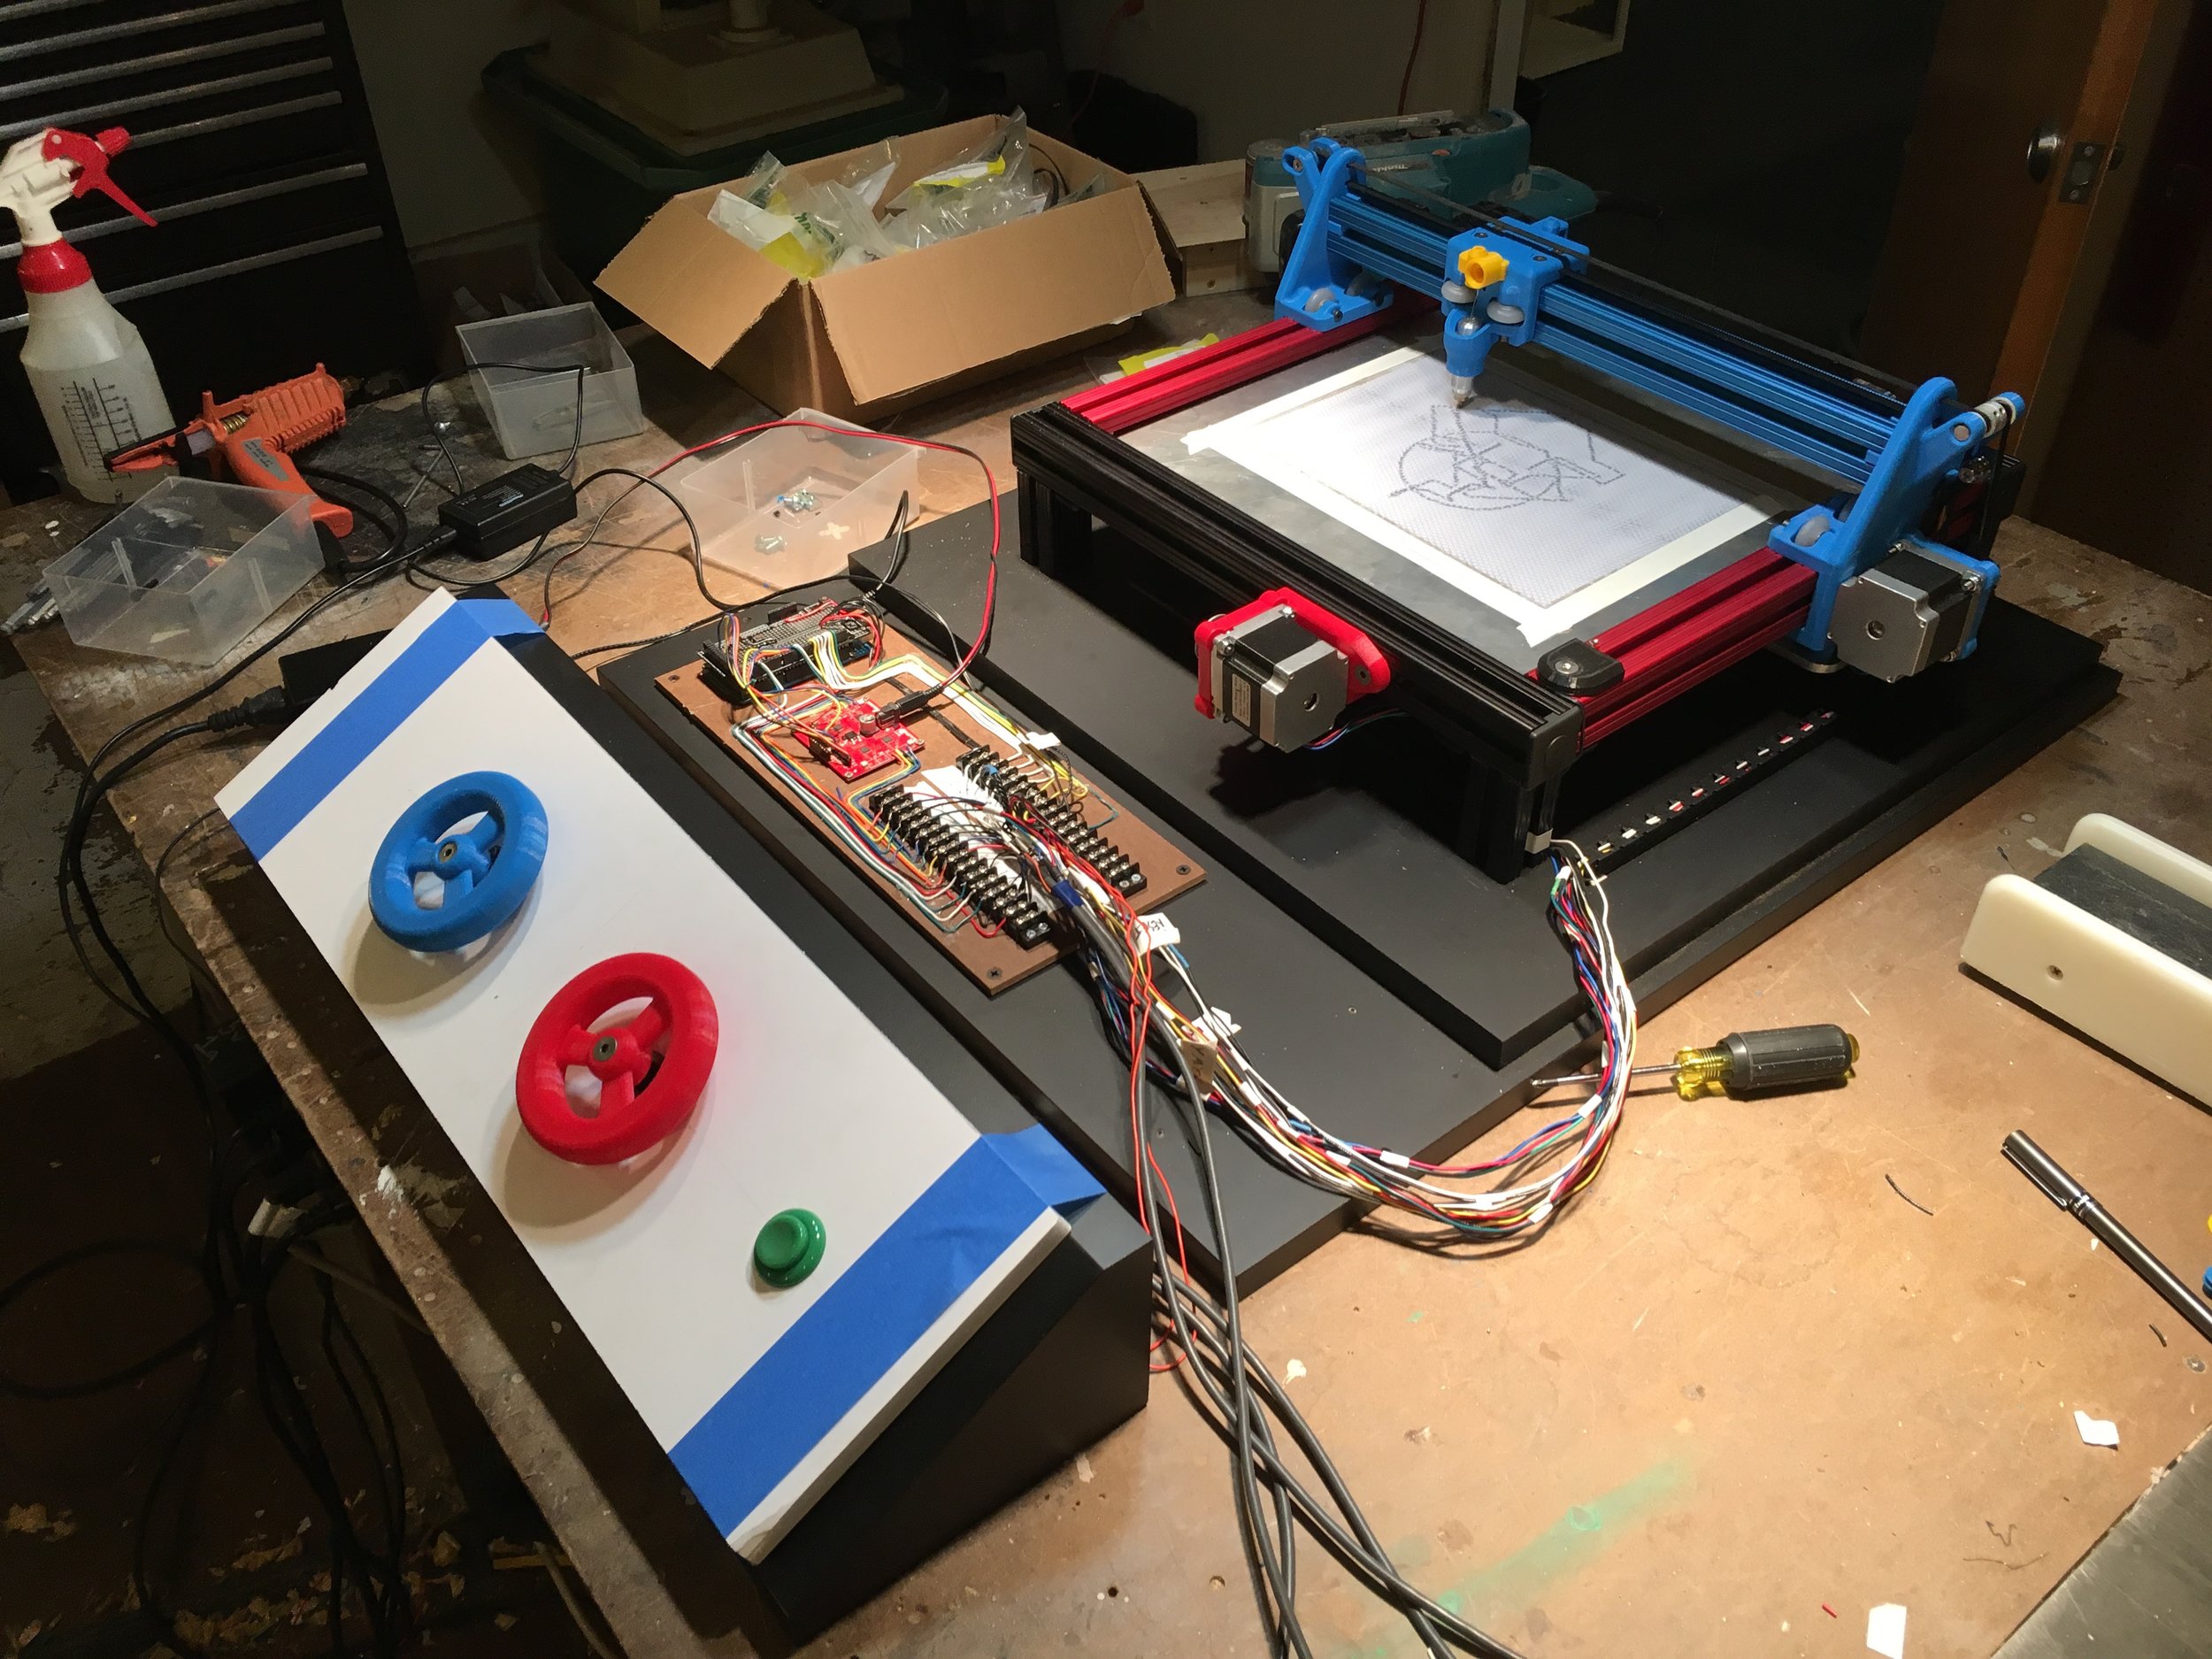
Interactive '3D printer' CNC machine
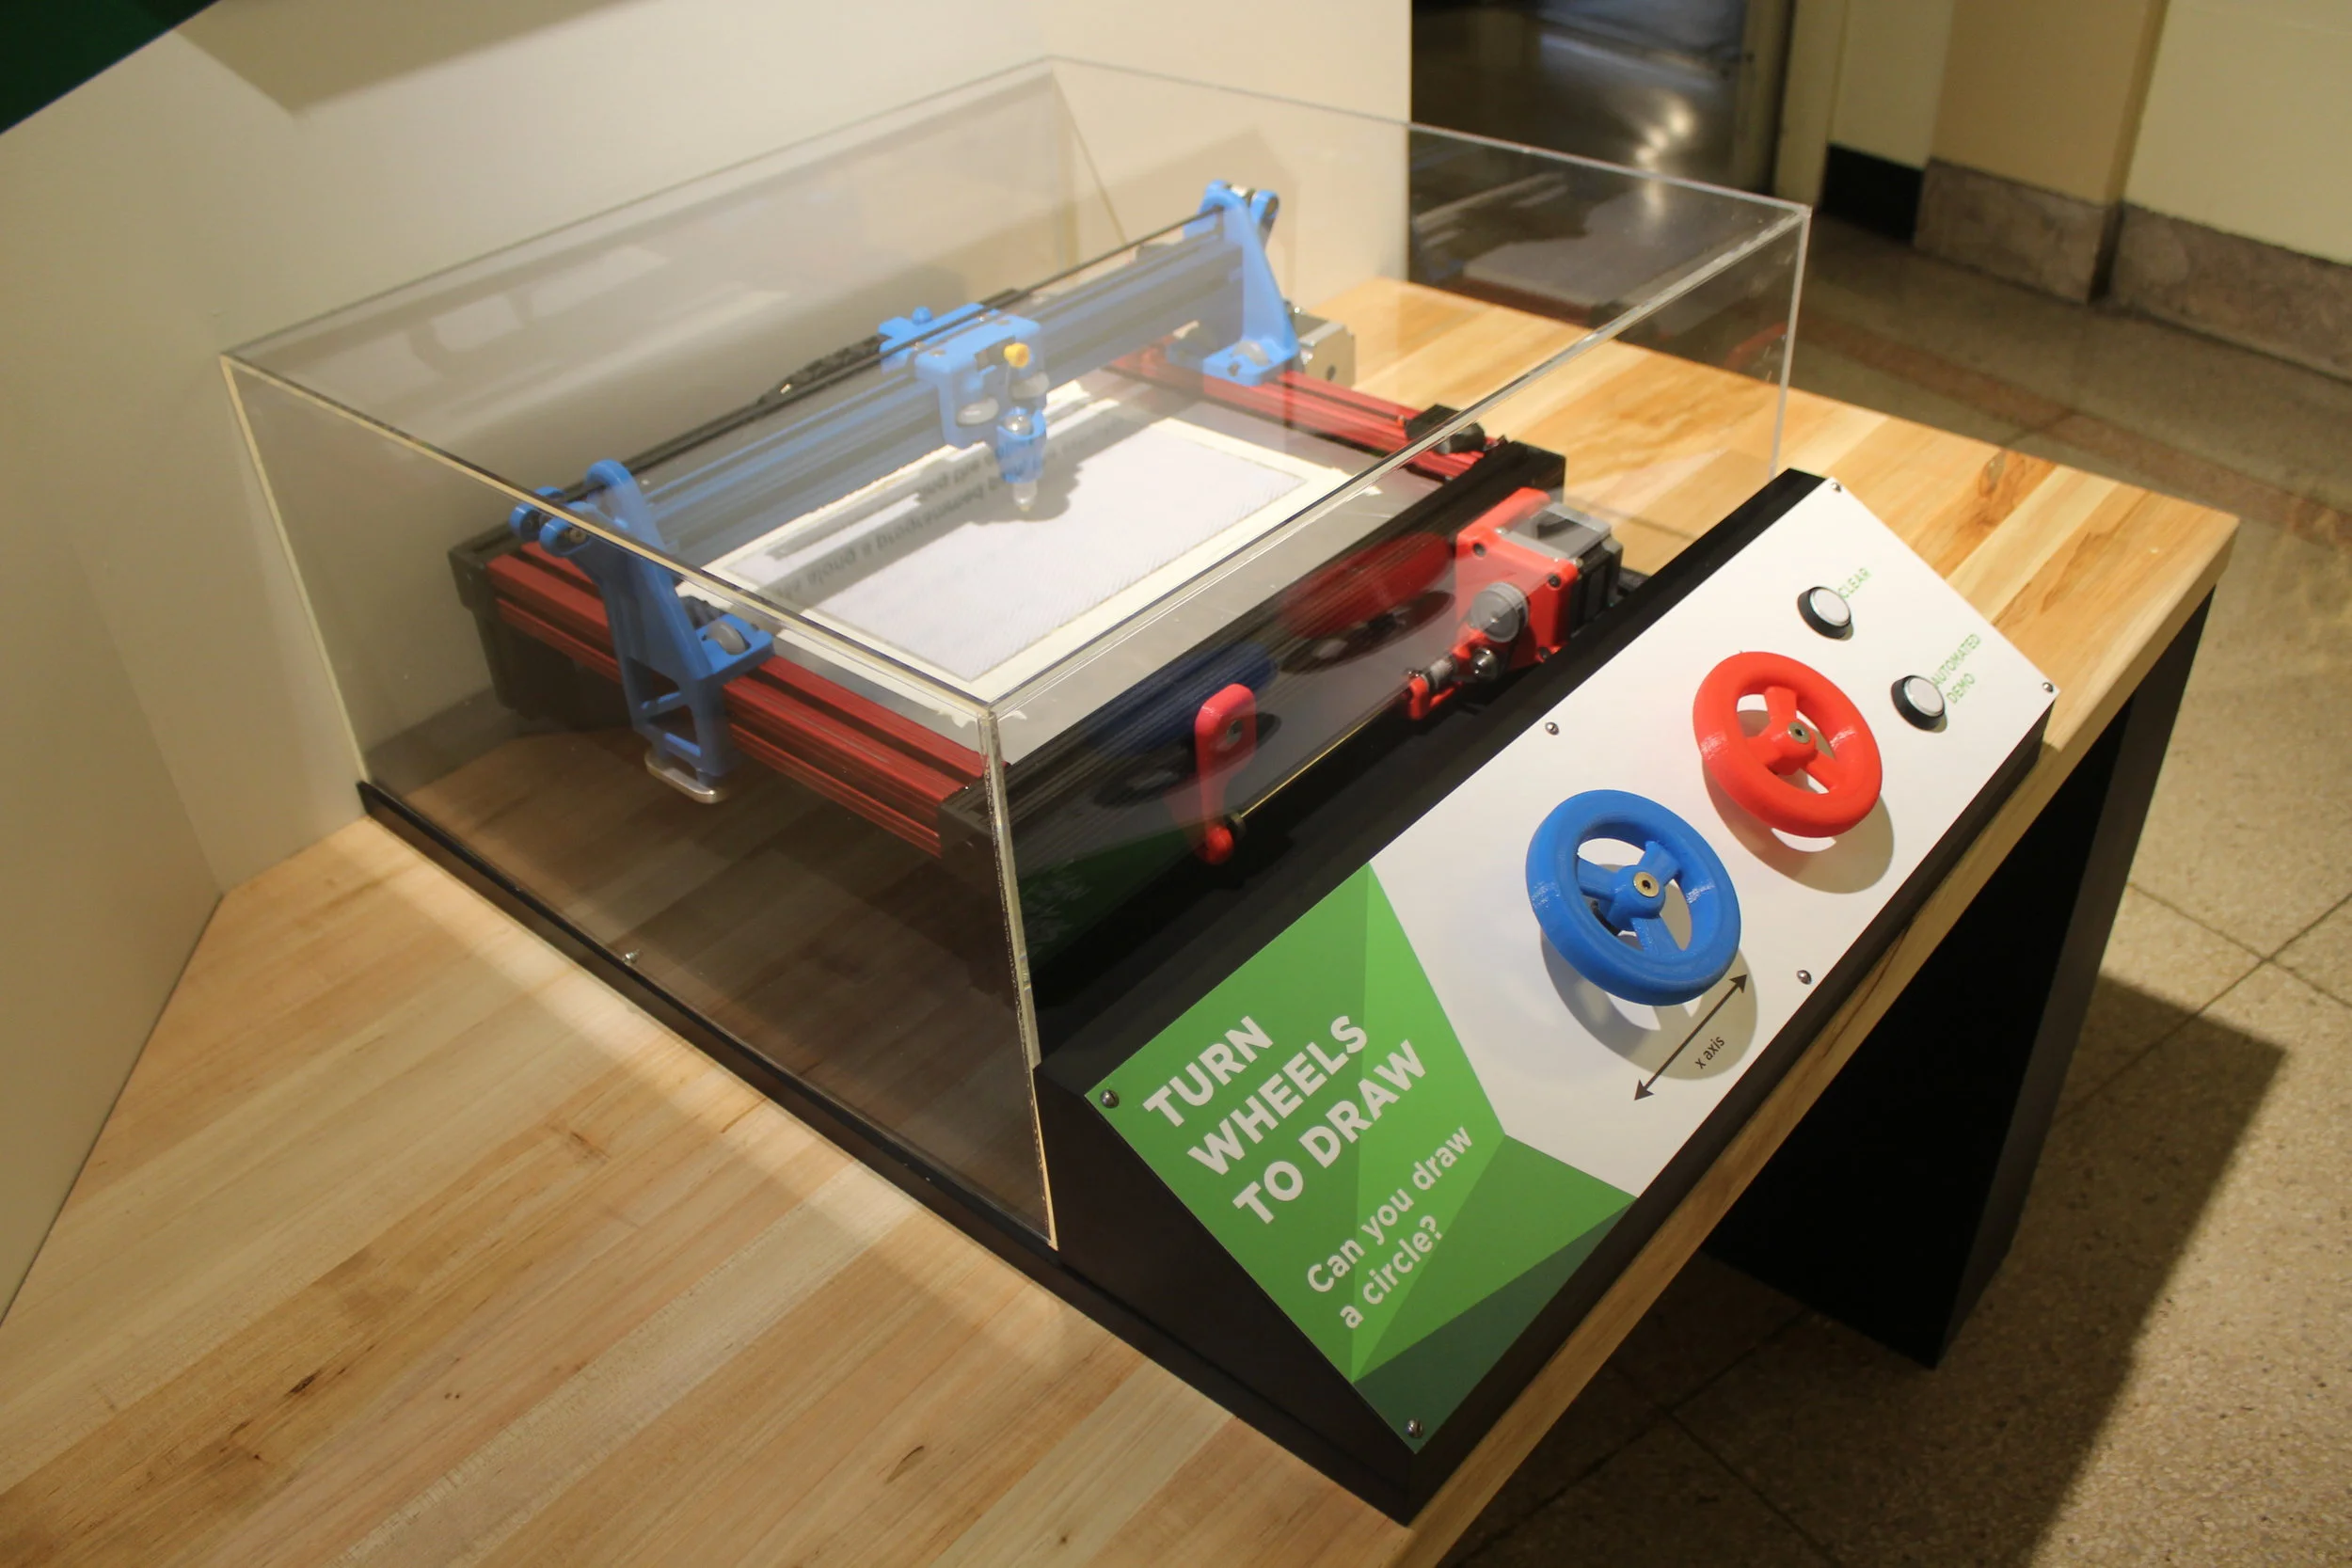
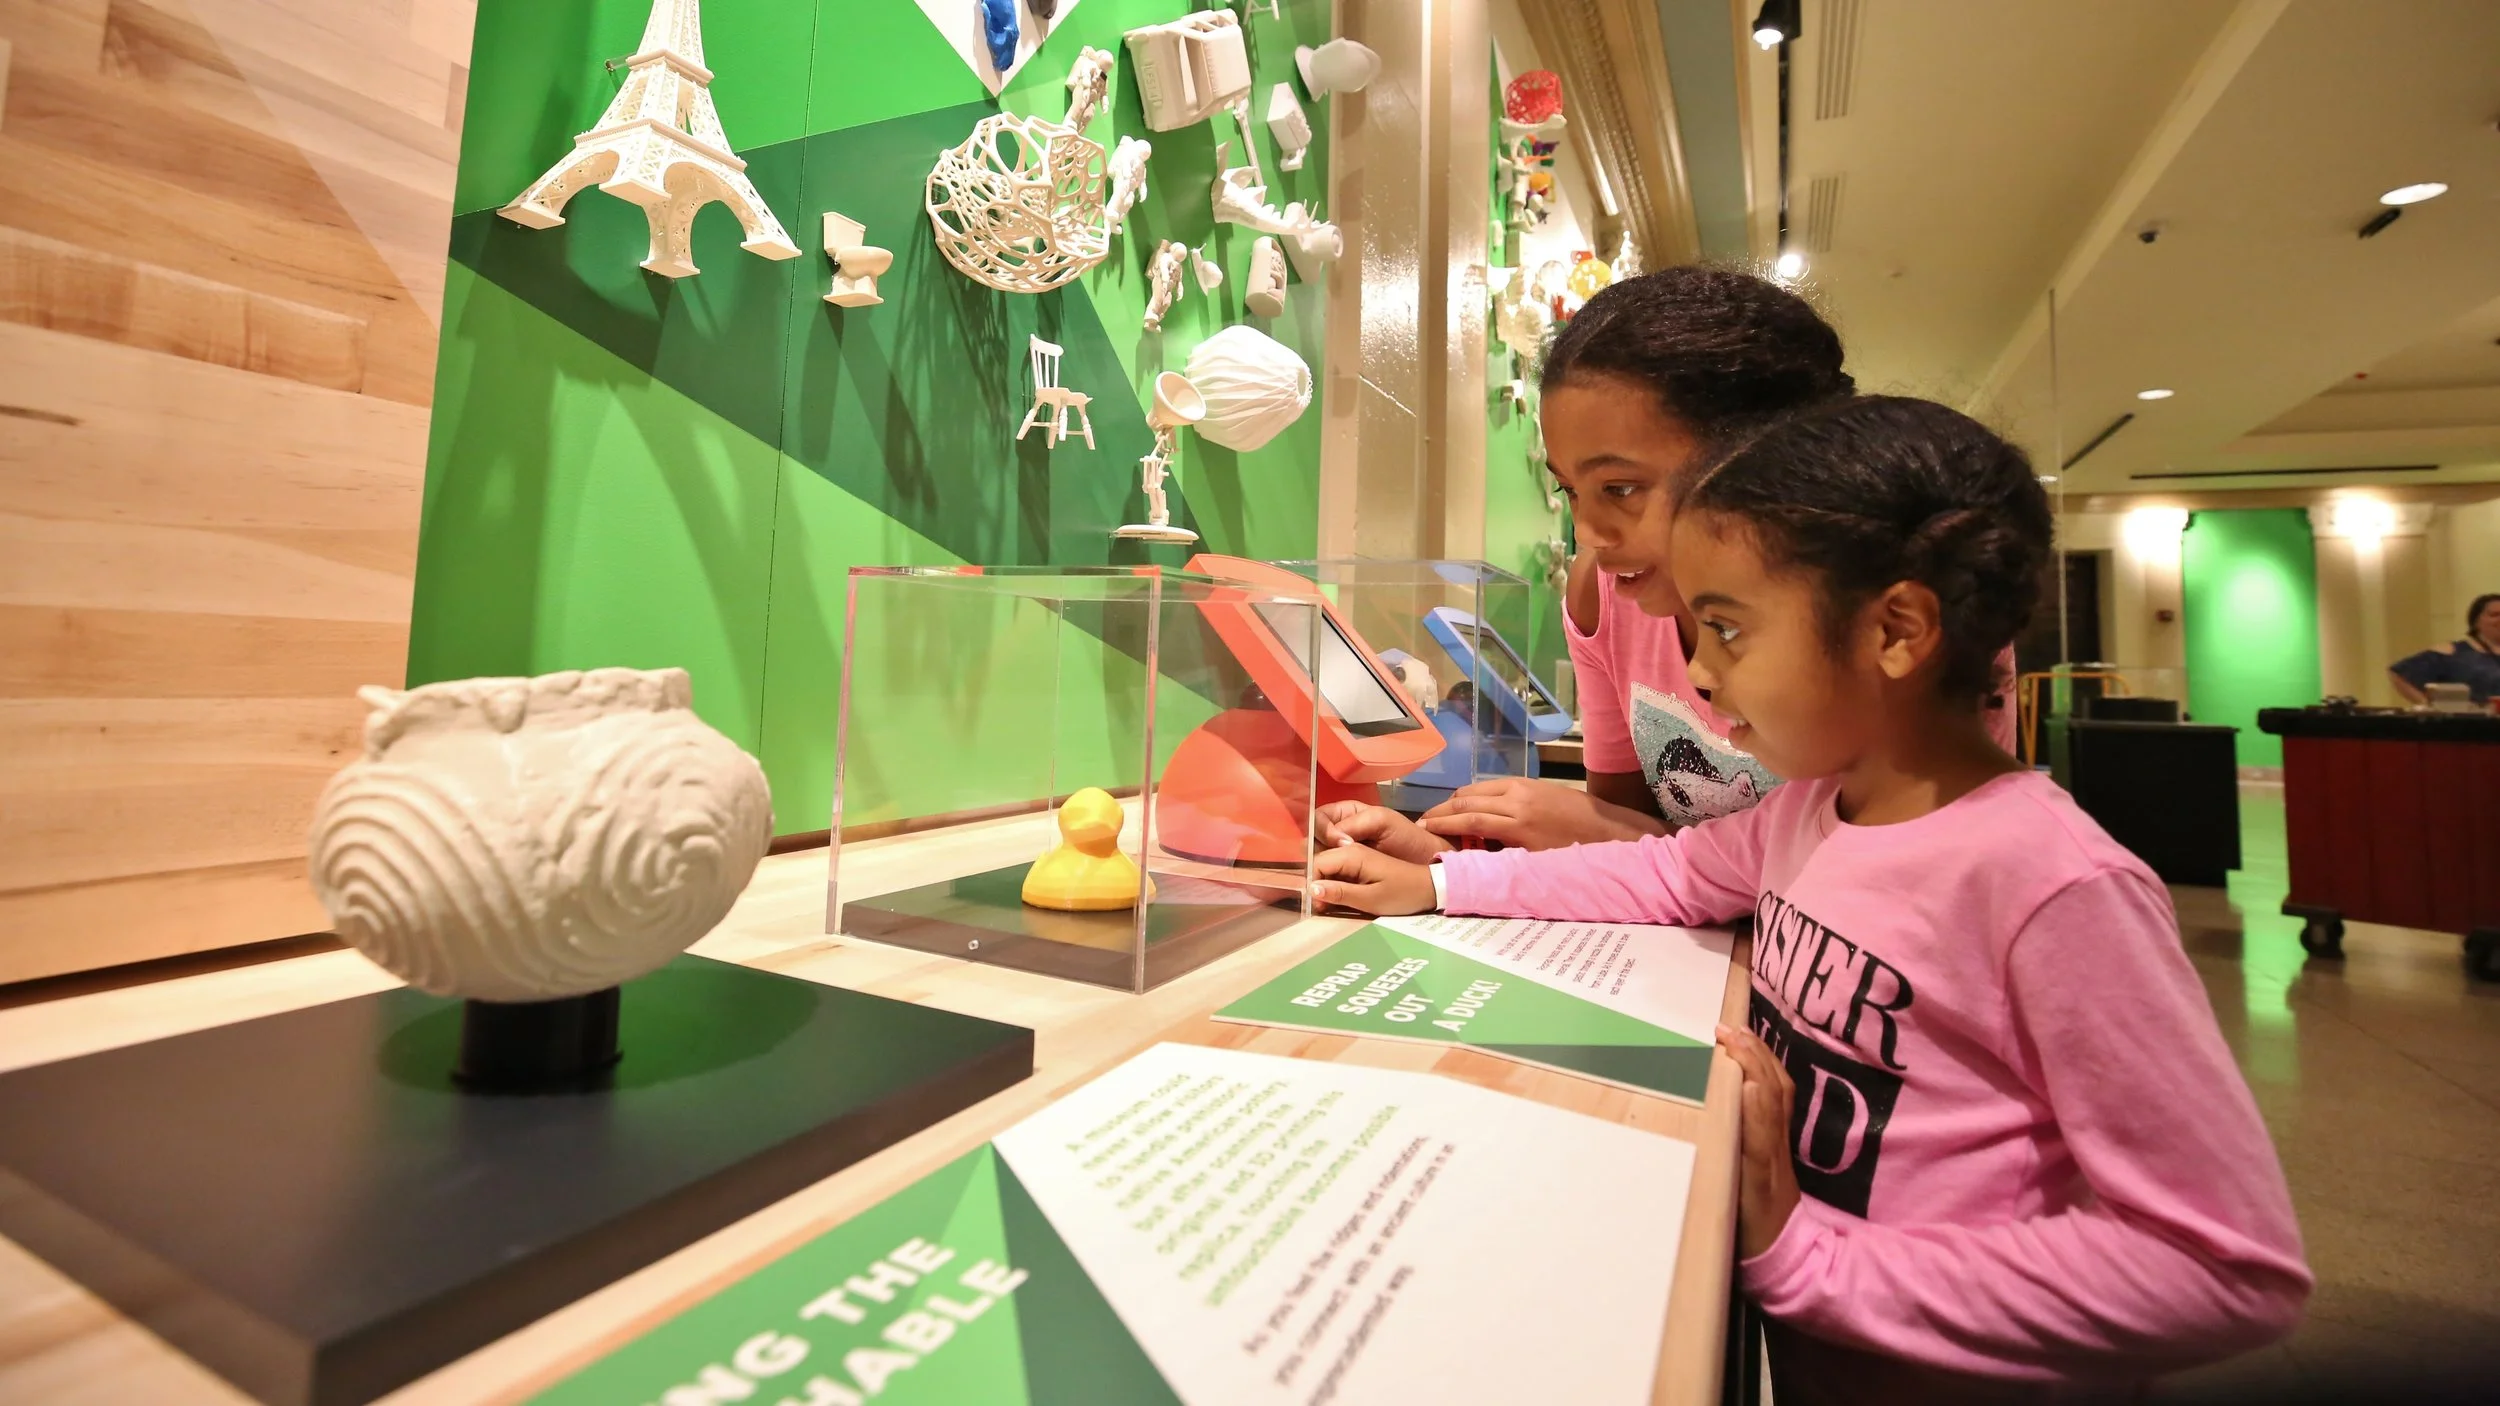
This interactive lets visitors control a '3D printer'. The machine is a 3 axis gantry CNC machine I designed and engineered, which draws pictures on a gutted magnadoodle. Visitors control the X and Y axis, and are prompted to try and draw a circle, which is one 2D slice of a cylinder. Next to the interactive are examples of various cylindrical prints. The printer can also draw a perfect circle by pressing the automated demo button. Visitors can compare their manual attempt to the printer reading and outputting g code.
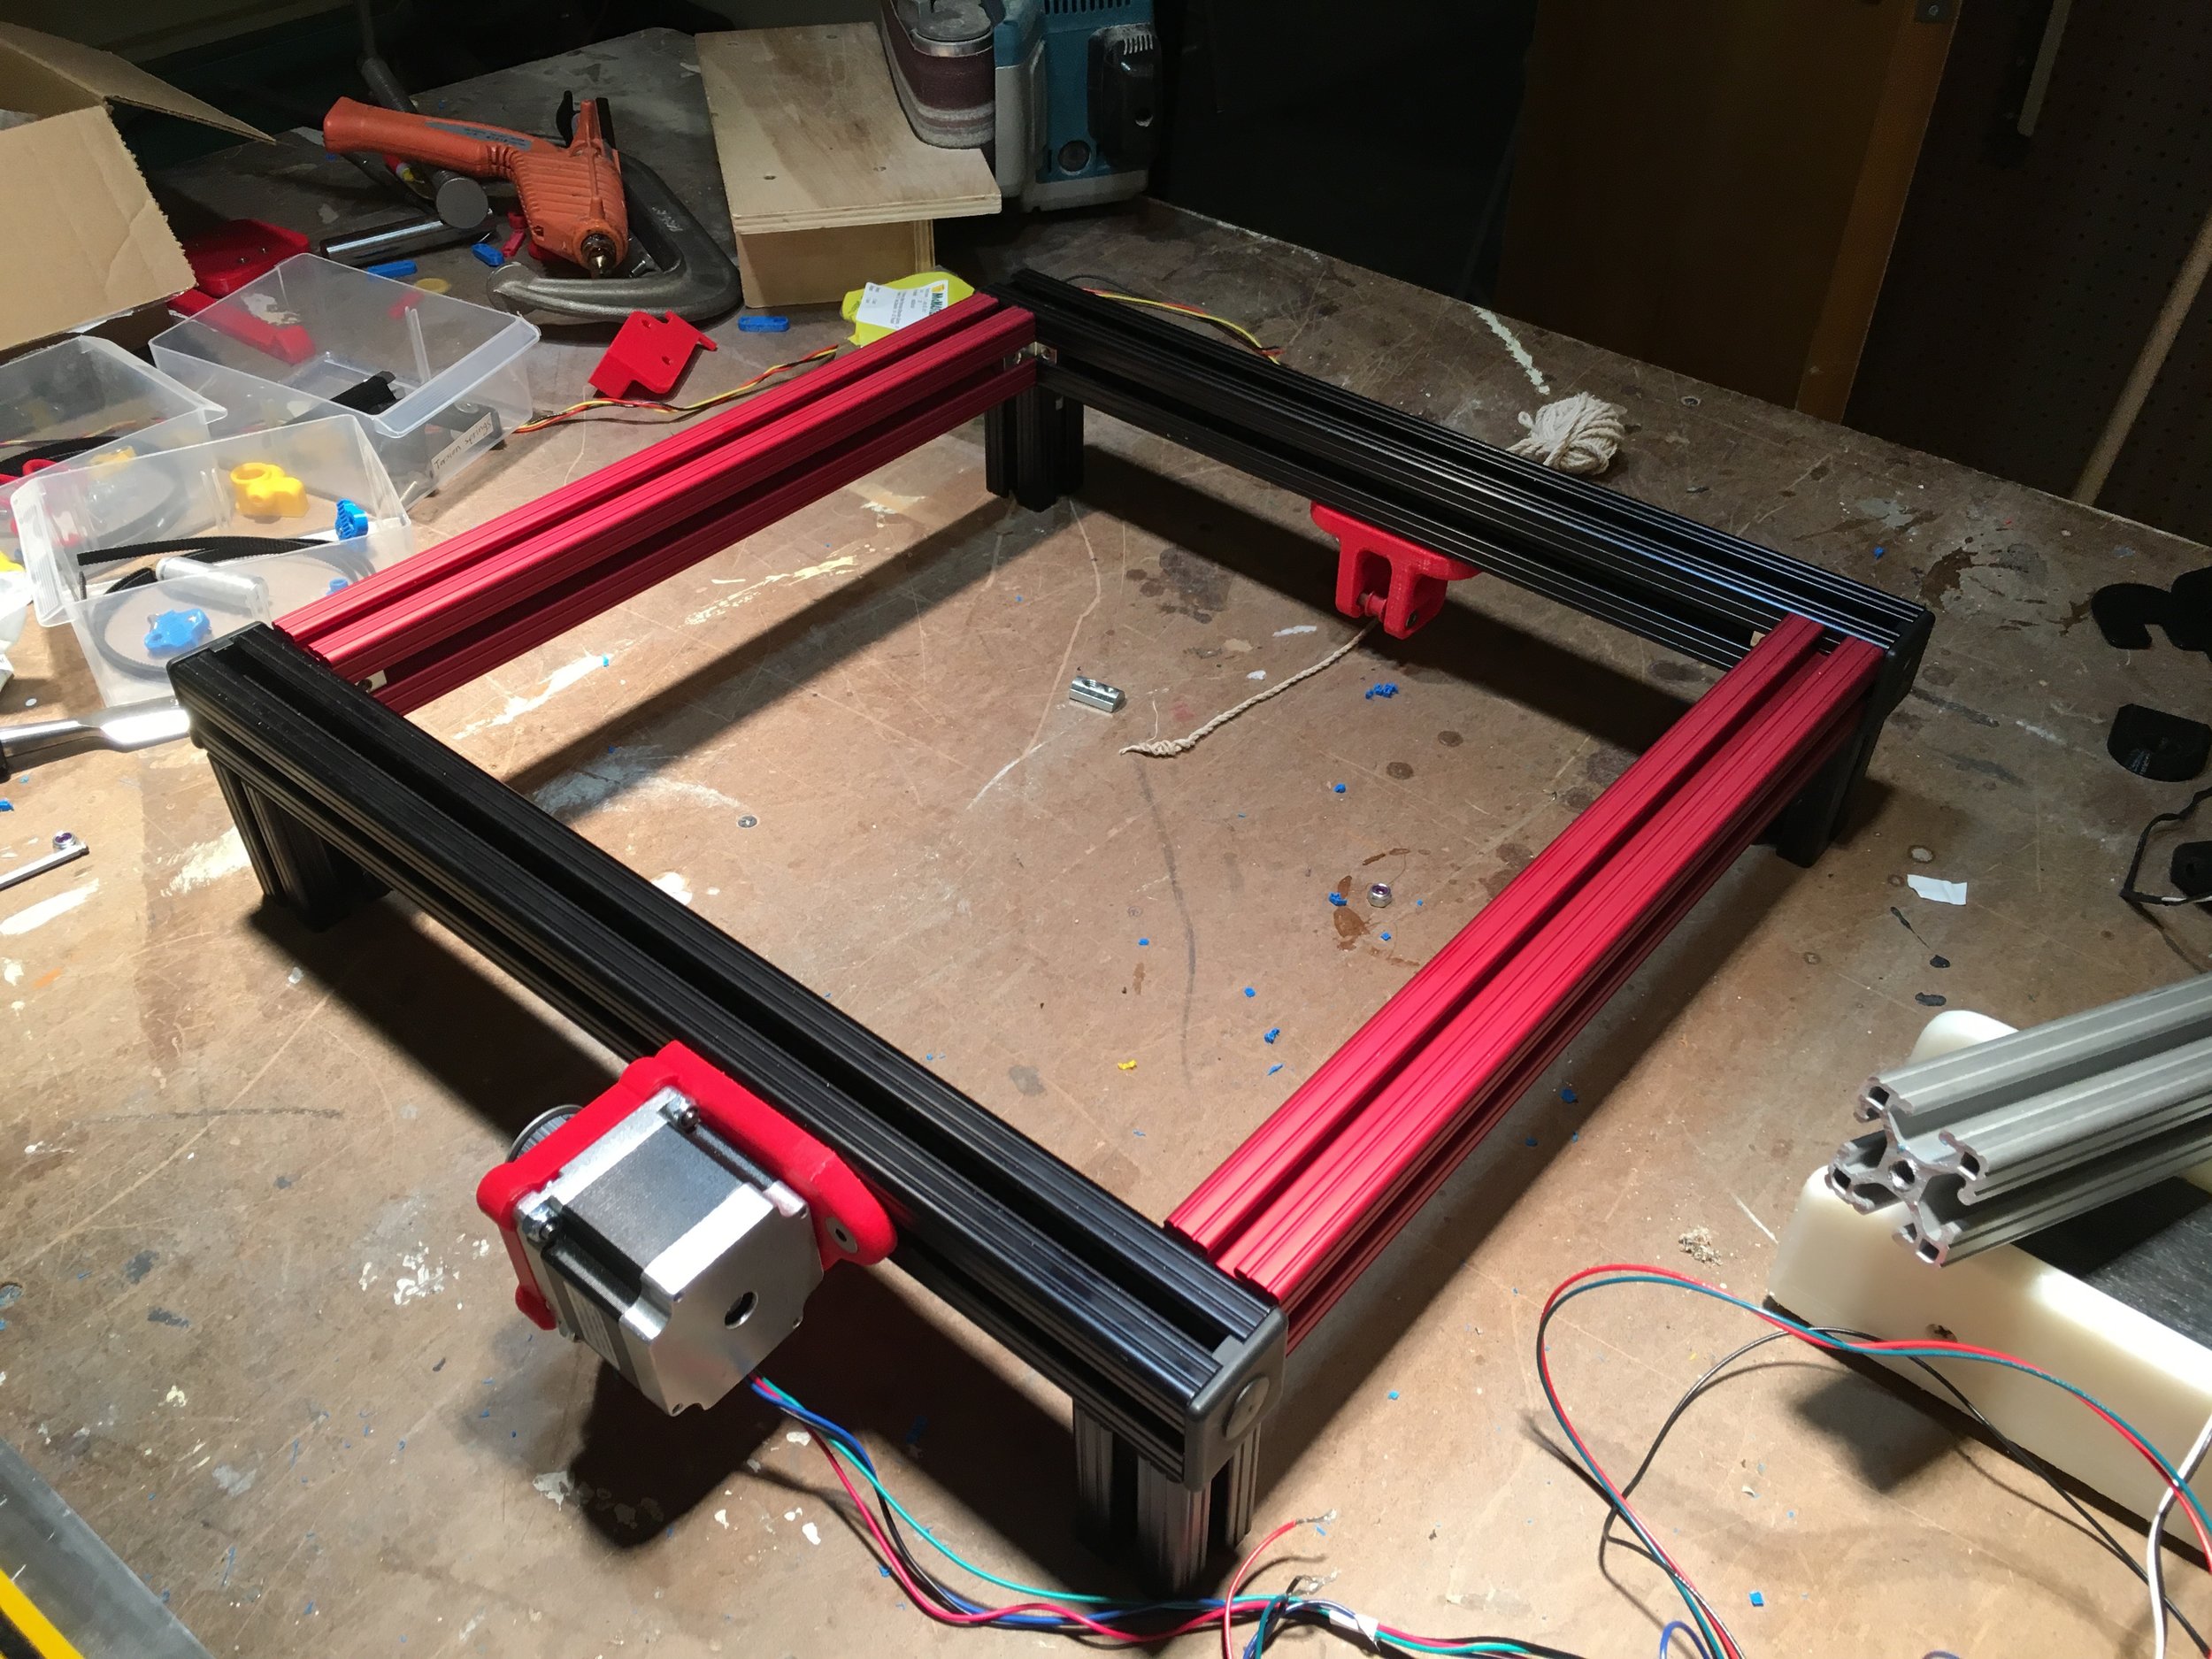
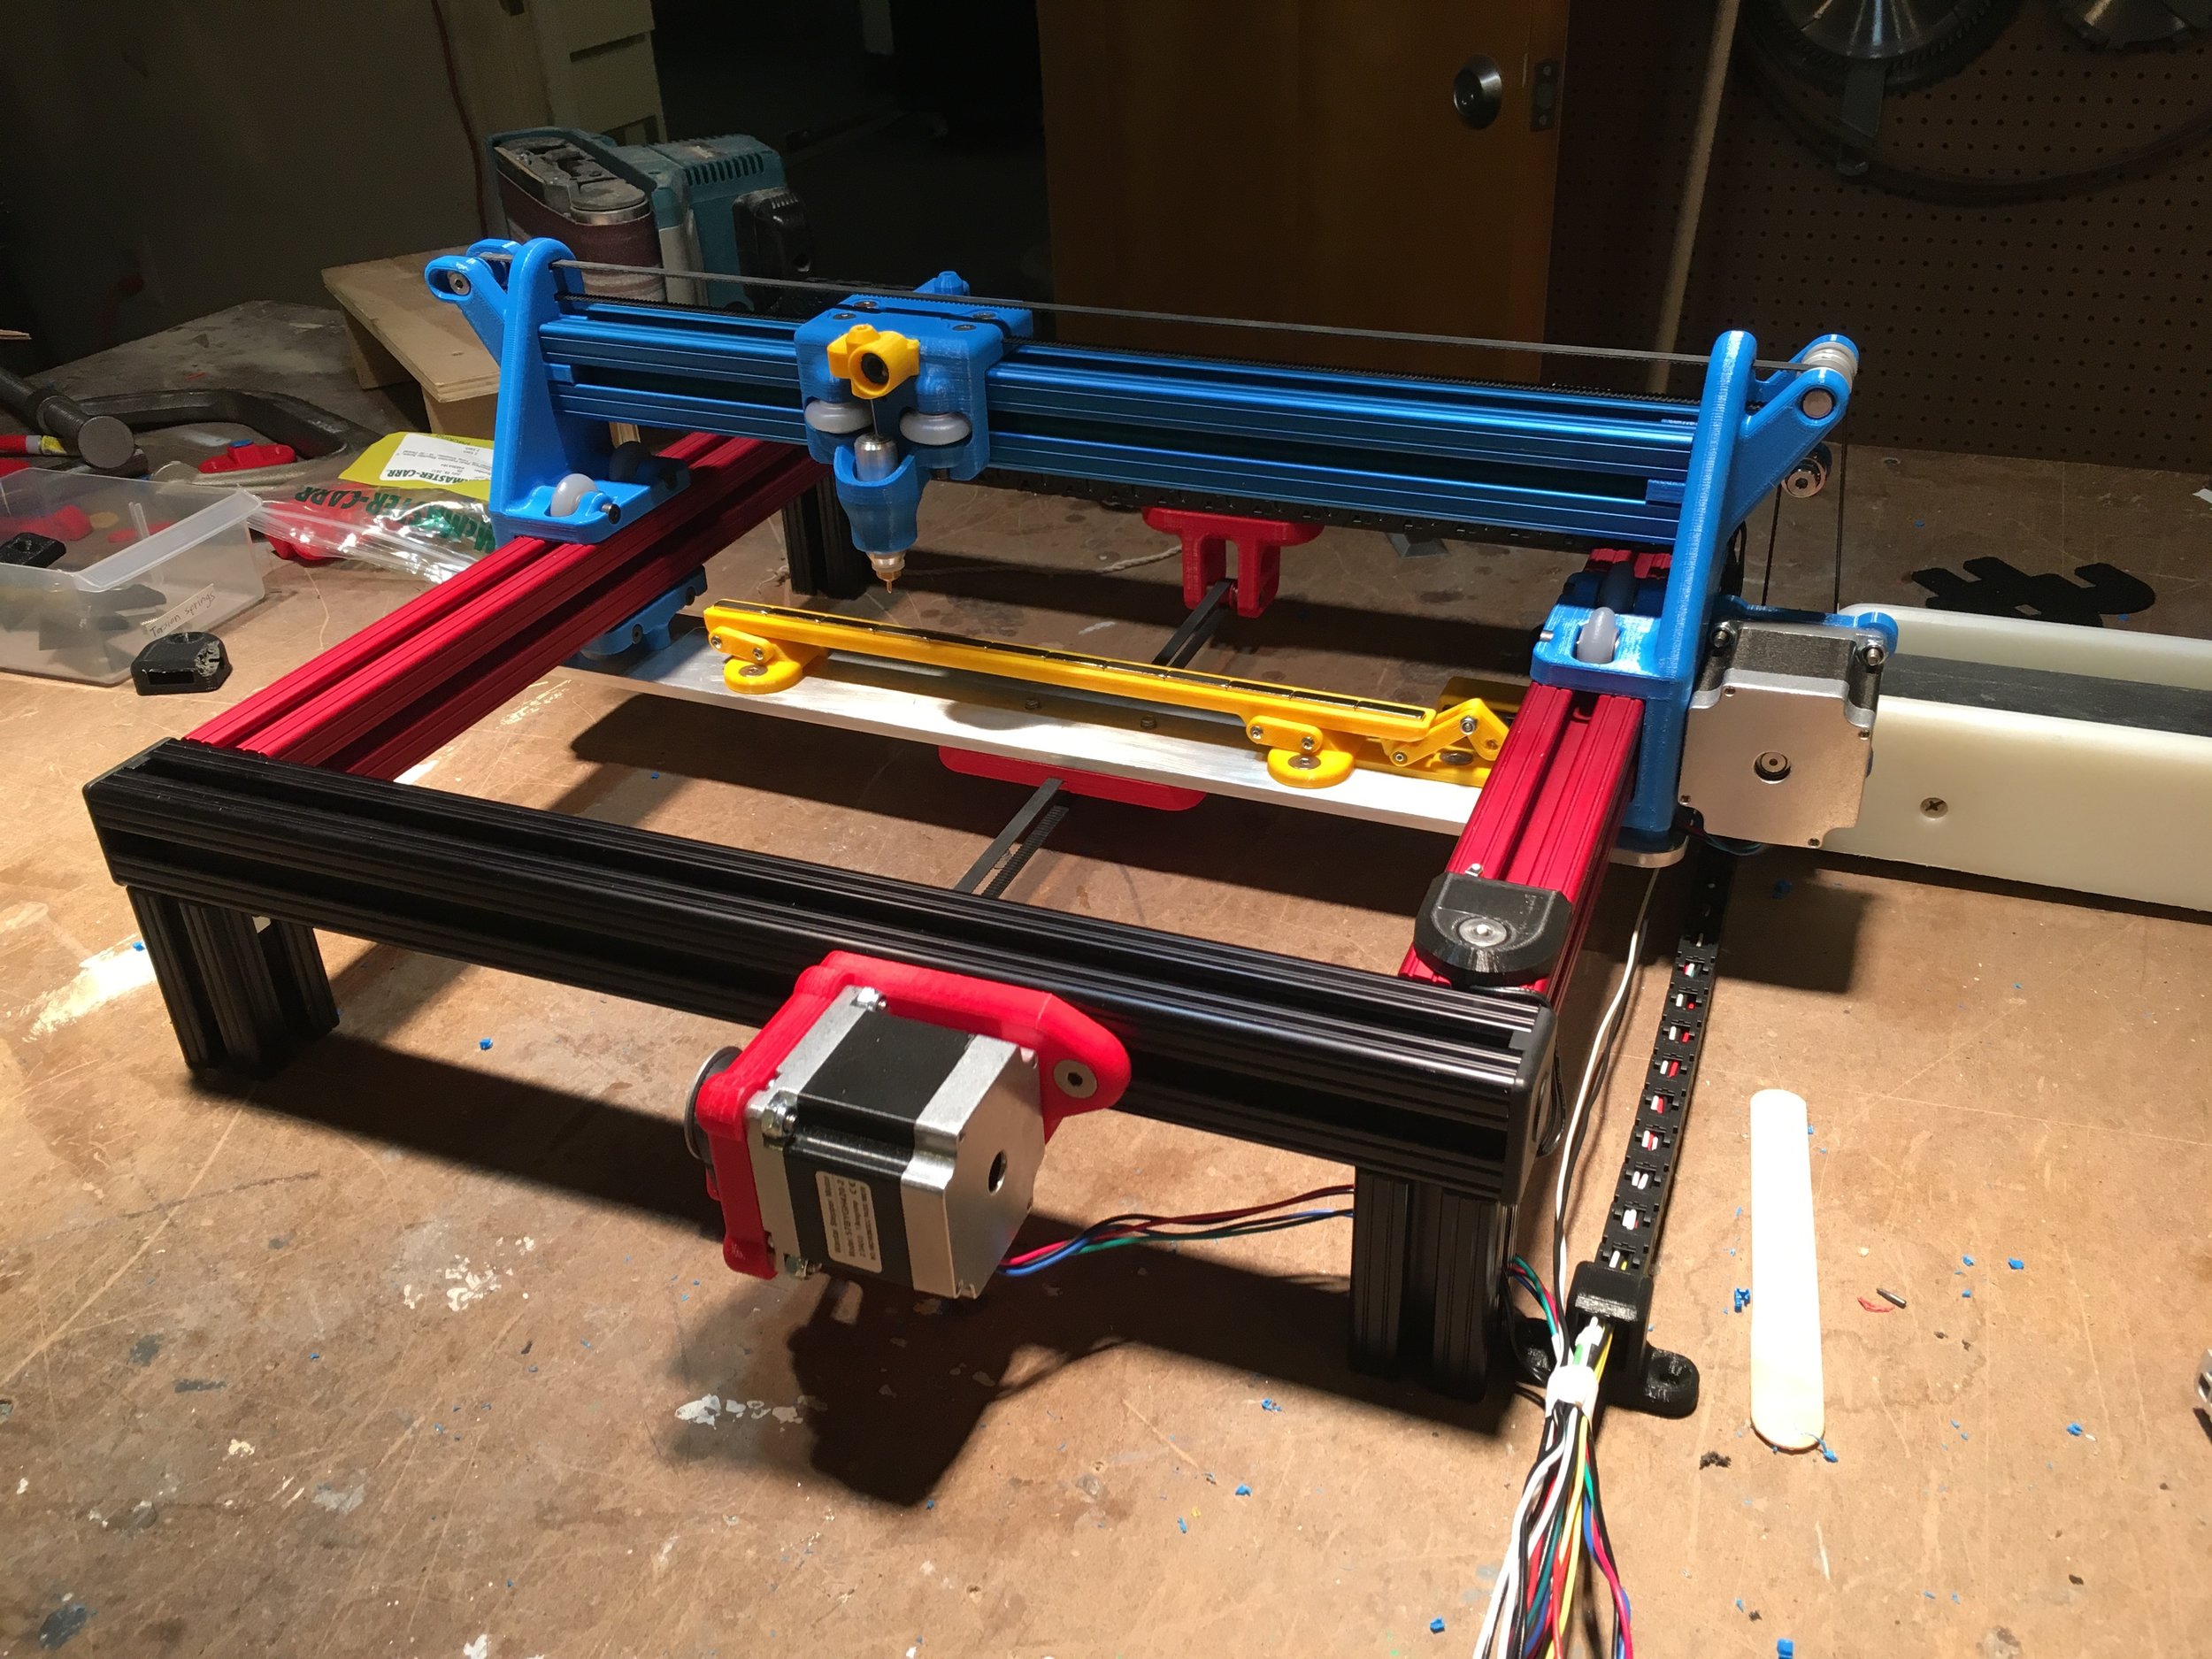
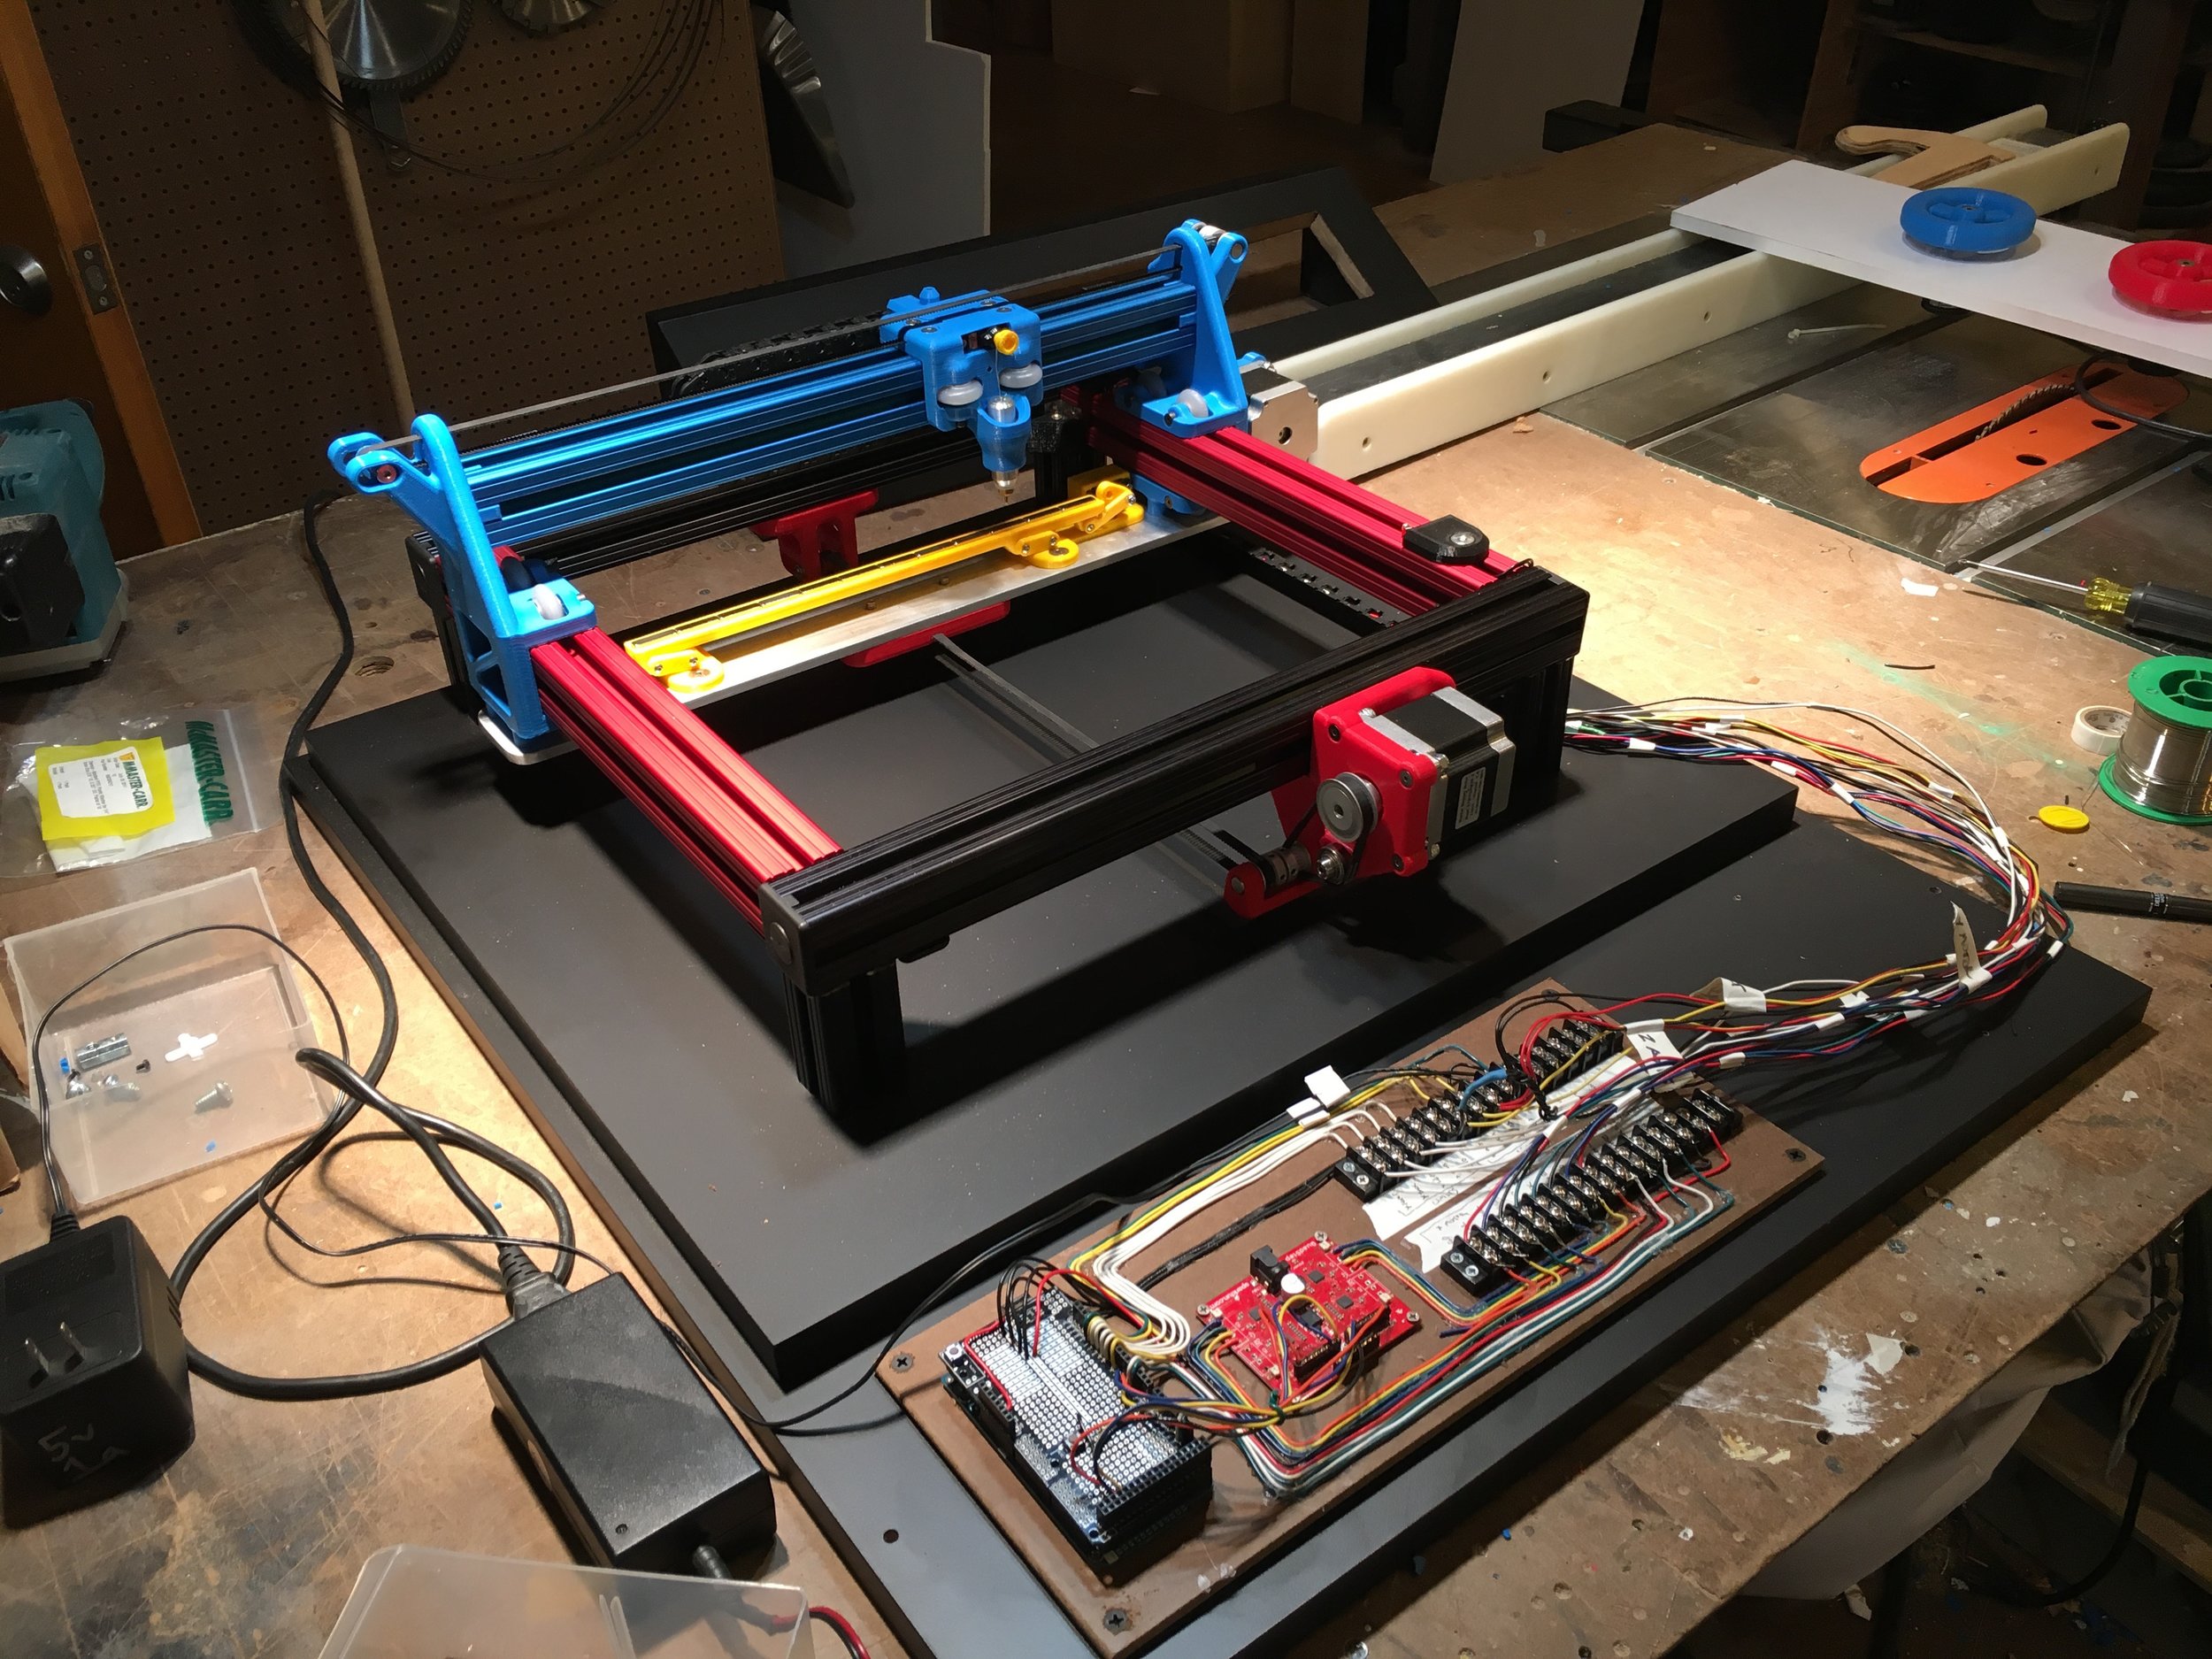
CNC Design and development
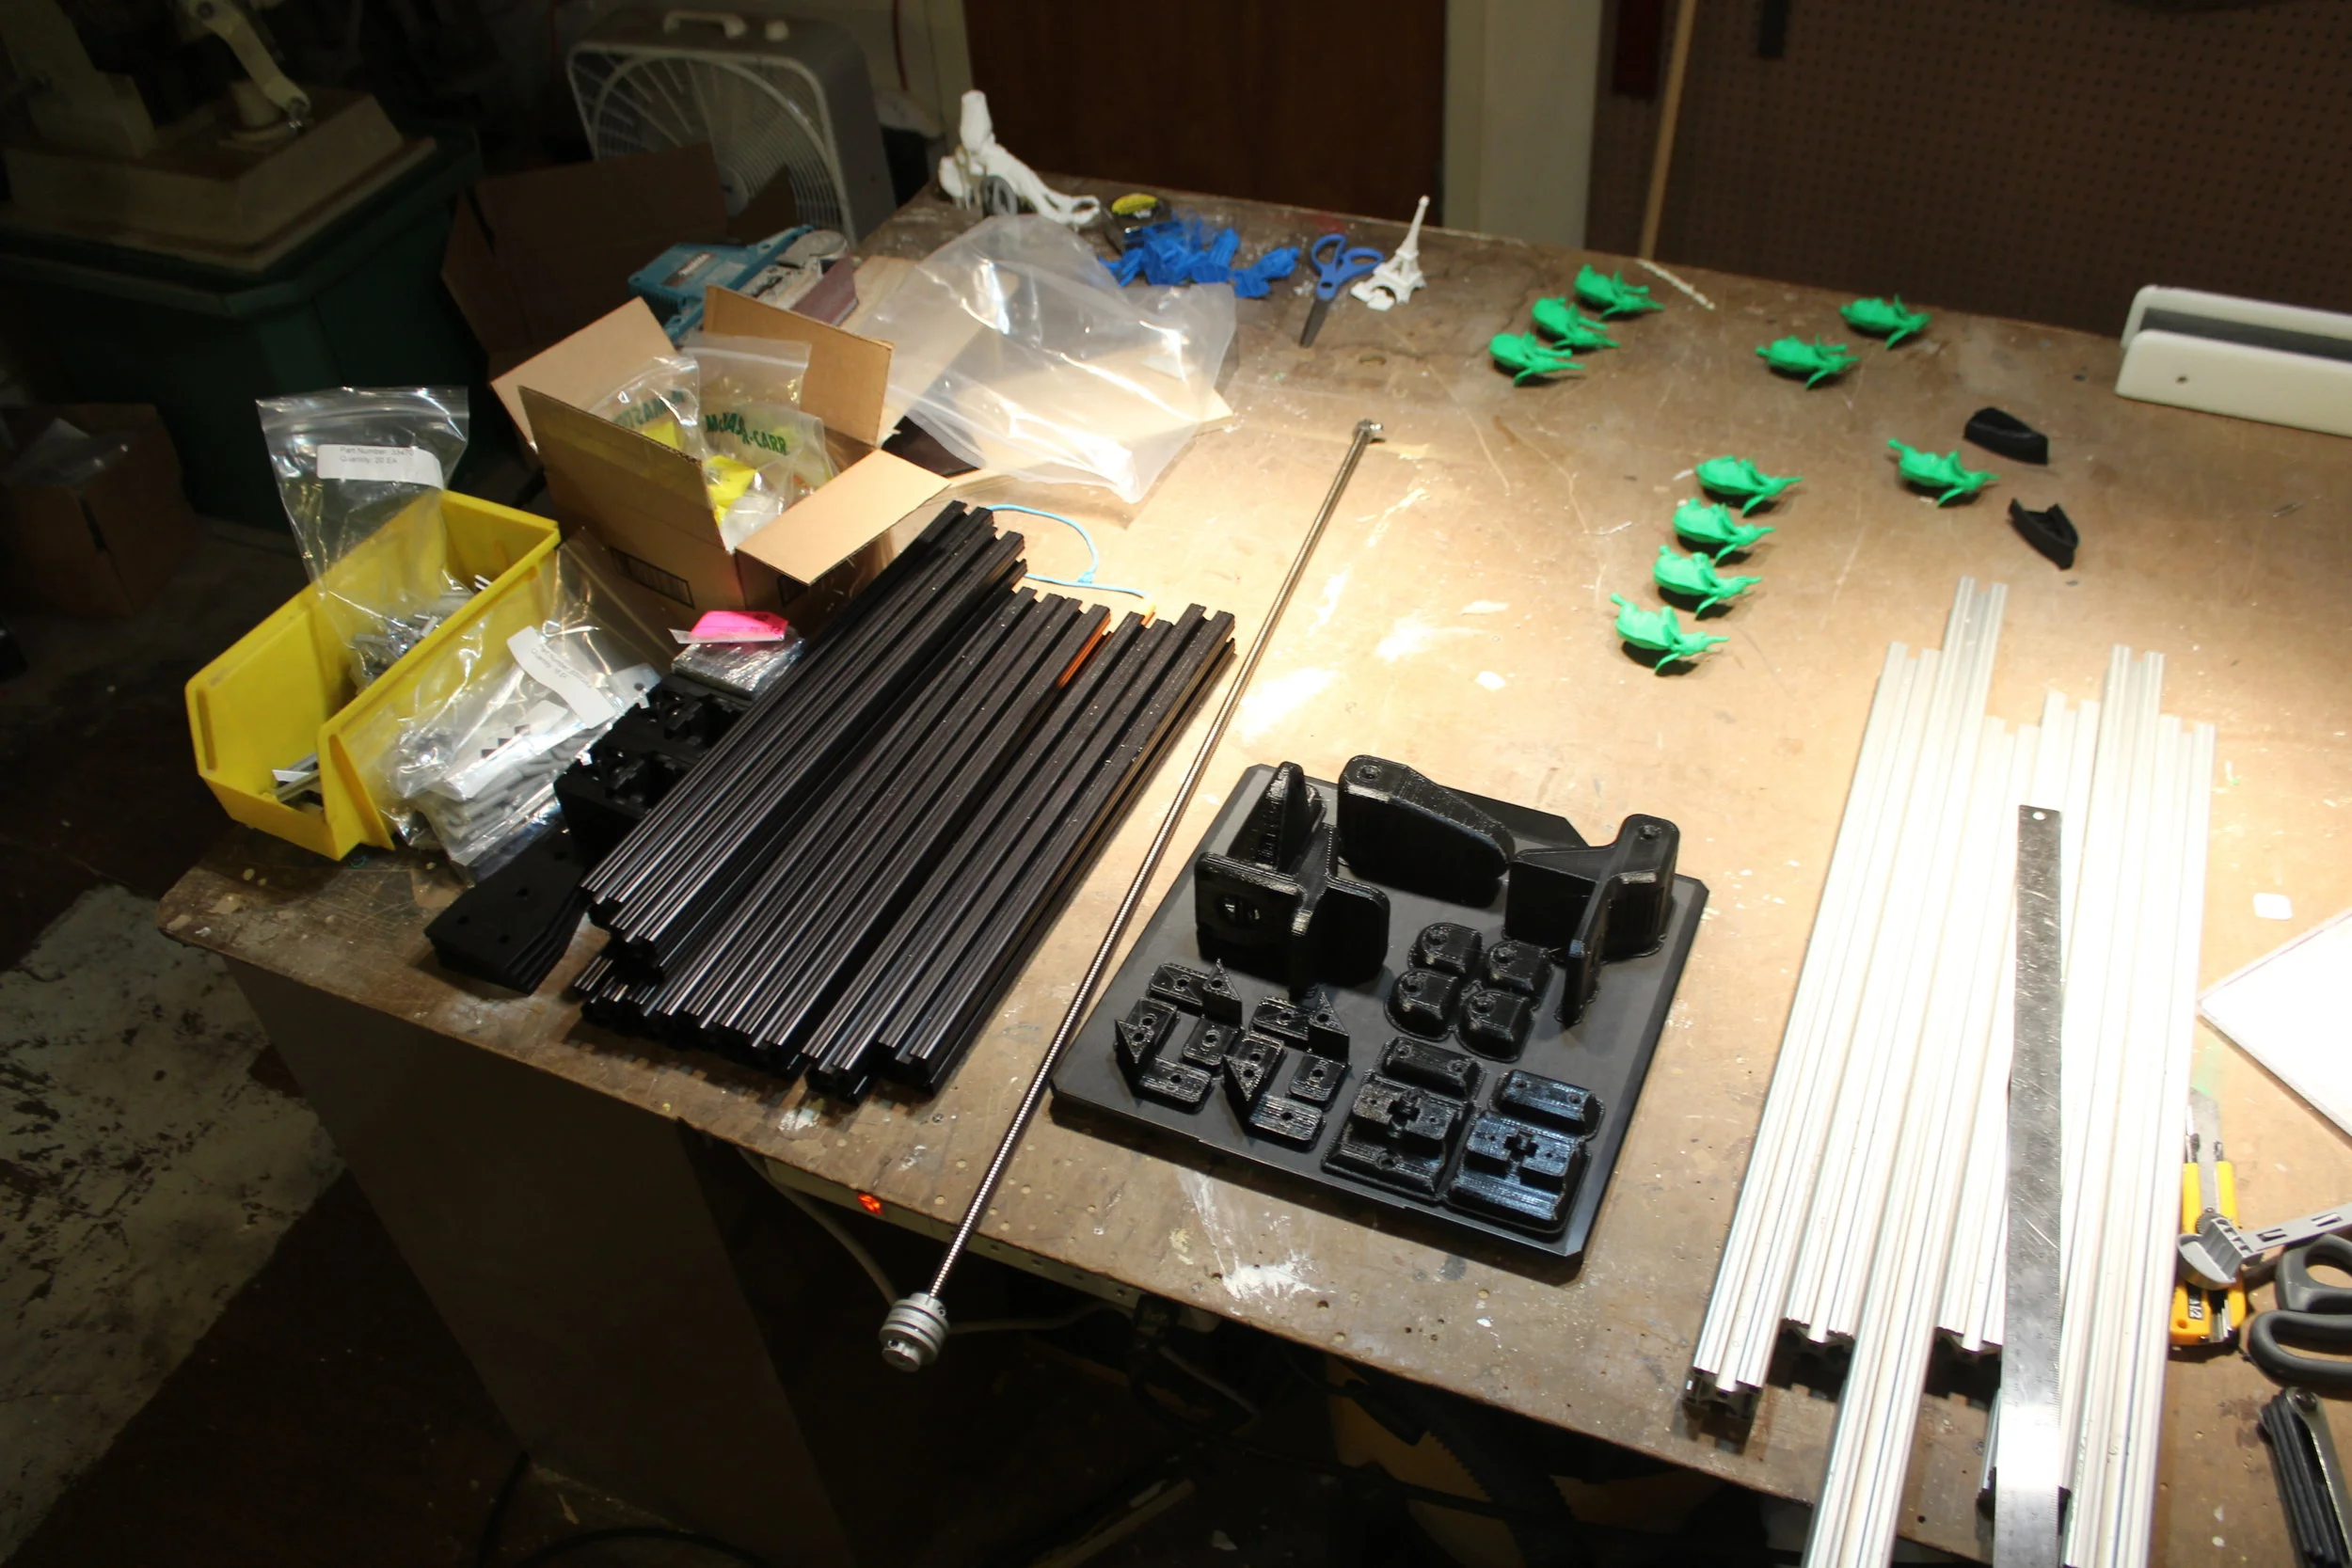
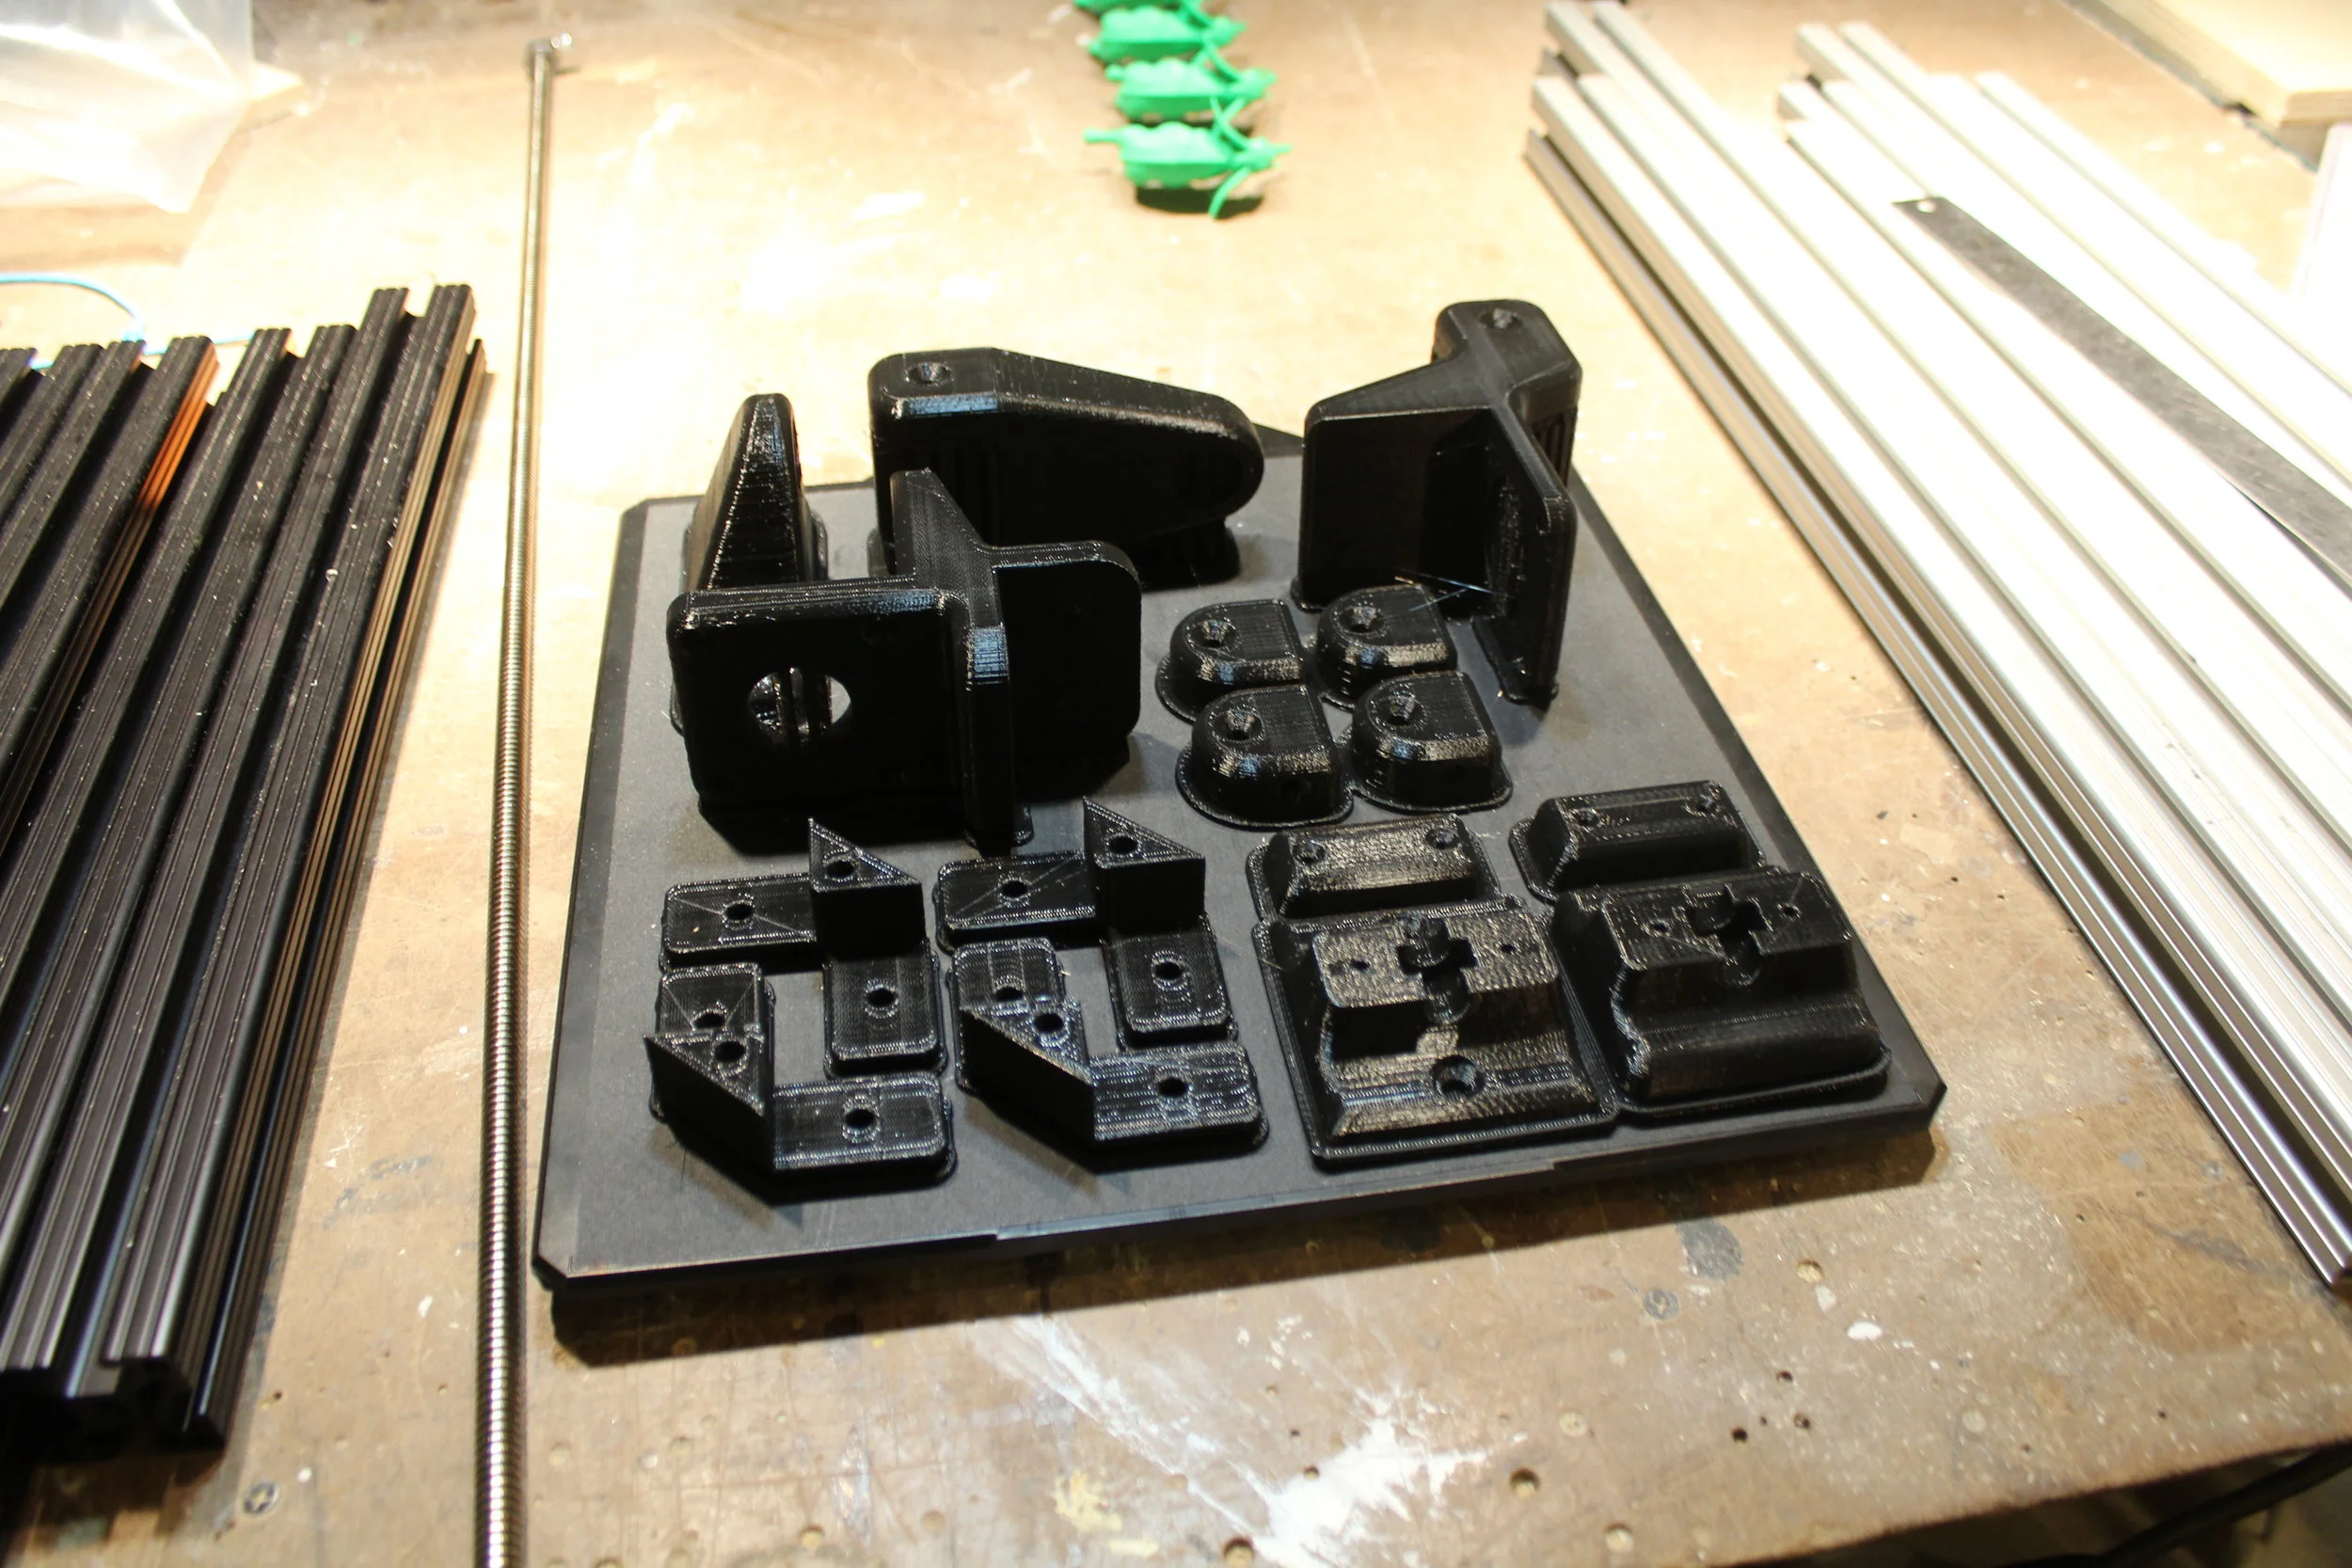
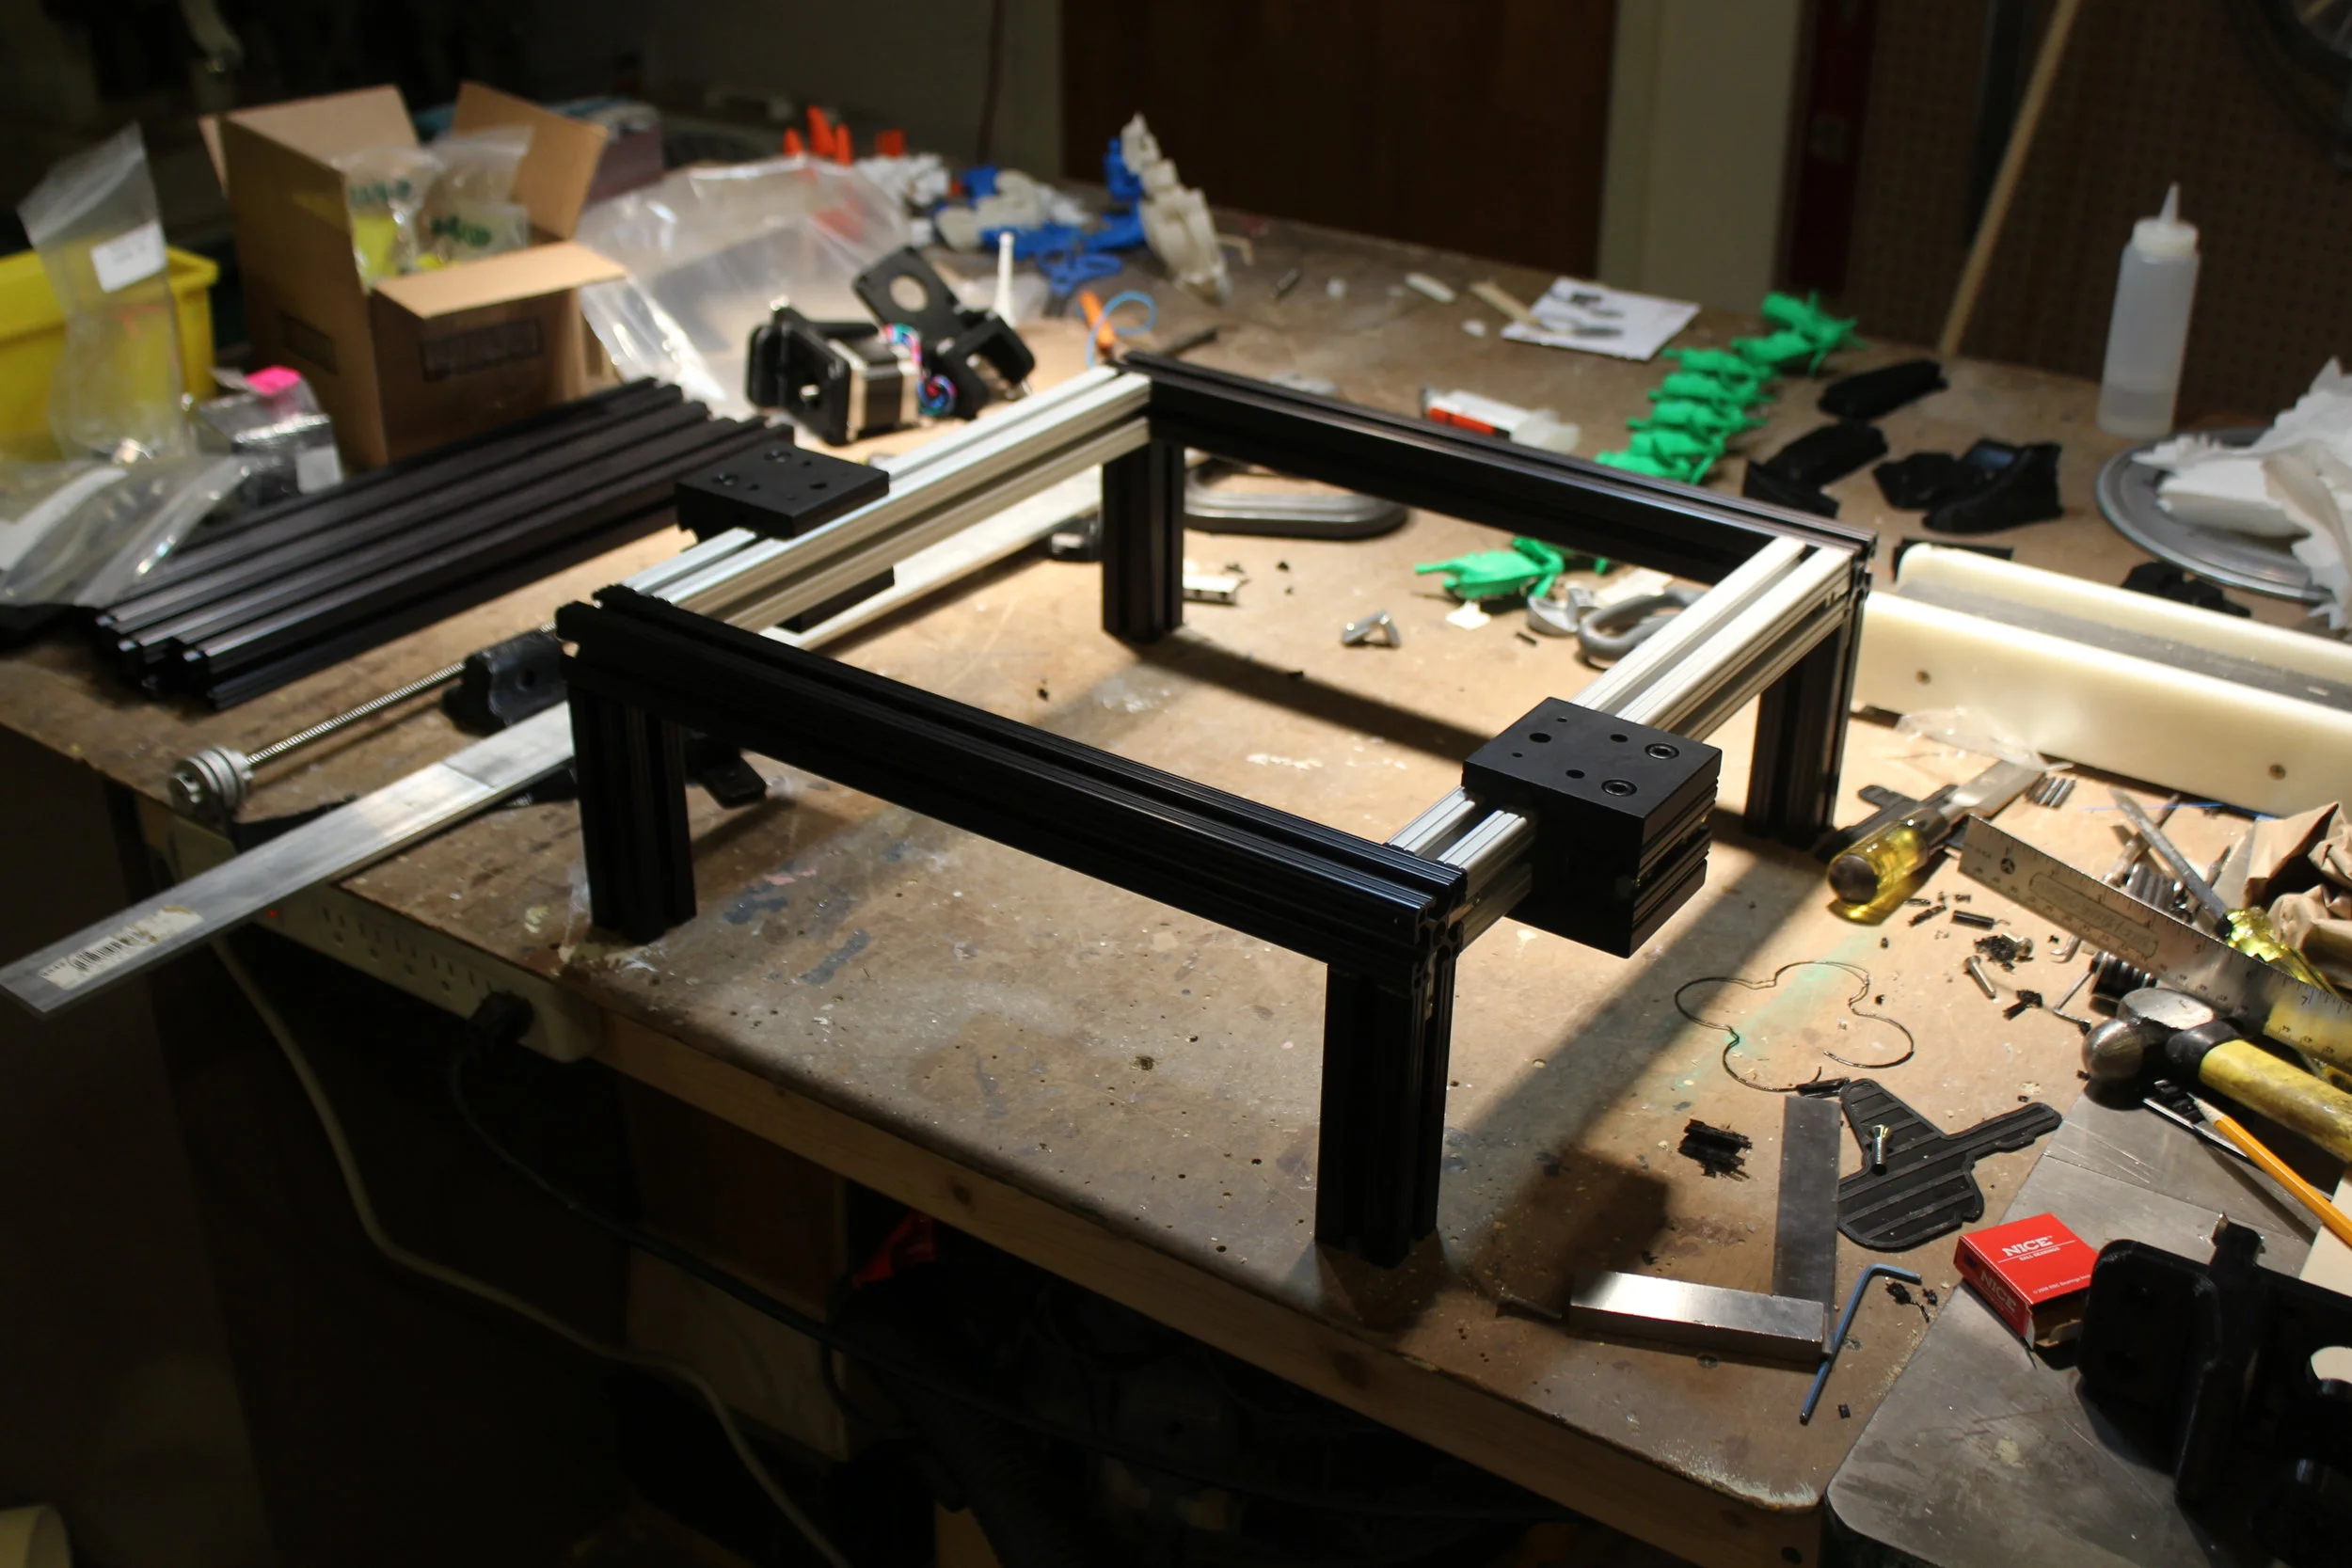
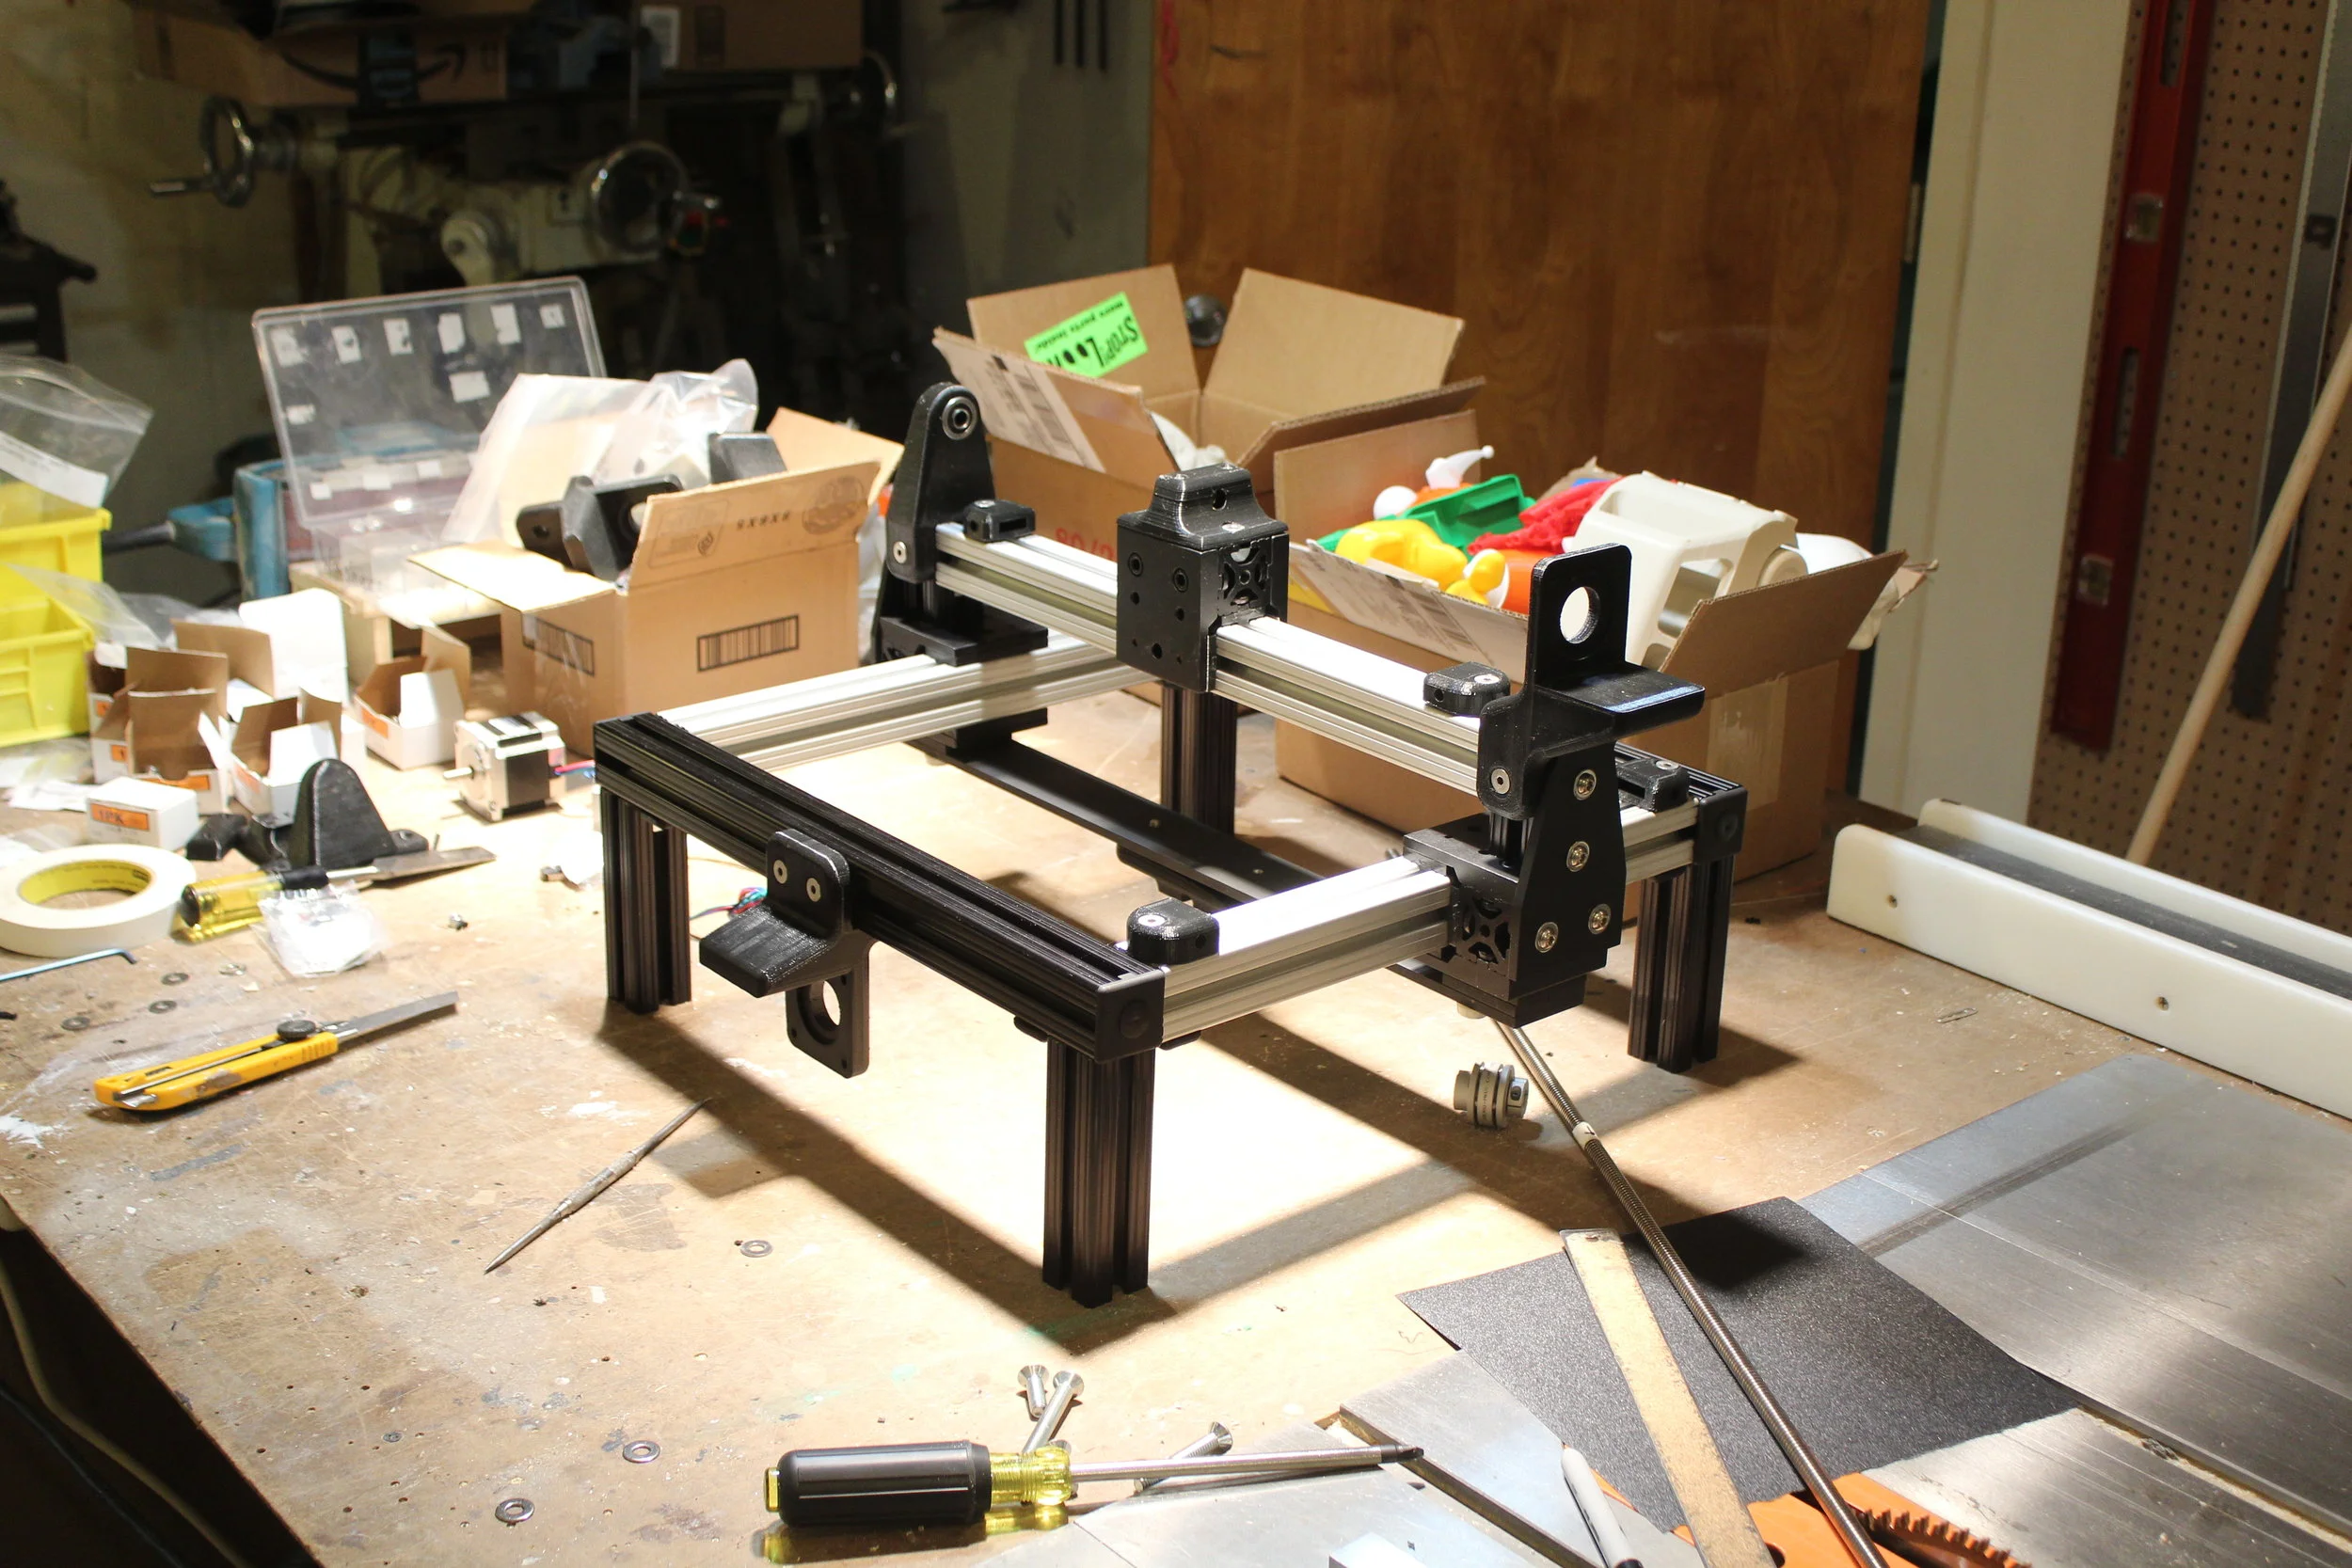
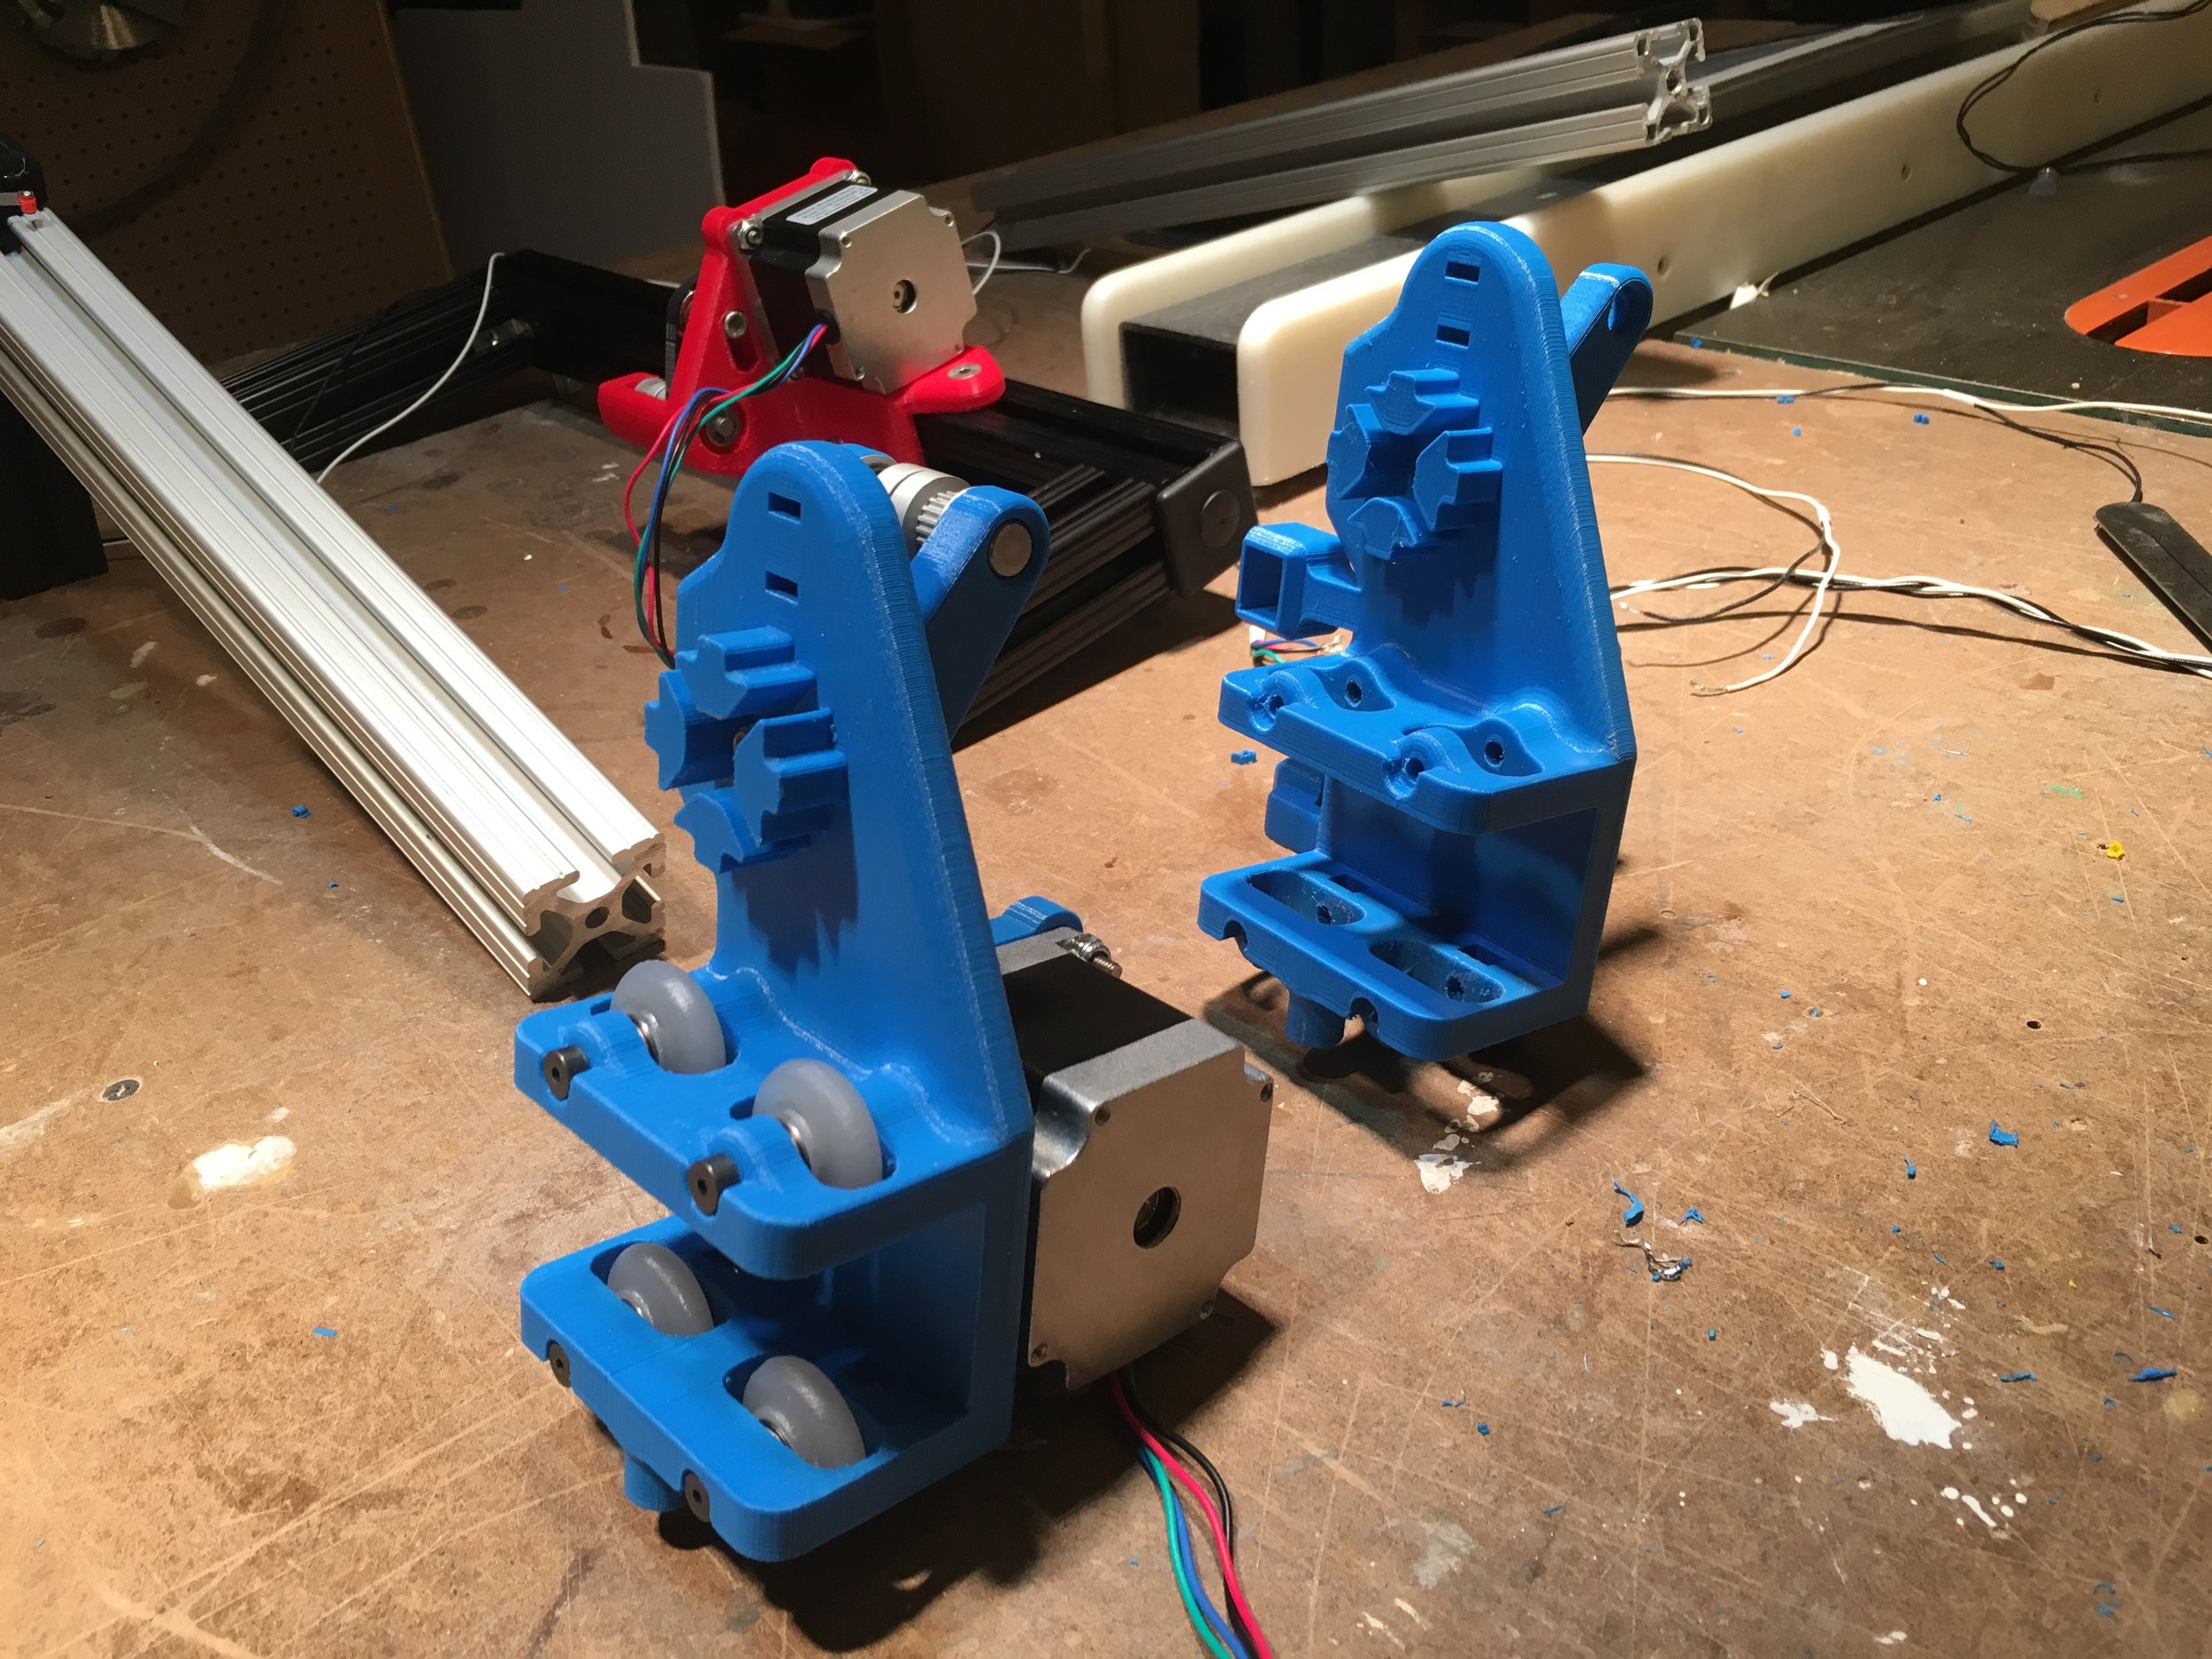
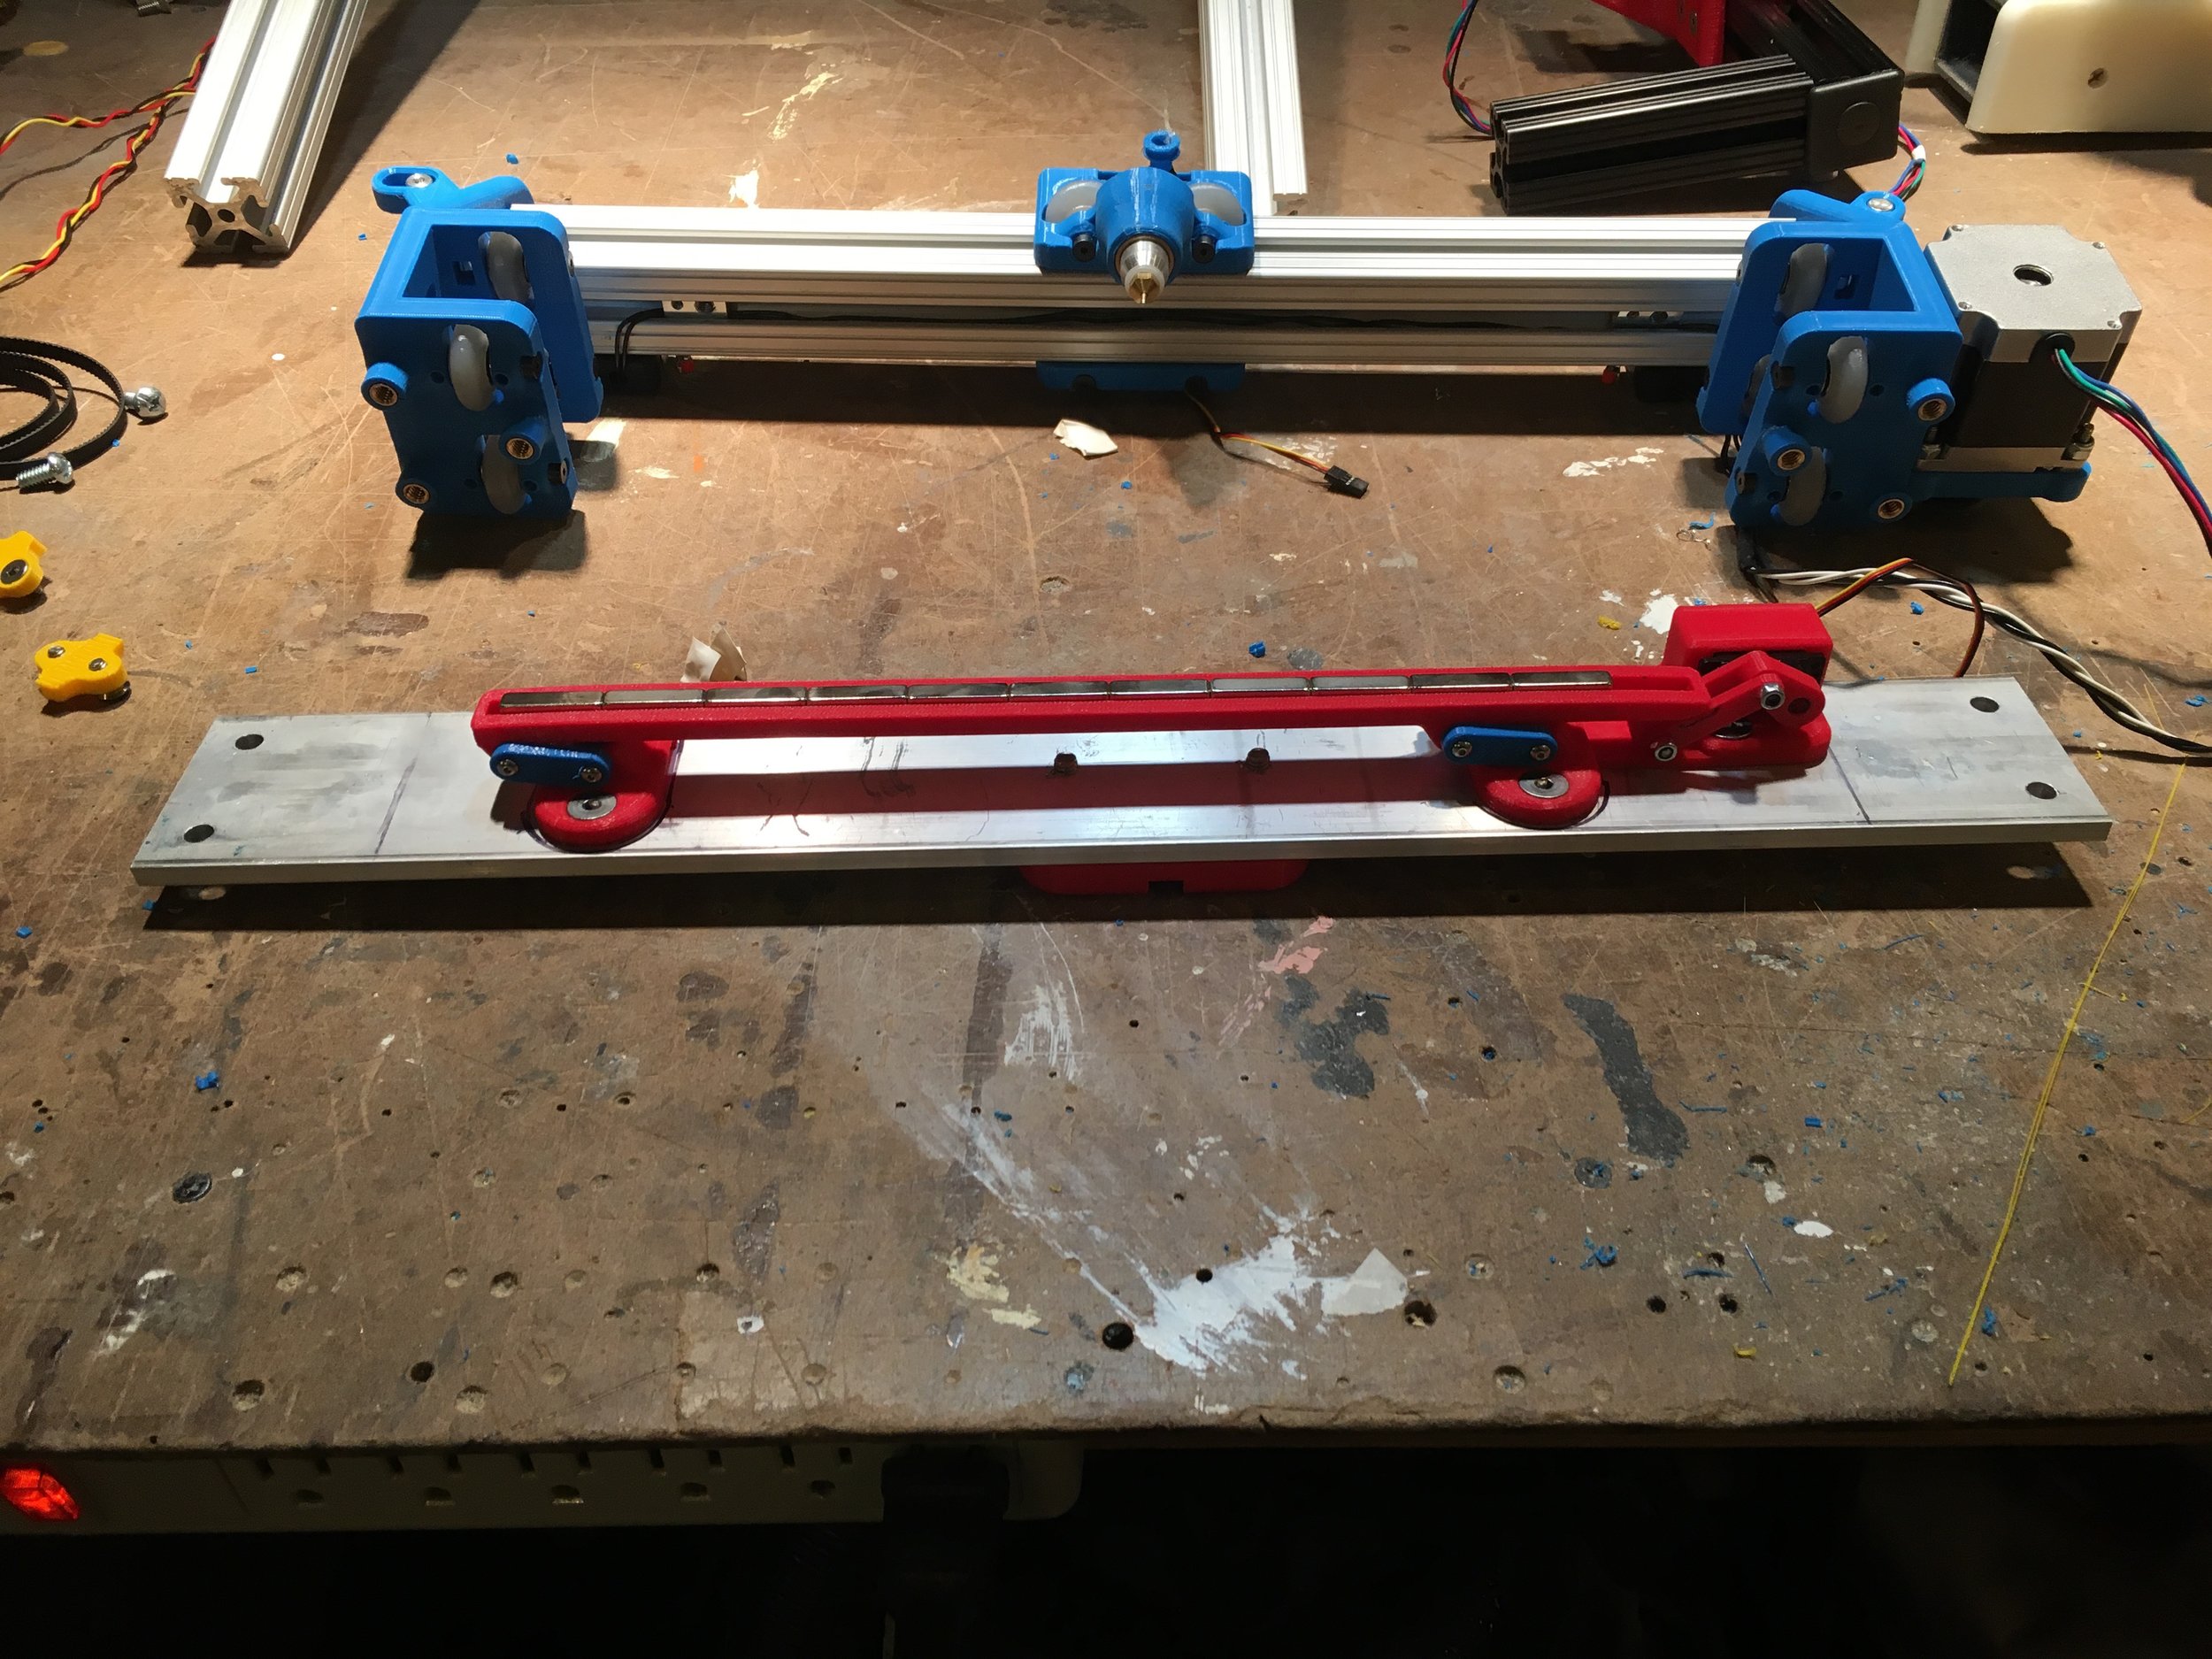
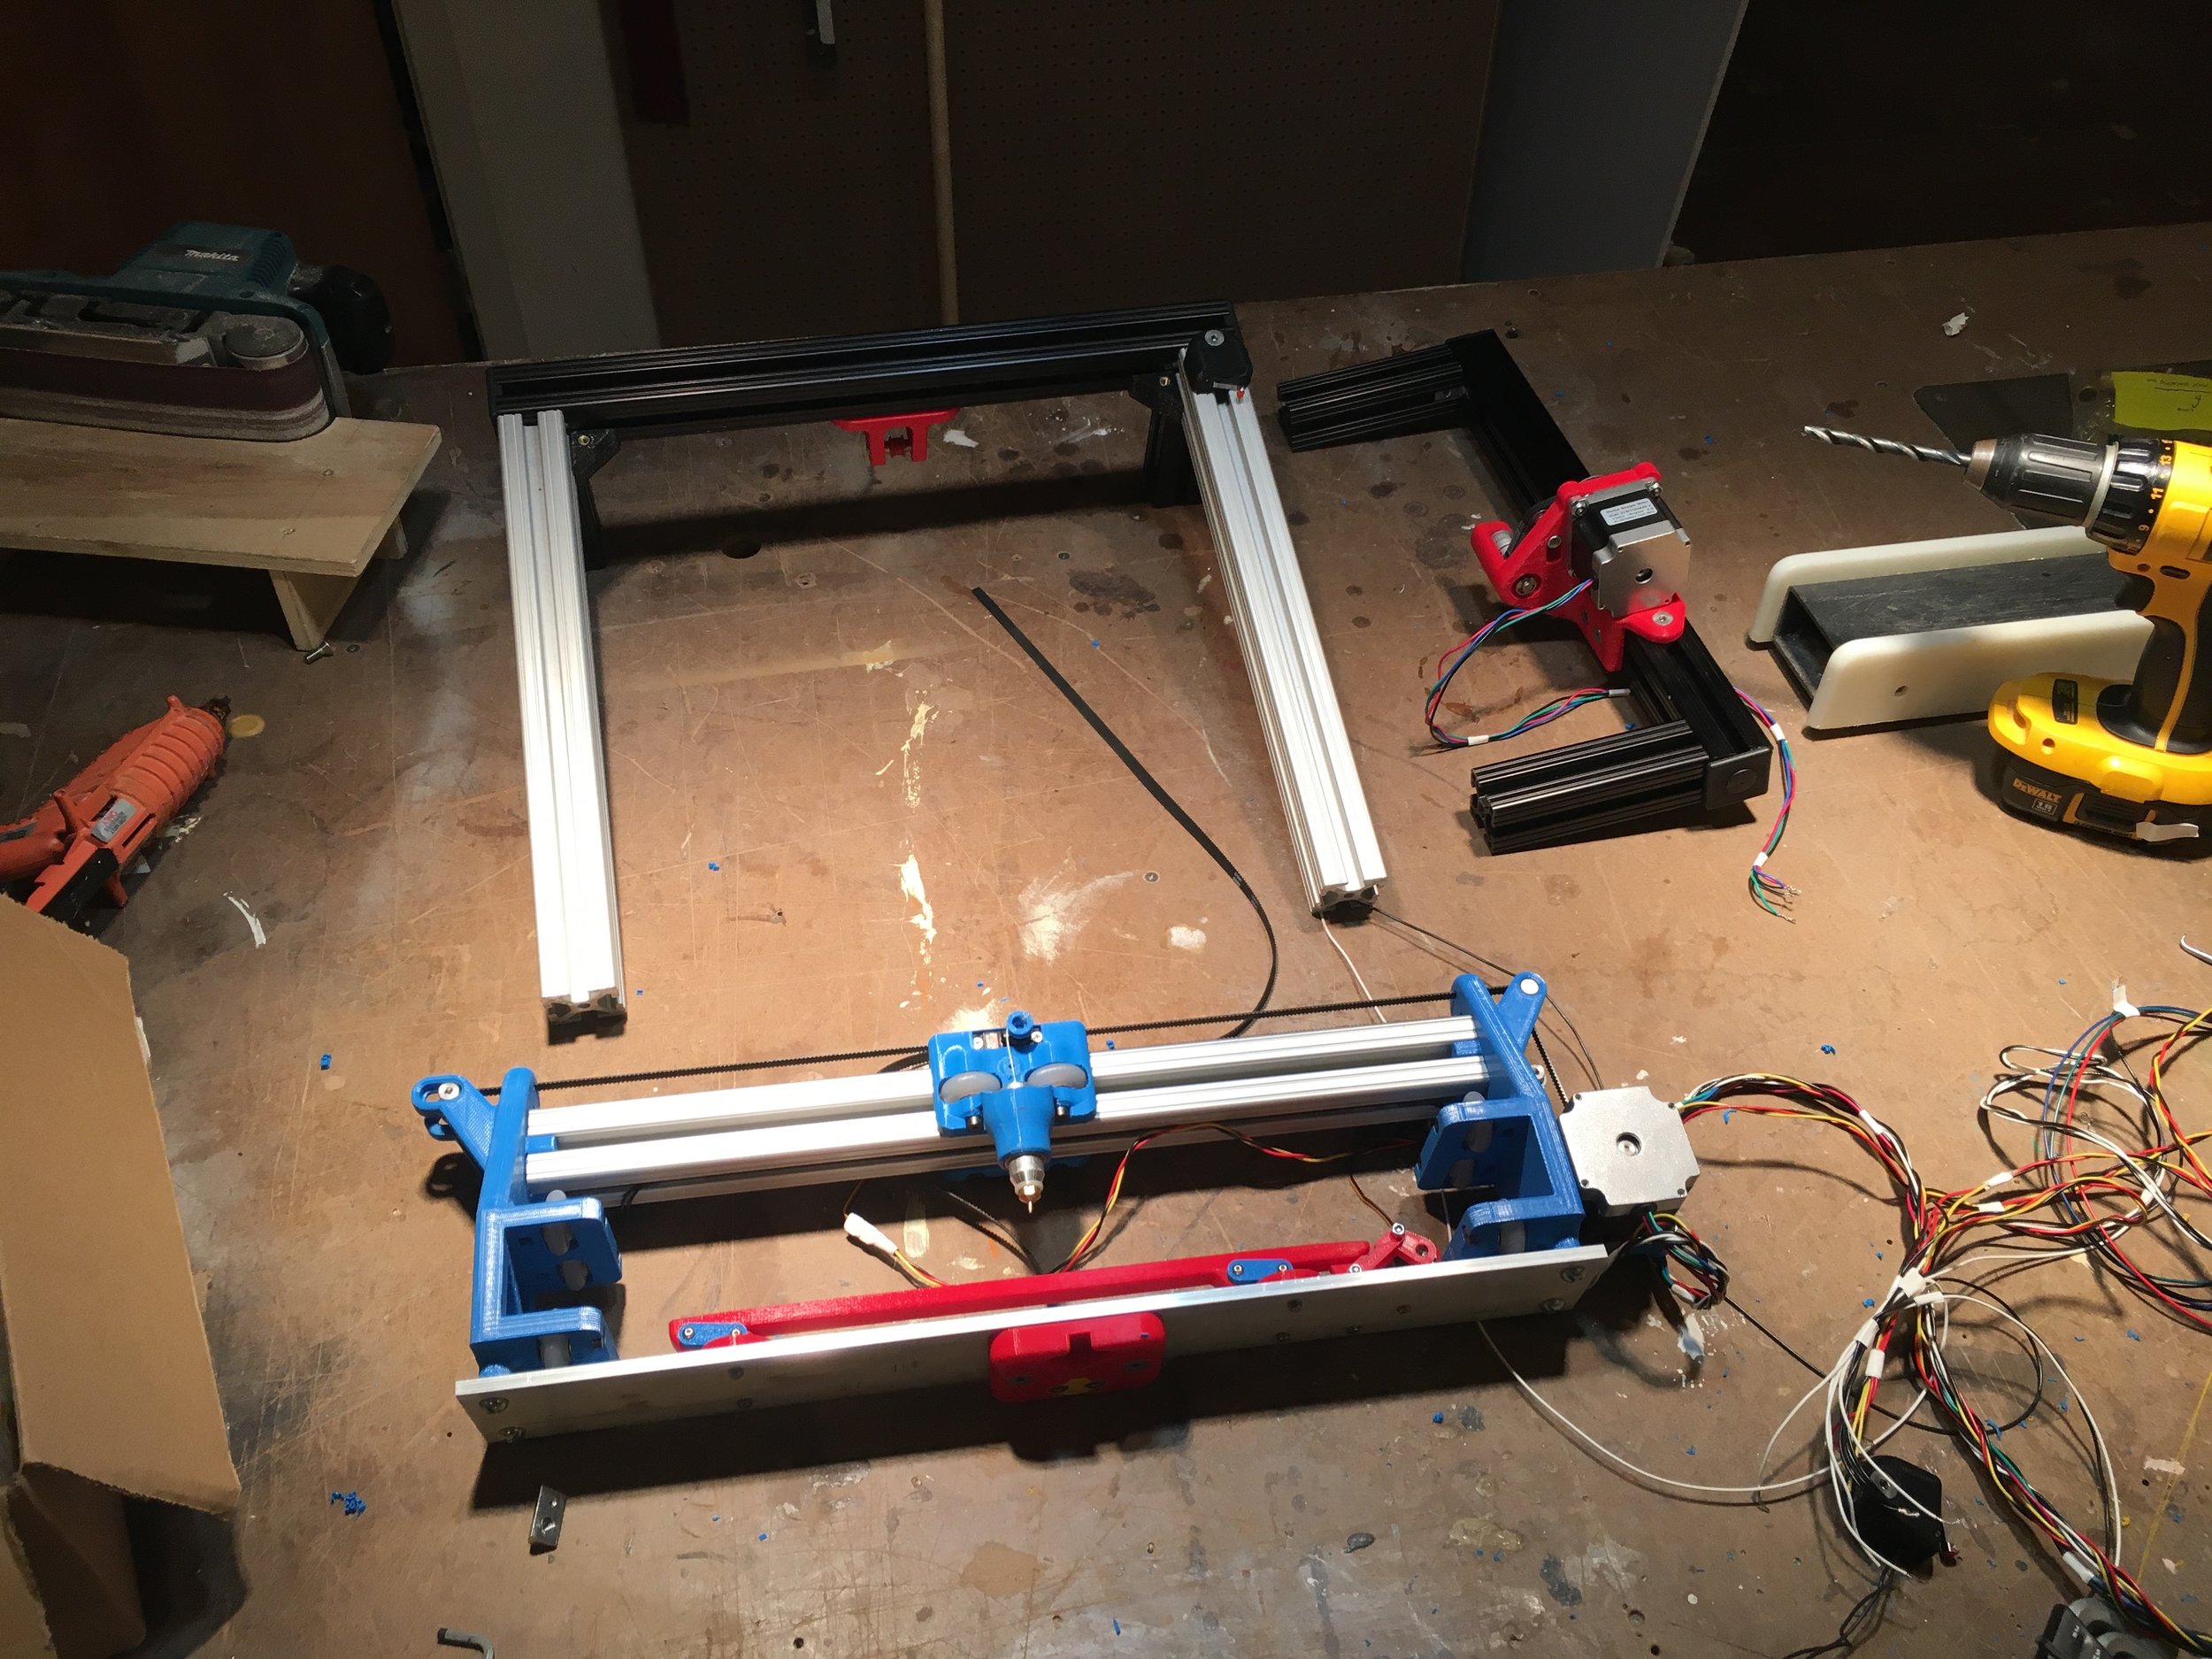
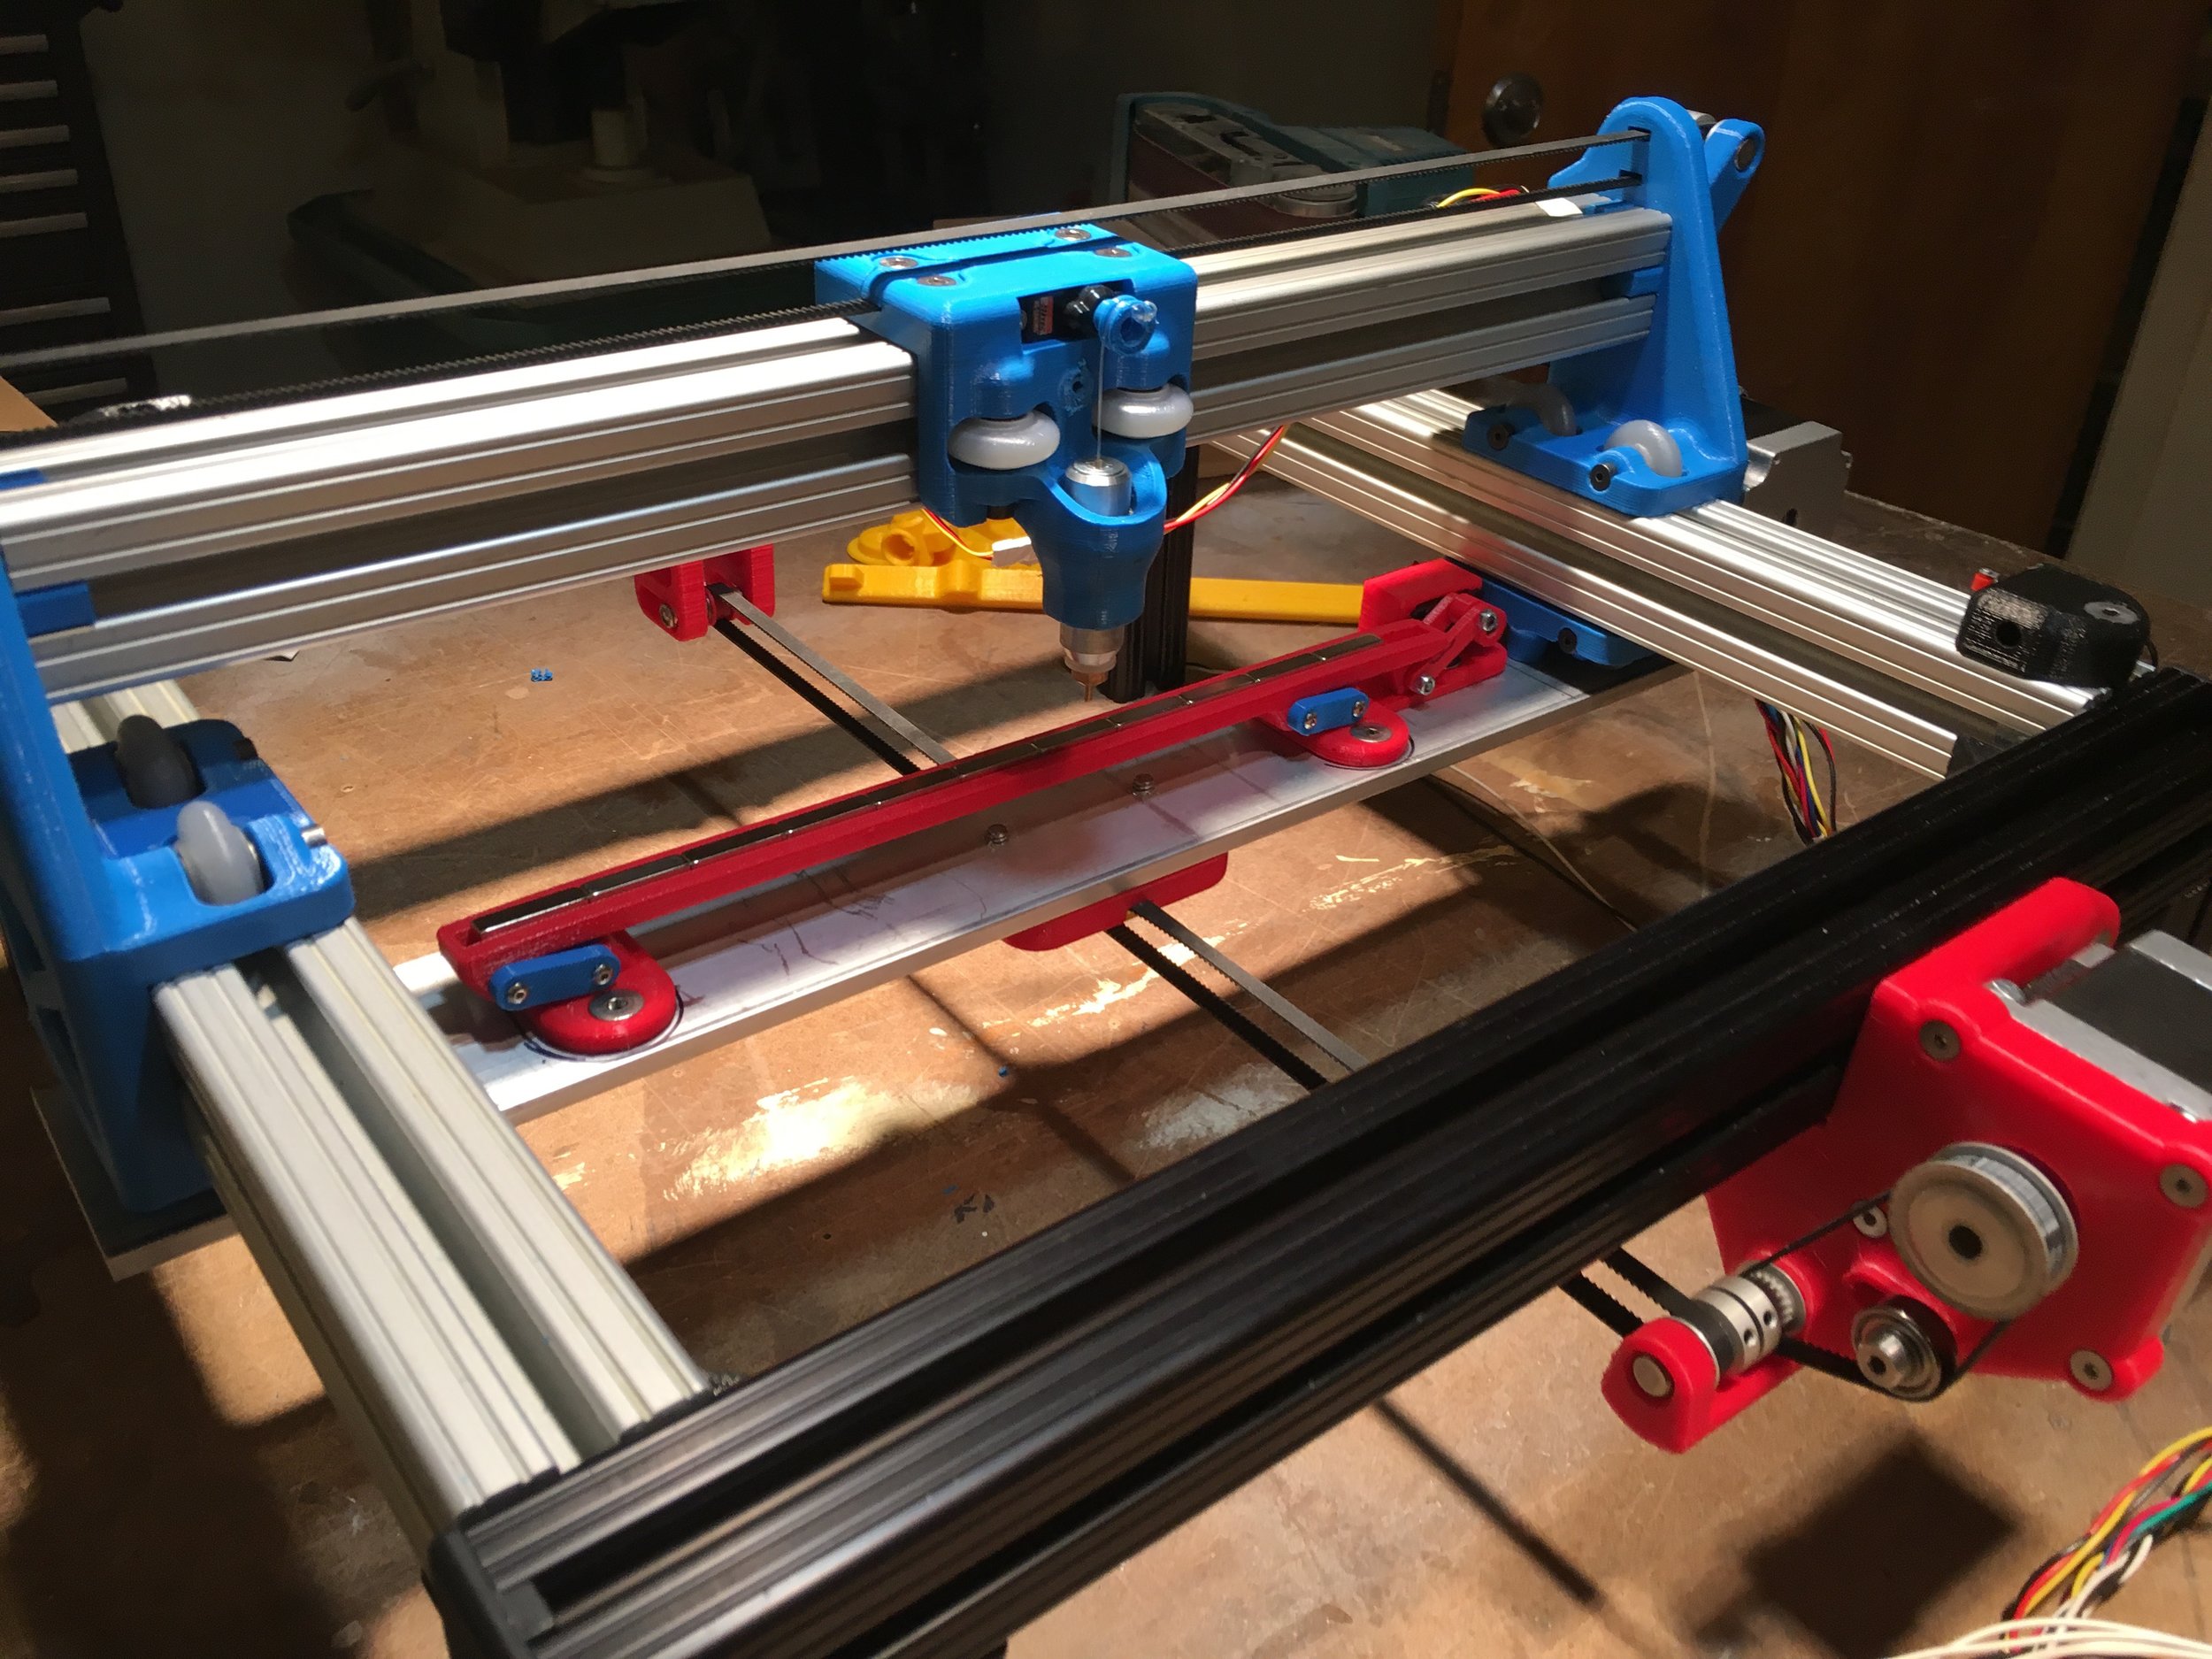
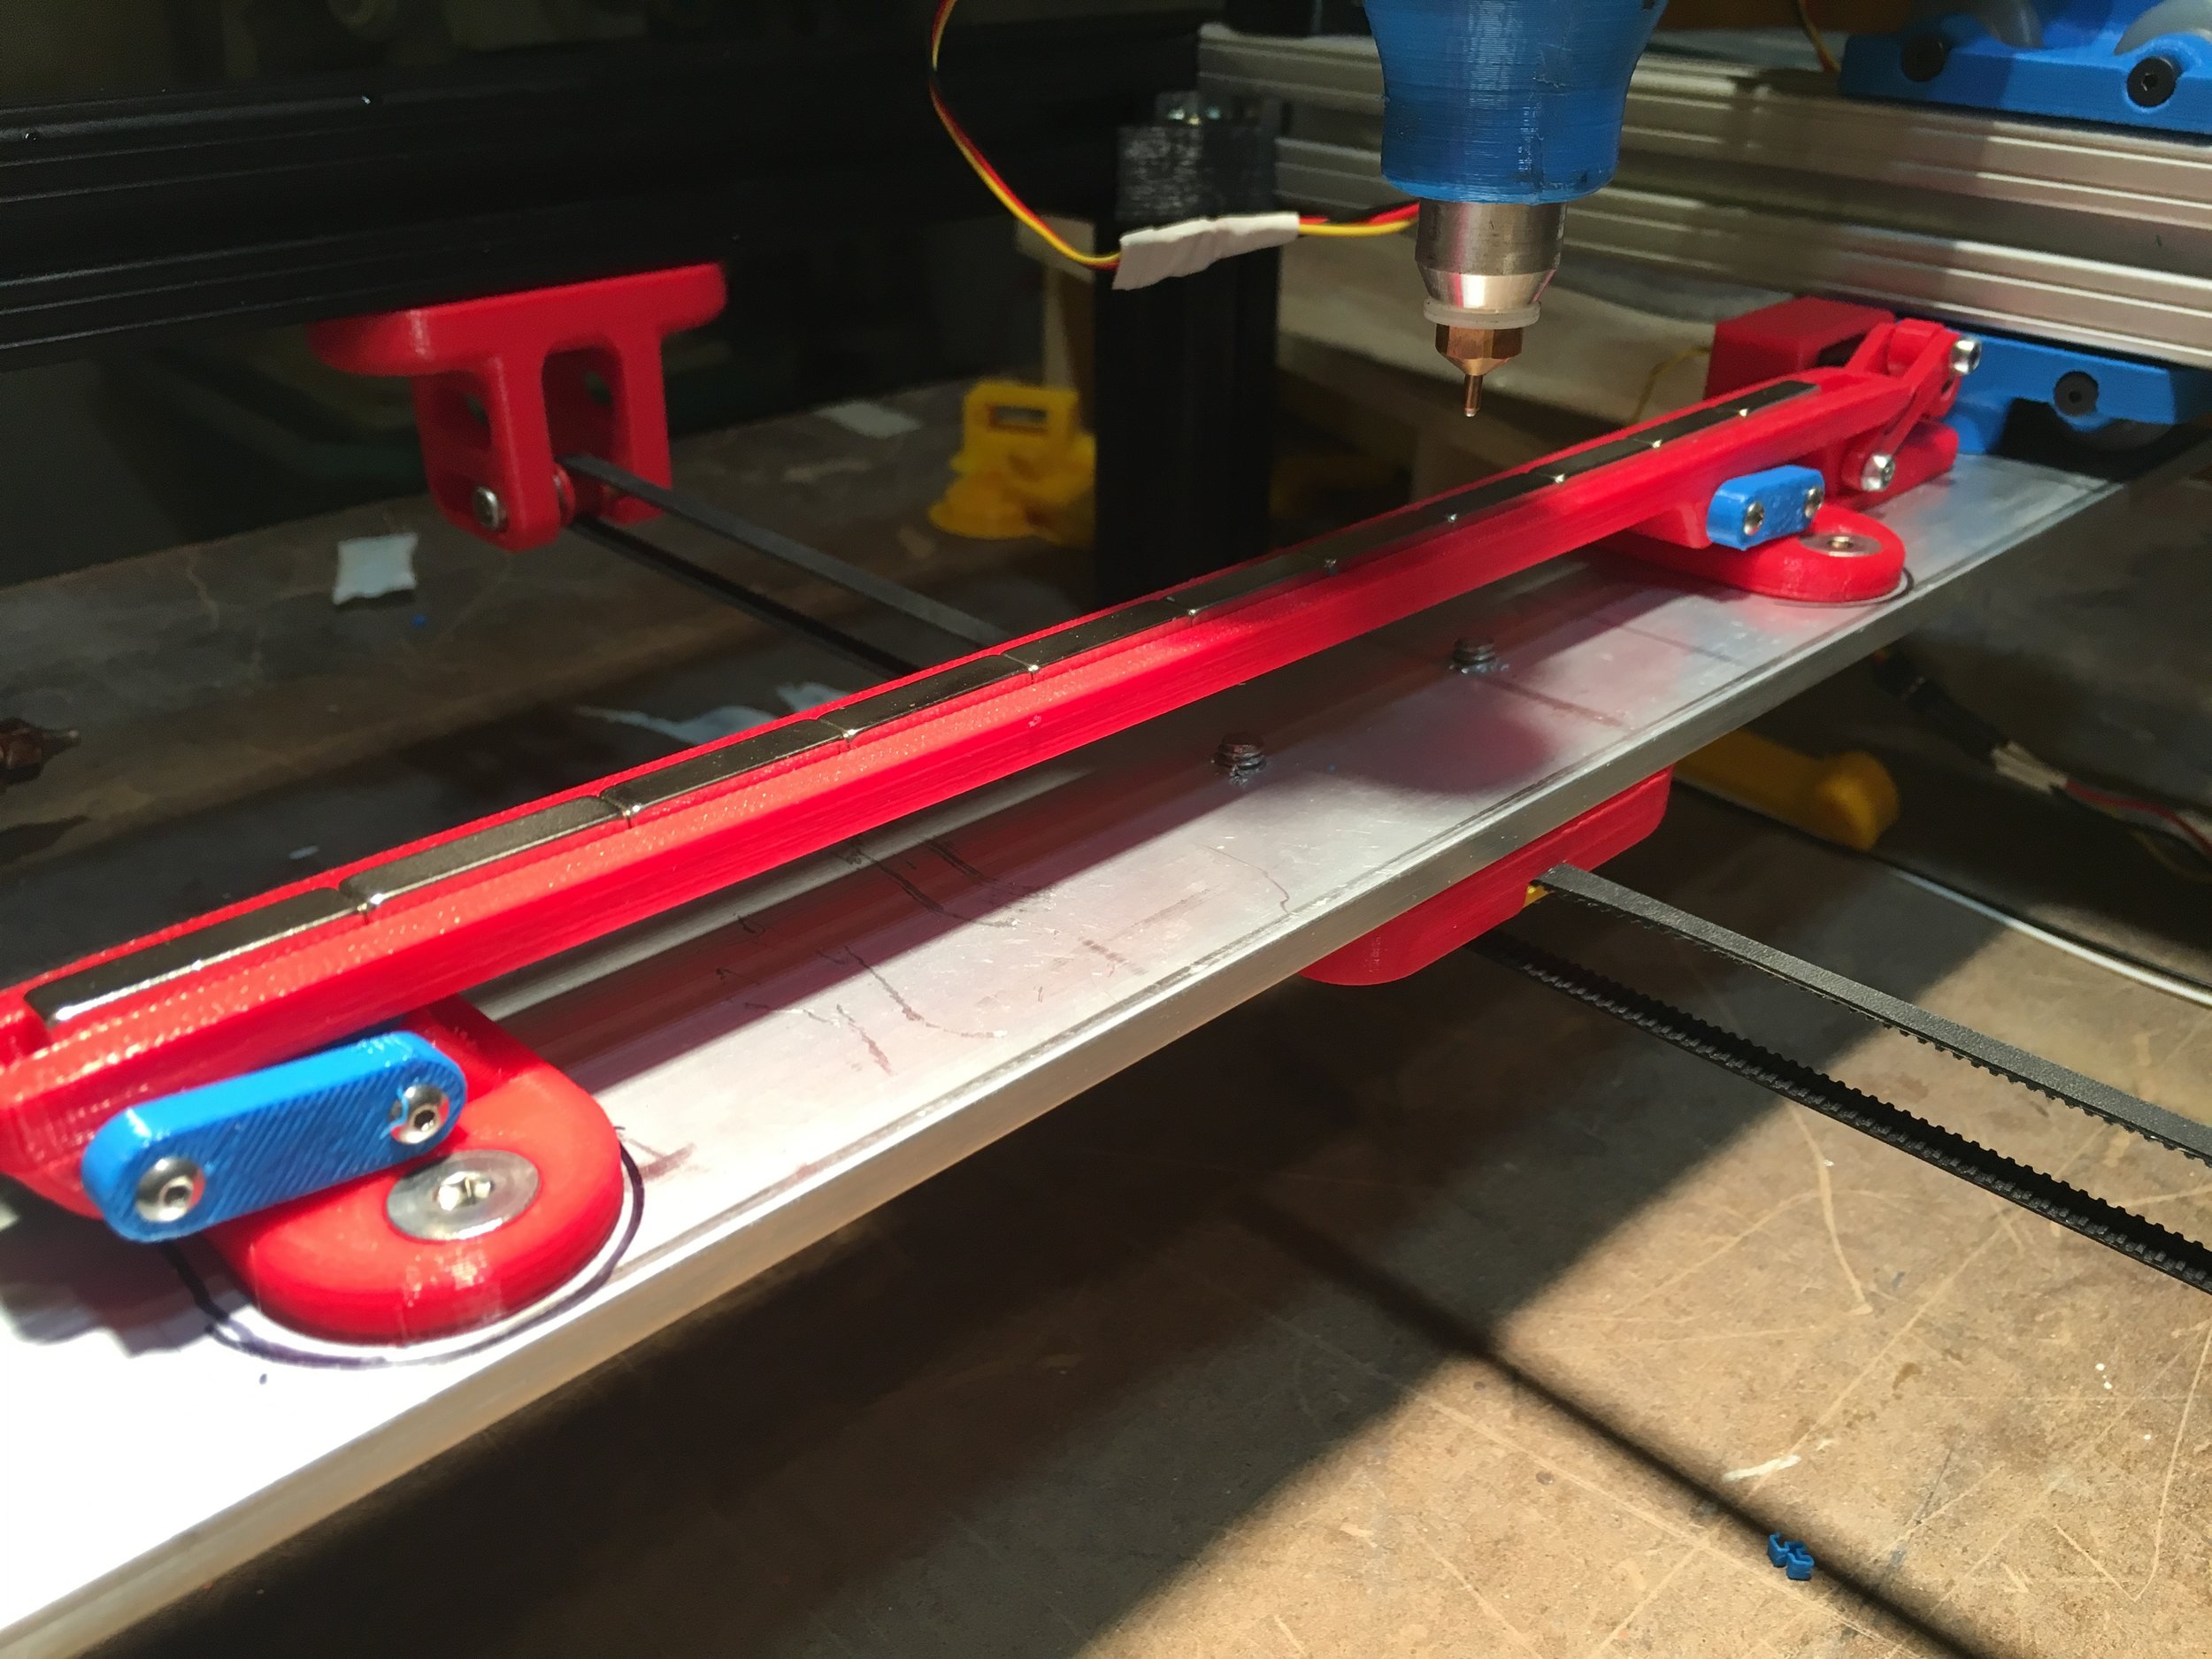
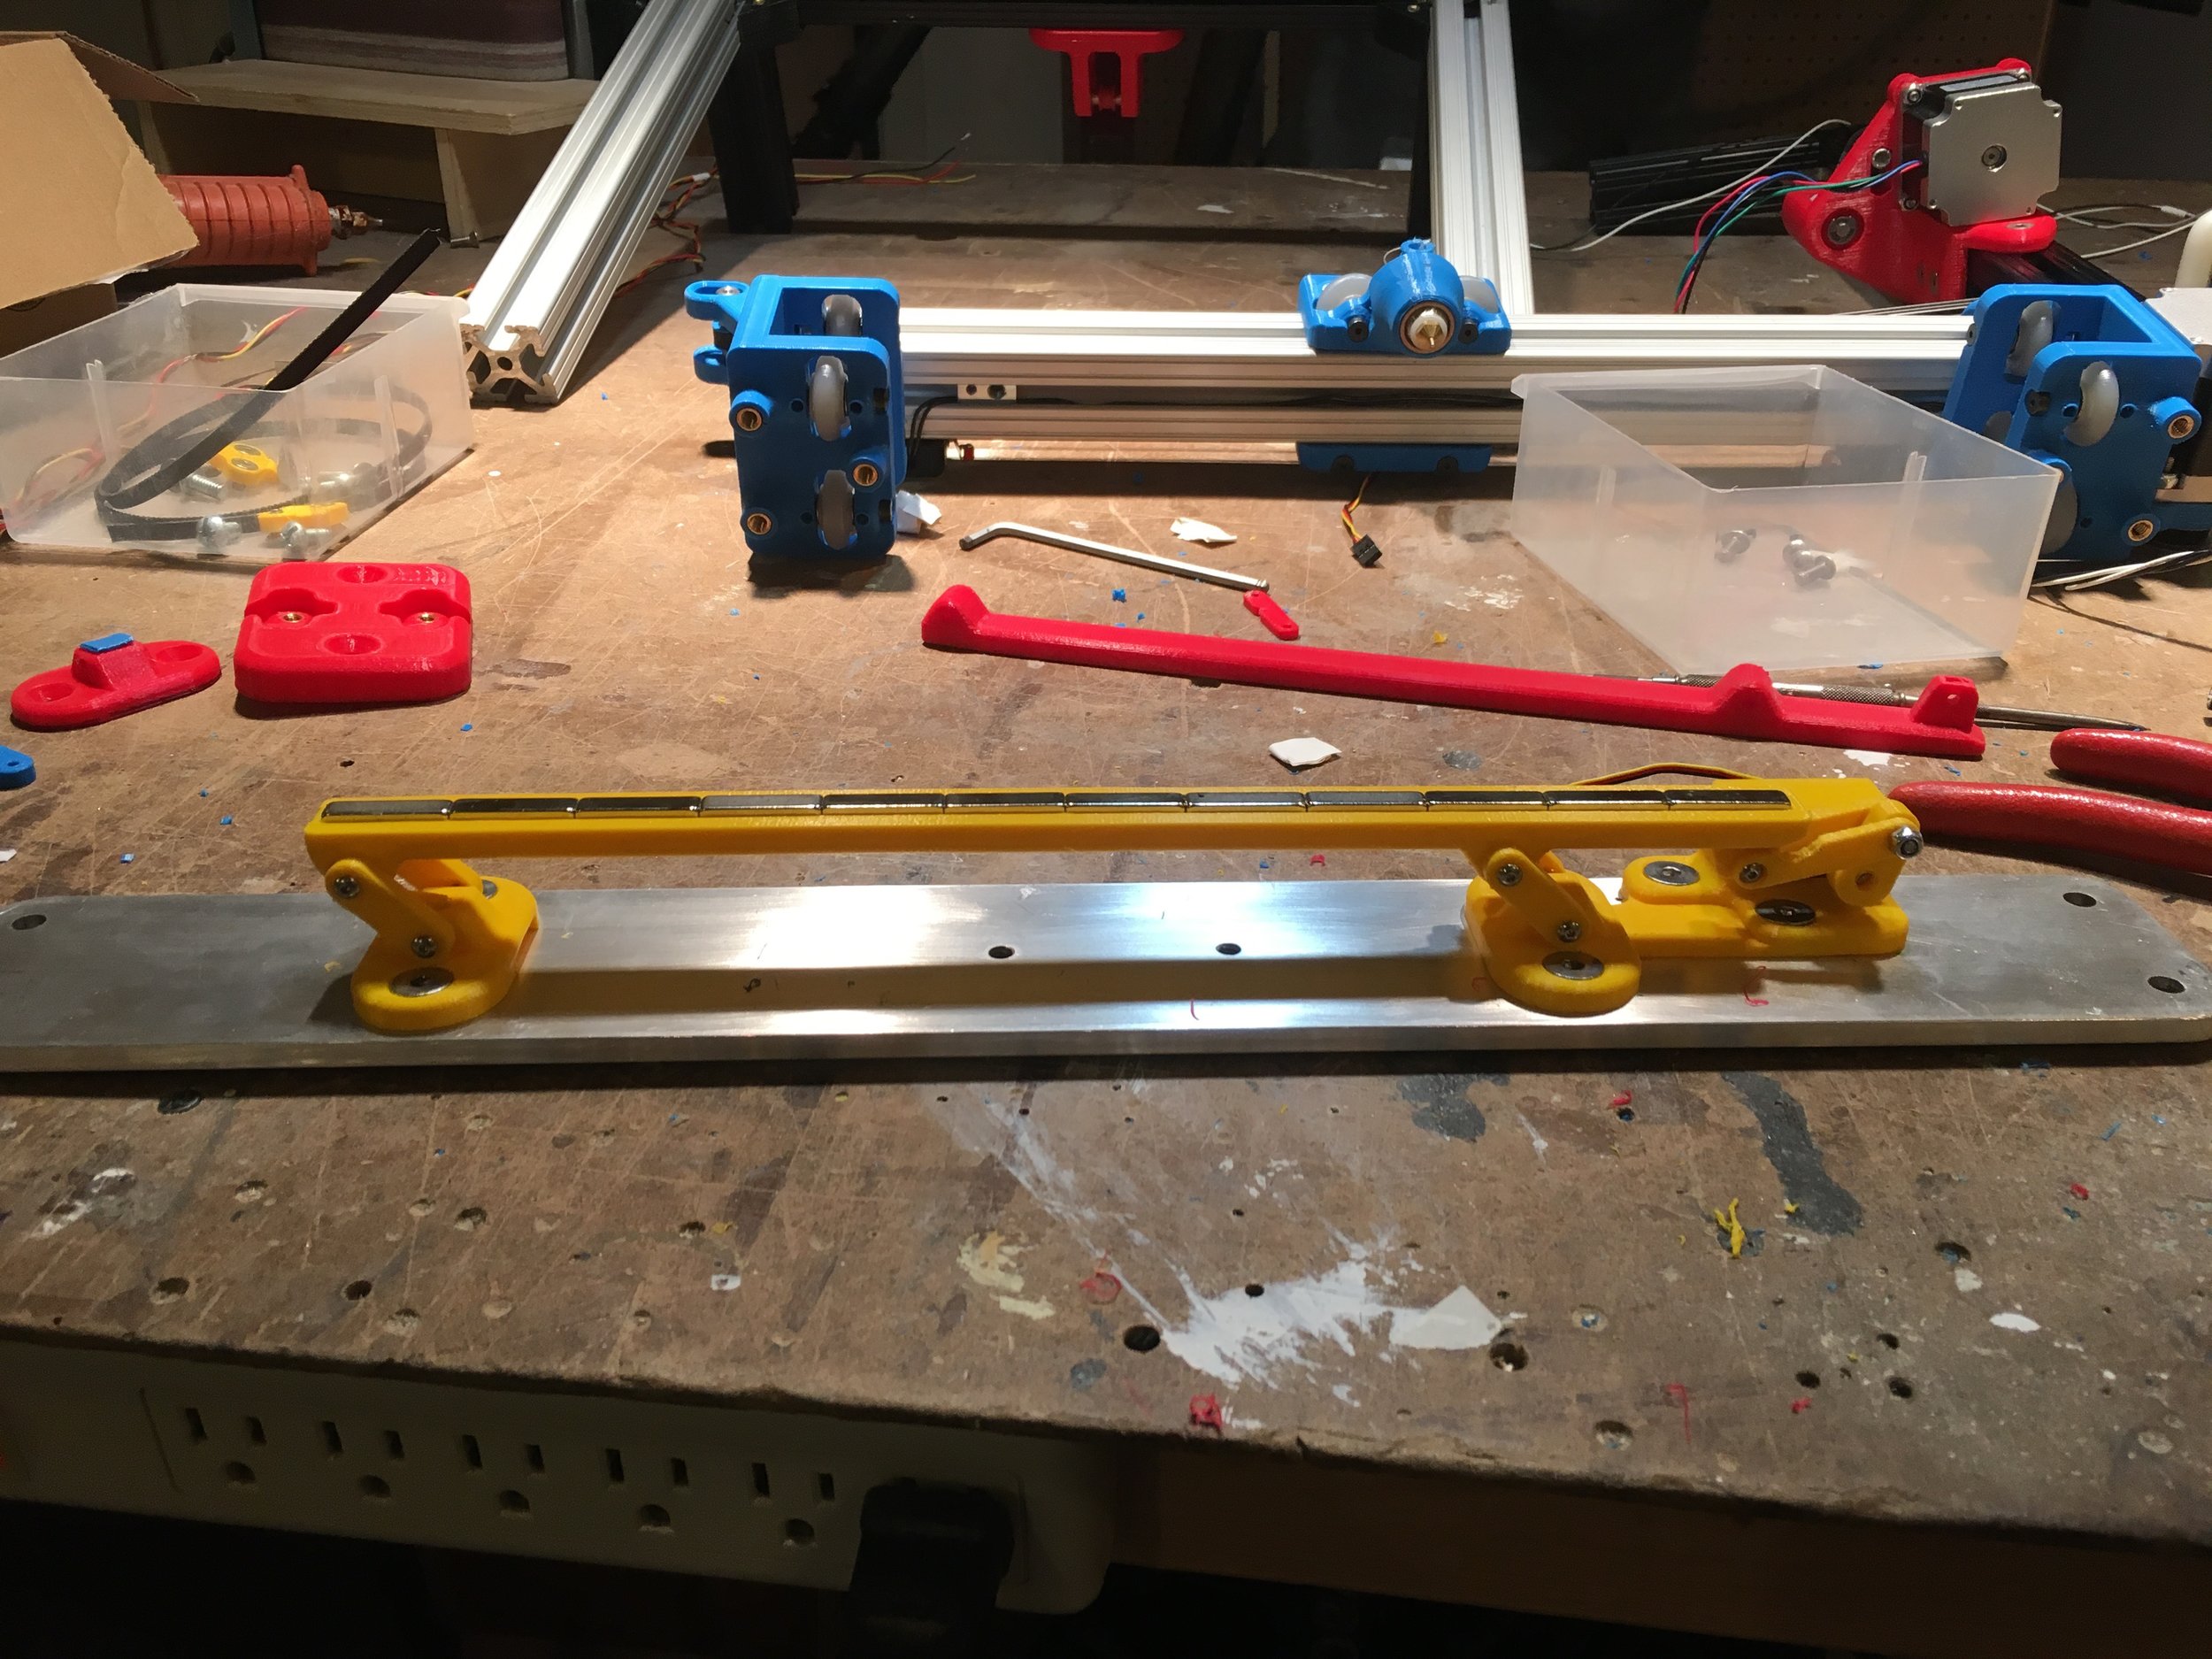
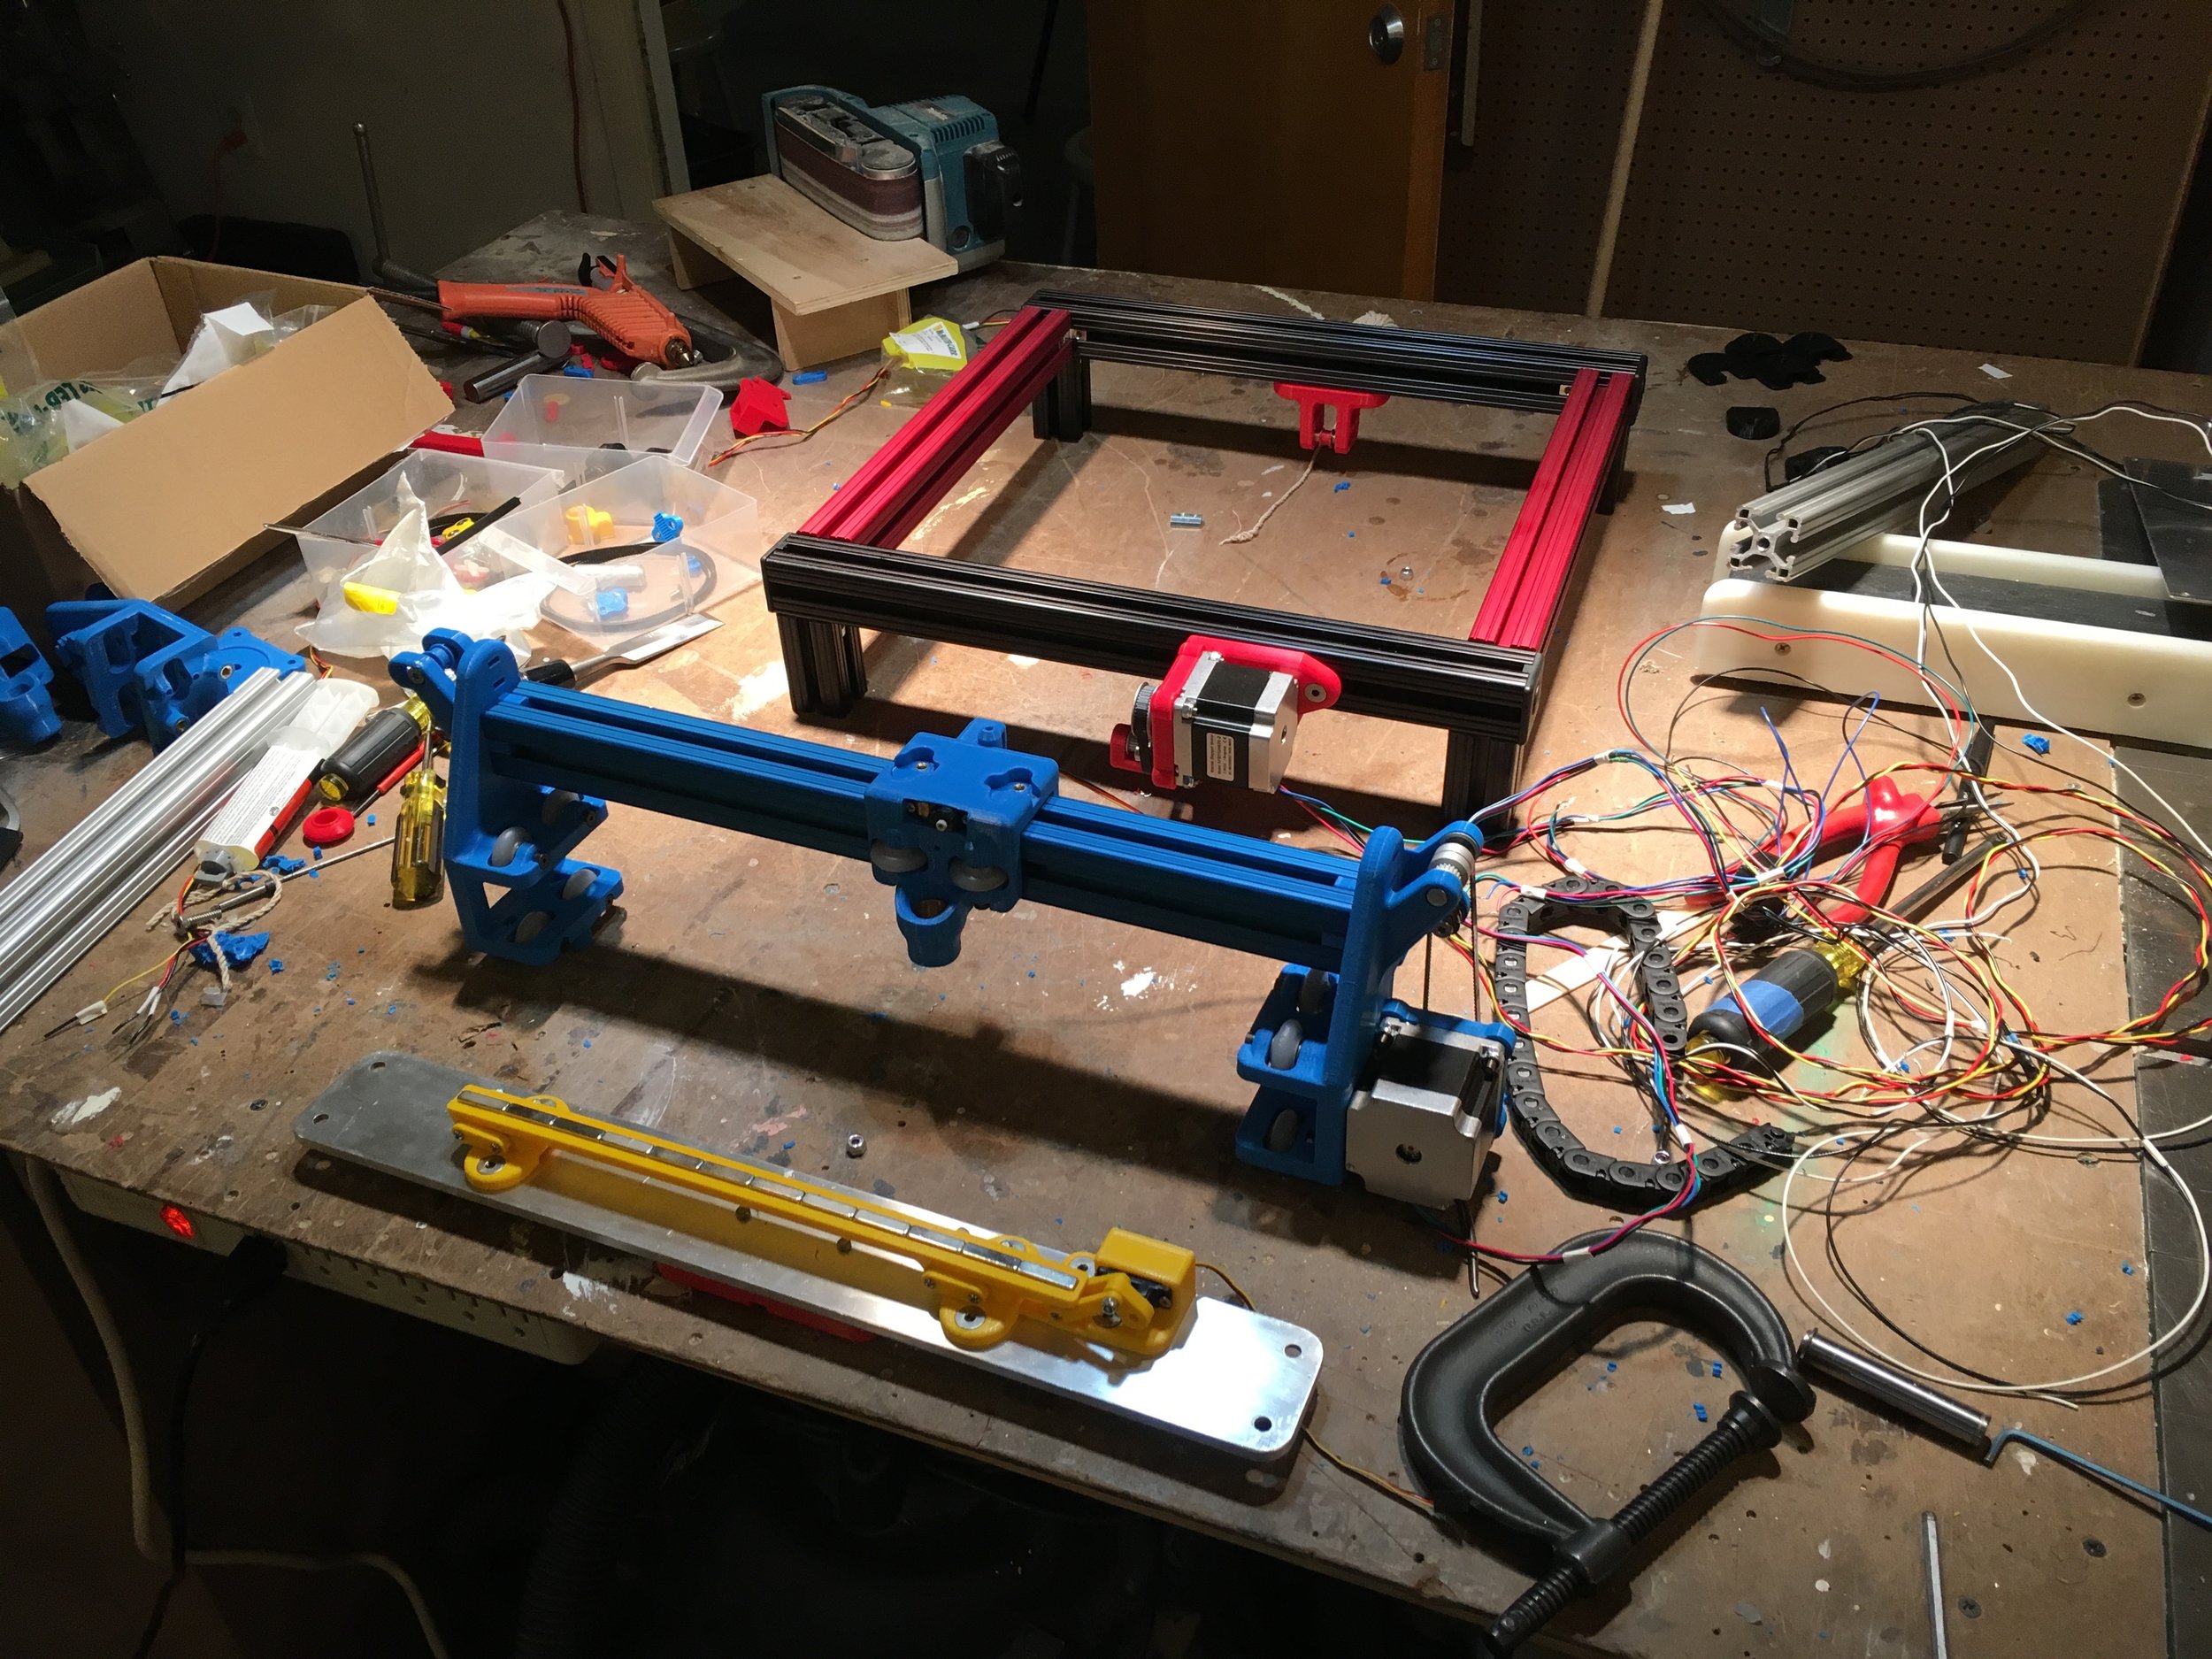
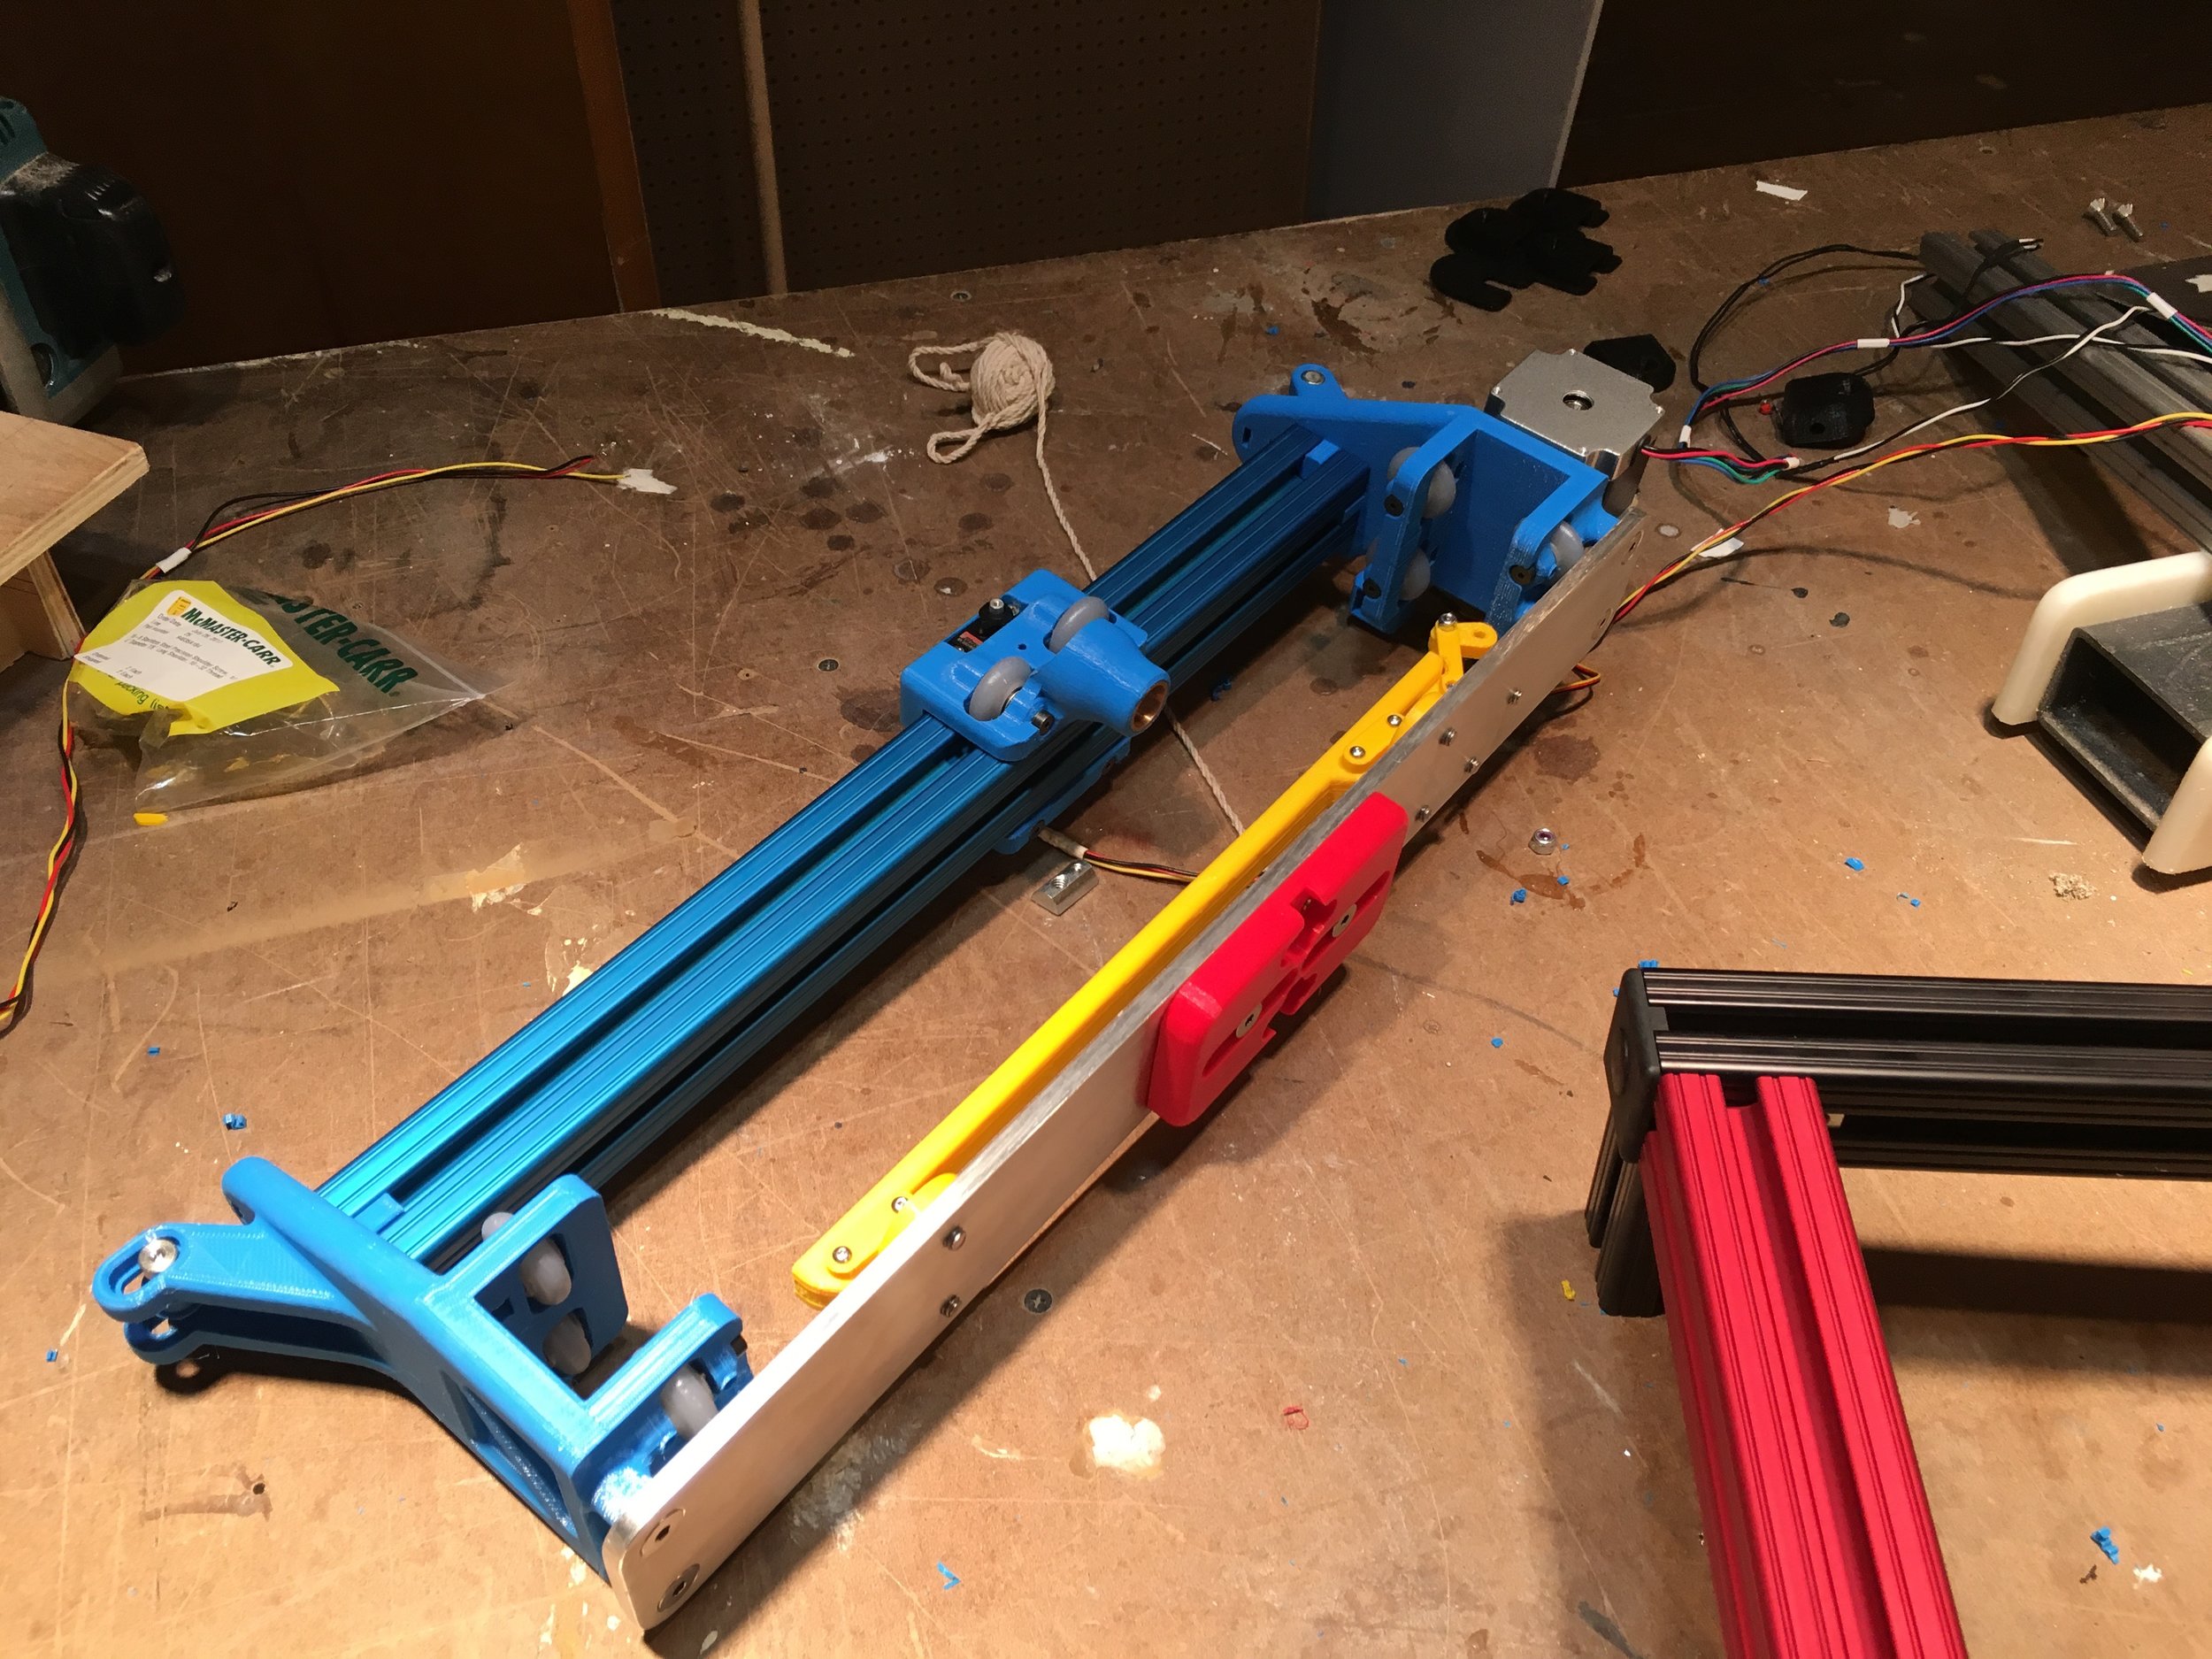
The X and Y axis are both driven by stepper motors which drive belts which move the Y gantry and X carriage. I designed and fabricated the entire thing form the ground up. The software was developed by James Sanino. All parts except for the frame were designed and printed by me. The frame is made from off the shelf 80/20 extrusion which was anodized. The bearing surfaces for the Y-axis gantry and the X-axis carriage are wheels with shoulders I designed to nest in the T slot of the 80/20. The eraser mechanism is mounted to the bottom of the gantry, it is a series of neodymium magnets on a parallelogram mechanism actuated by a servo. The magnetic drawing stylus is raised and lowered by a servo, allowing the machine to pick up the stylus to make multiple drawings and to erase. It is designed to look like a 3D printer's extruder.
final design and assembly
The machine went through two complete redesigns, and dozens of versions. The major problems proved to be the eraser mechanism, accurately driving the gantry without it racking, and getting the bearing surfaces as smooth as possible. Early versions were tested in PLA, but ultimately they were printed in resin on an SLA machine for accuracy and smoothness. Every other part was printed in PLA on a Makerbot. The eraser mechanism is still being tweaked, but is about 95% effective. Thus I have not fully documented the project, I will have better documentation soon.
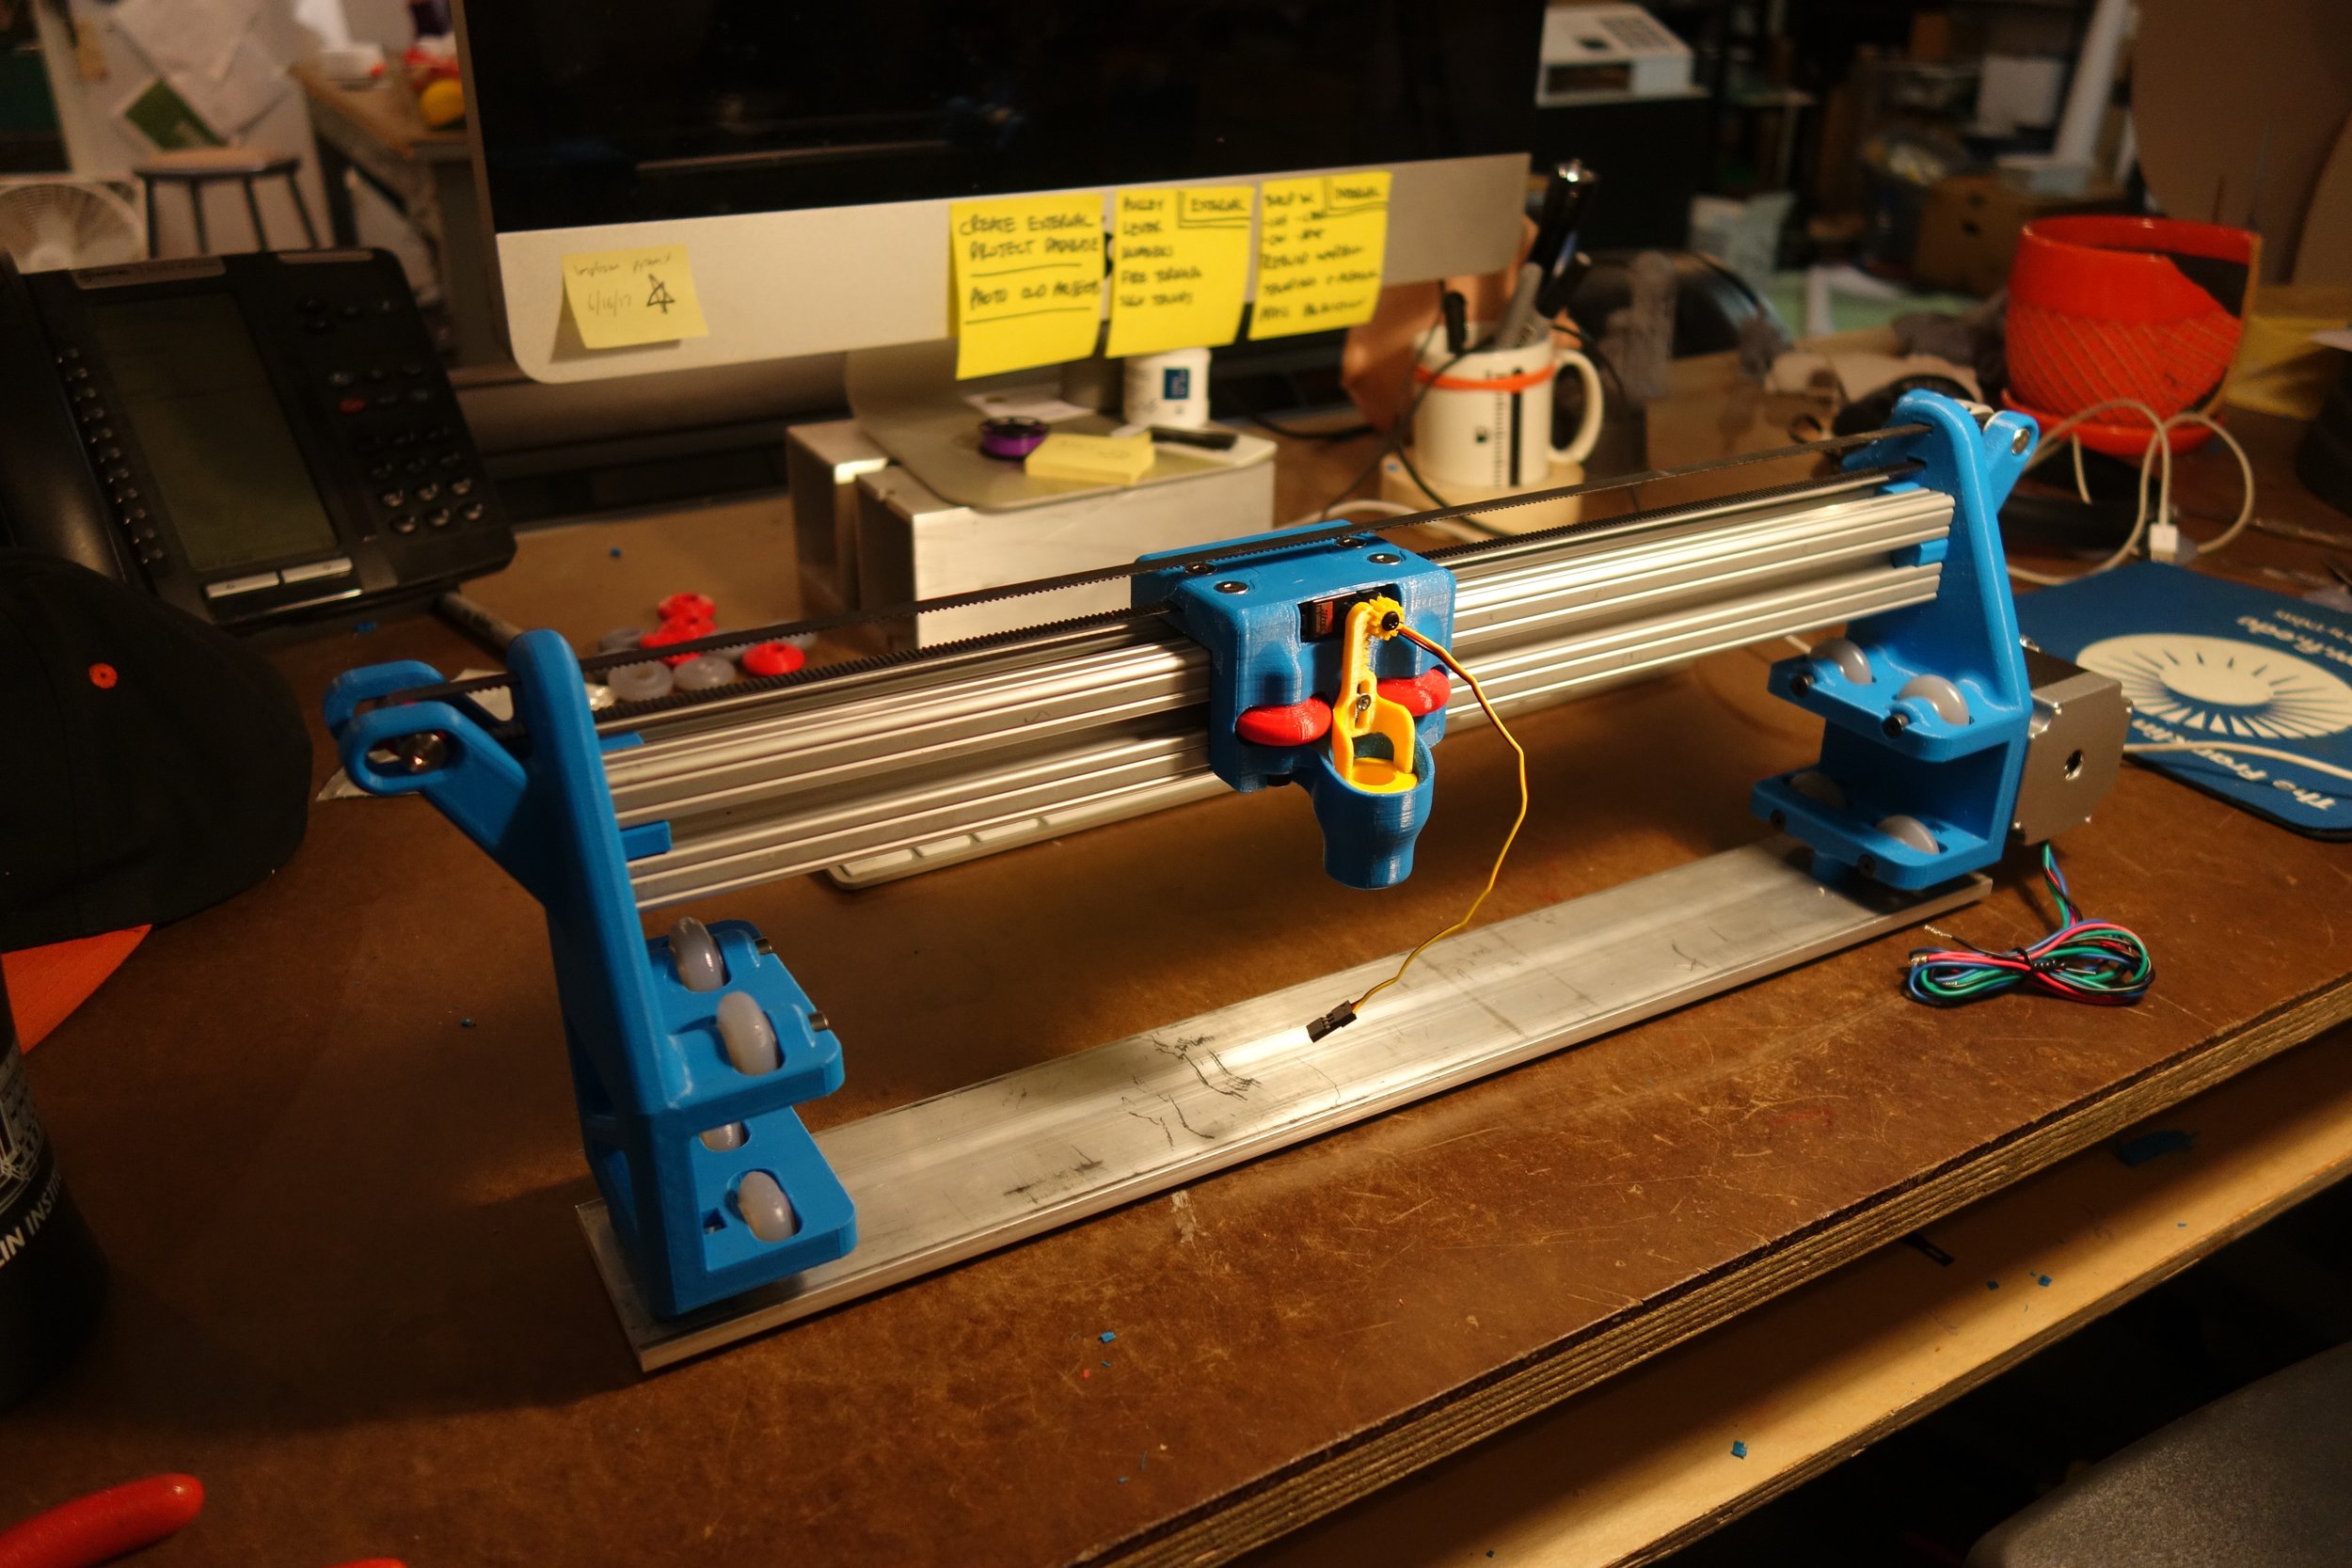


version 1
The first attempt at building this machine was not as functional as I wanted it to be. The two major differences that required a ground up redesign was that this machine used off the shelf linear sleeve bearings and was driven by a screw rather than belts. The sleeve bearings limited the amount of design work I had to do, but proved to have too much friction and were not adjustable enough. The screw driven gantry and X carriage were just too slow, and increasing the pitch of the screw caused too much friction for the stepper driving the Y gantry. Ultimatly I was much happier with roller bearing and a belt driven system, but I think it is alwasy interesting to see how something evolves from how it was originally conceptualized.